Project began April, 2014
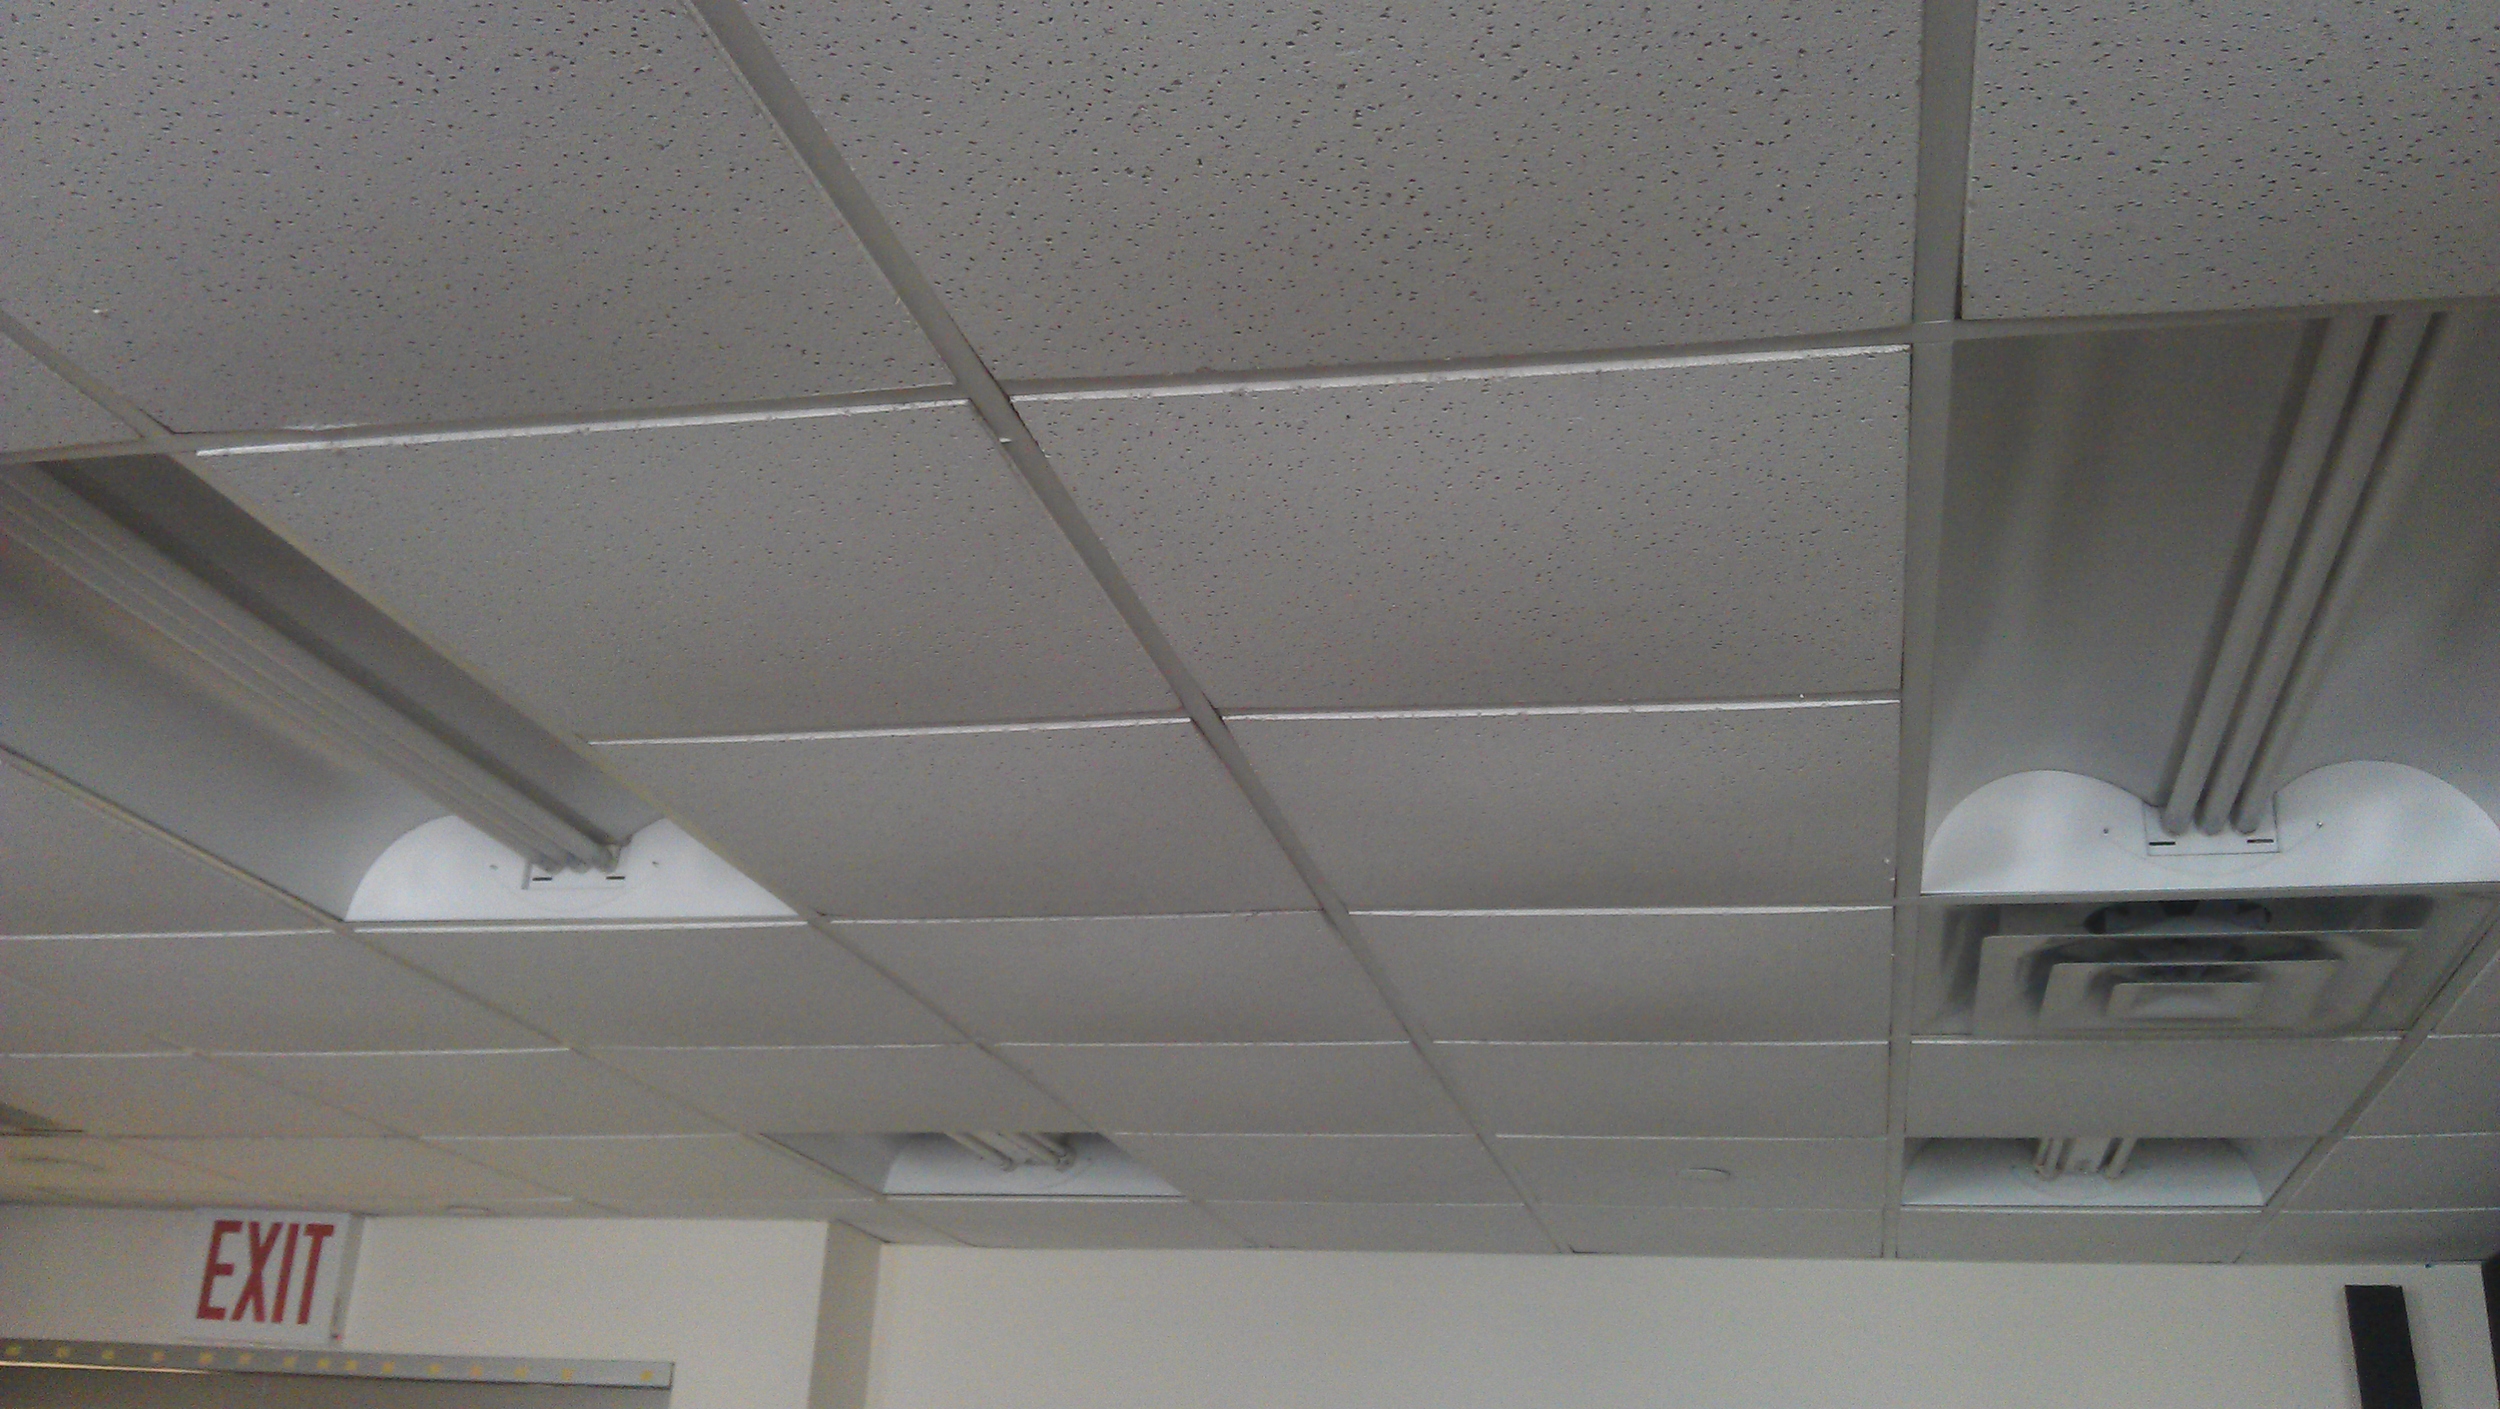
“As of April 2014 the midtown-Manhattan location which was to become the ZIPANGU Gallery & Showroom was a corporate office space complete with industrial carpeting and false ceilings. It was used primarily as a place for the instruction on wearing and caring for traditional Japanese Kimonos.”


Work begins...
“My objective throughout the duration of this project was to transform a corporate office setting into as much of a raw space as possible.
I literally had to carve out as much as I possibly could within this given shell in order to maximize the space that would eventually become a showroom.
For example, the drop ceiling only gave a height of just under 9 feet, so the first order of business was to remove it completely and expose the additional 2+ feet above it...”
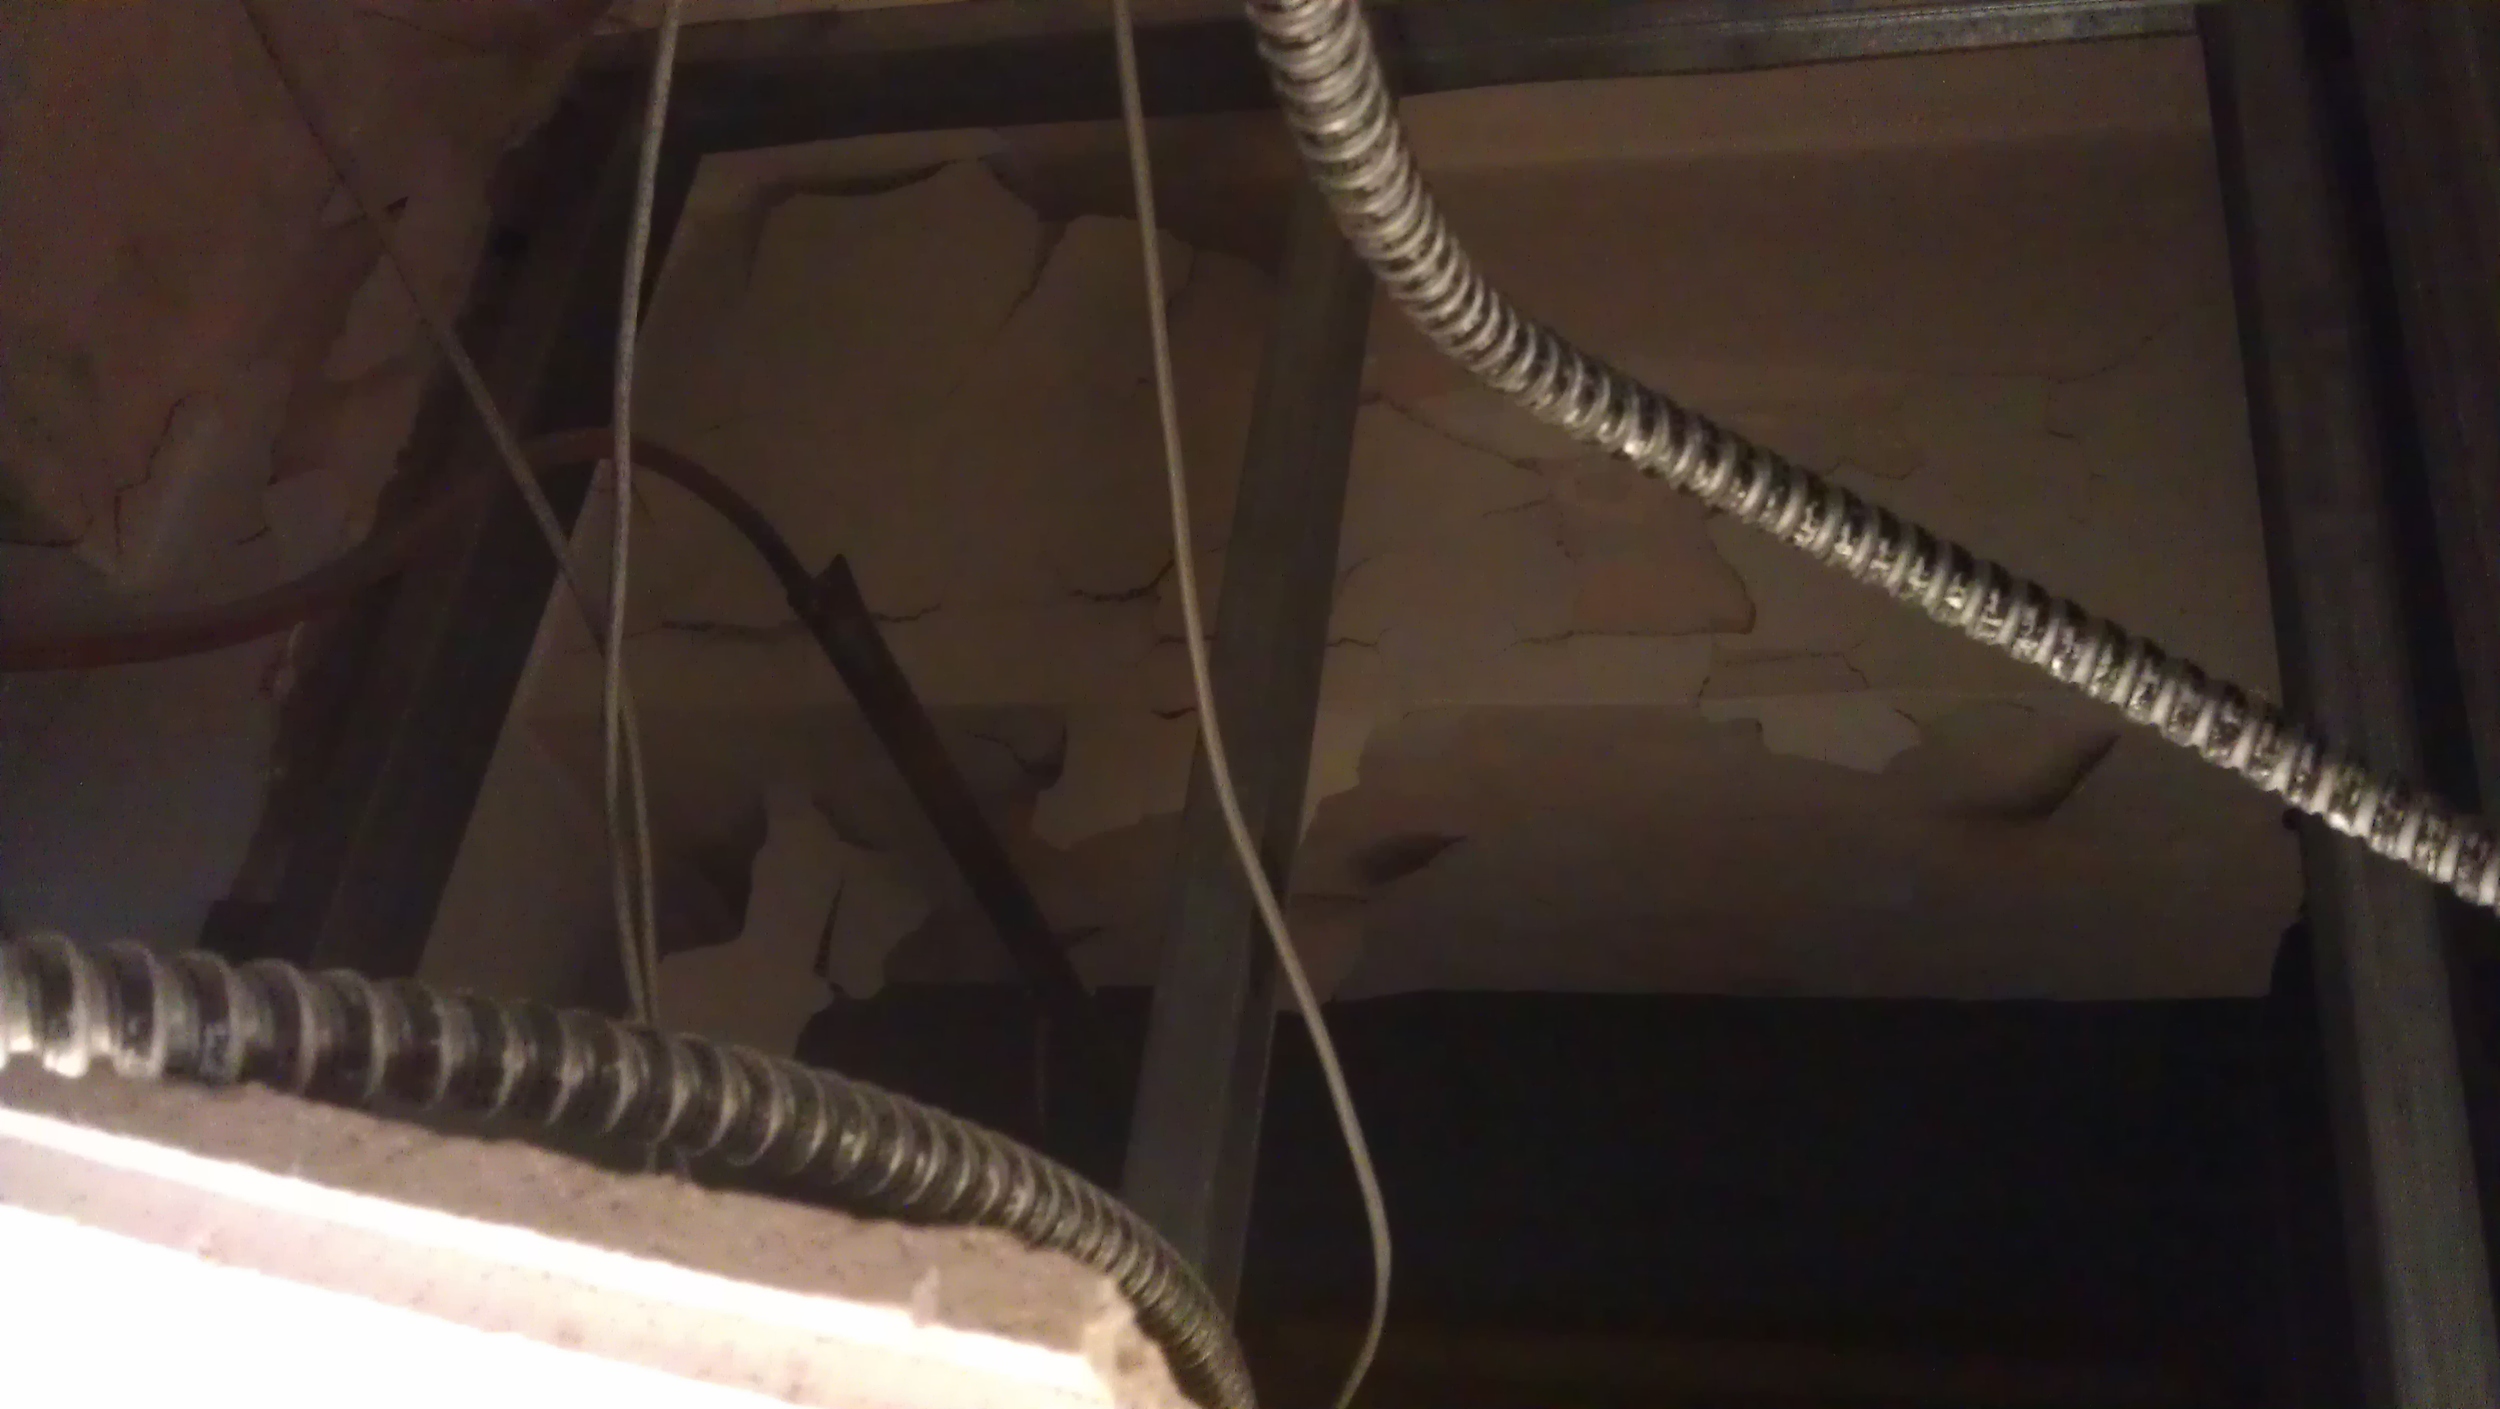
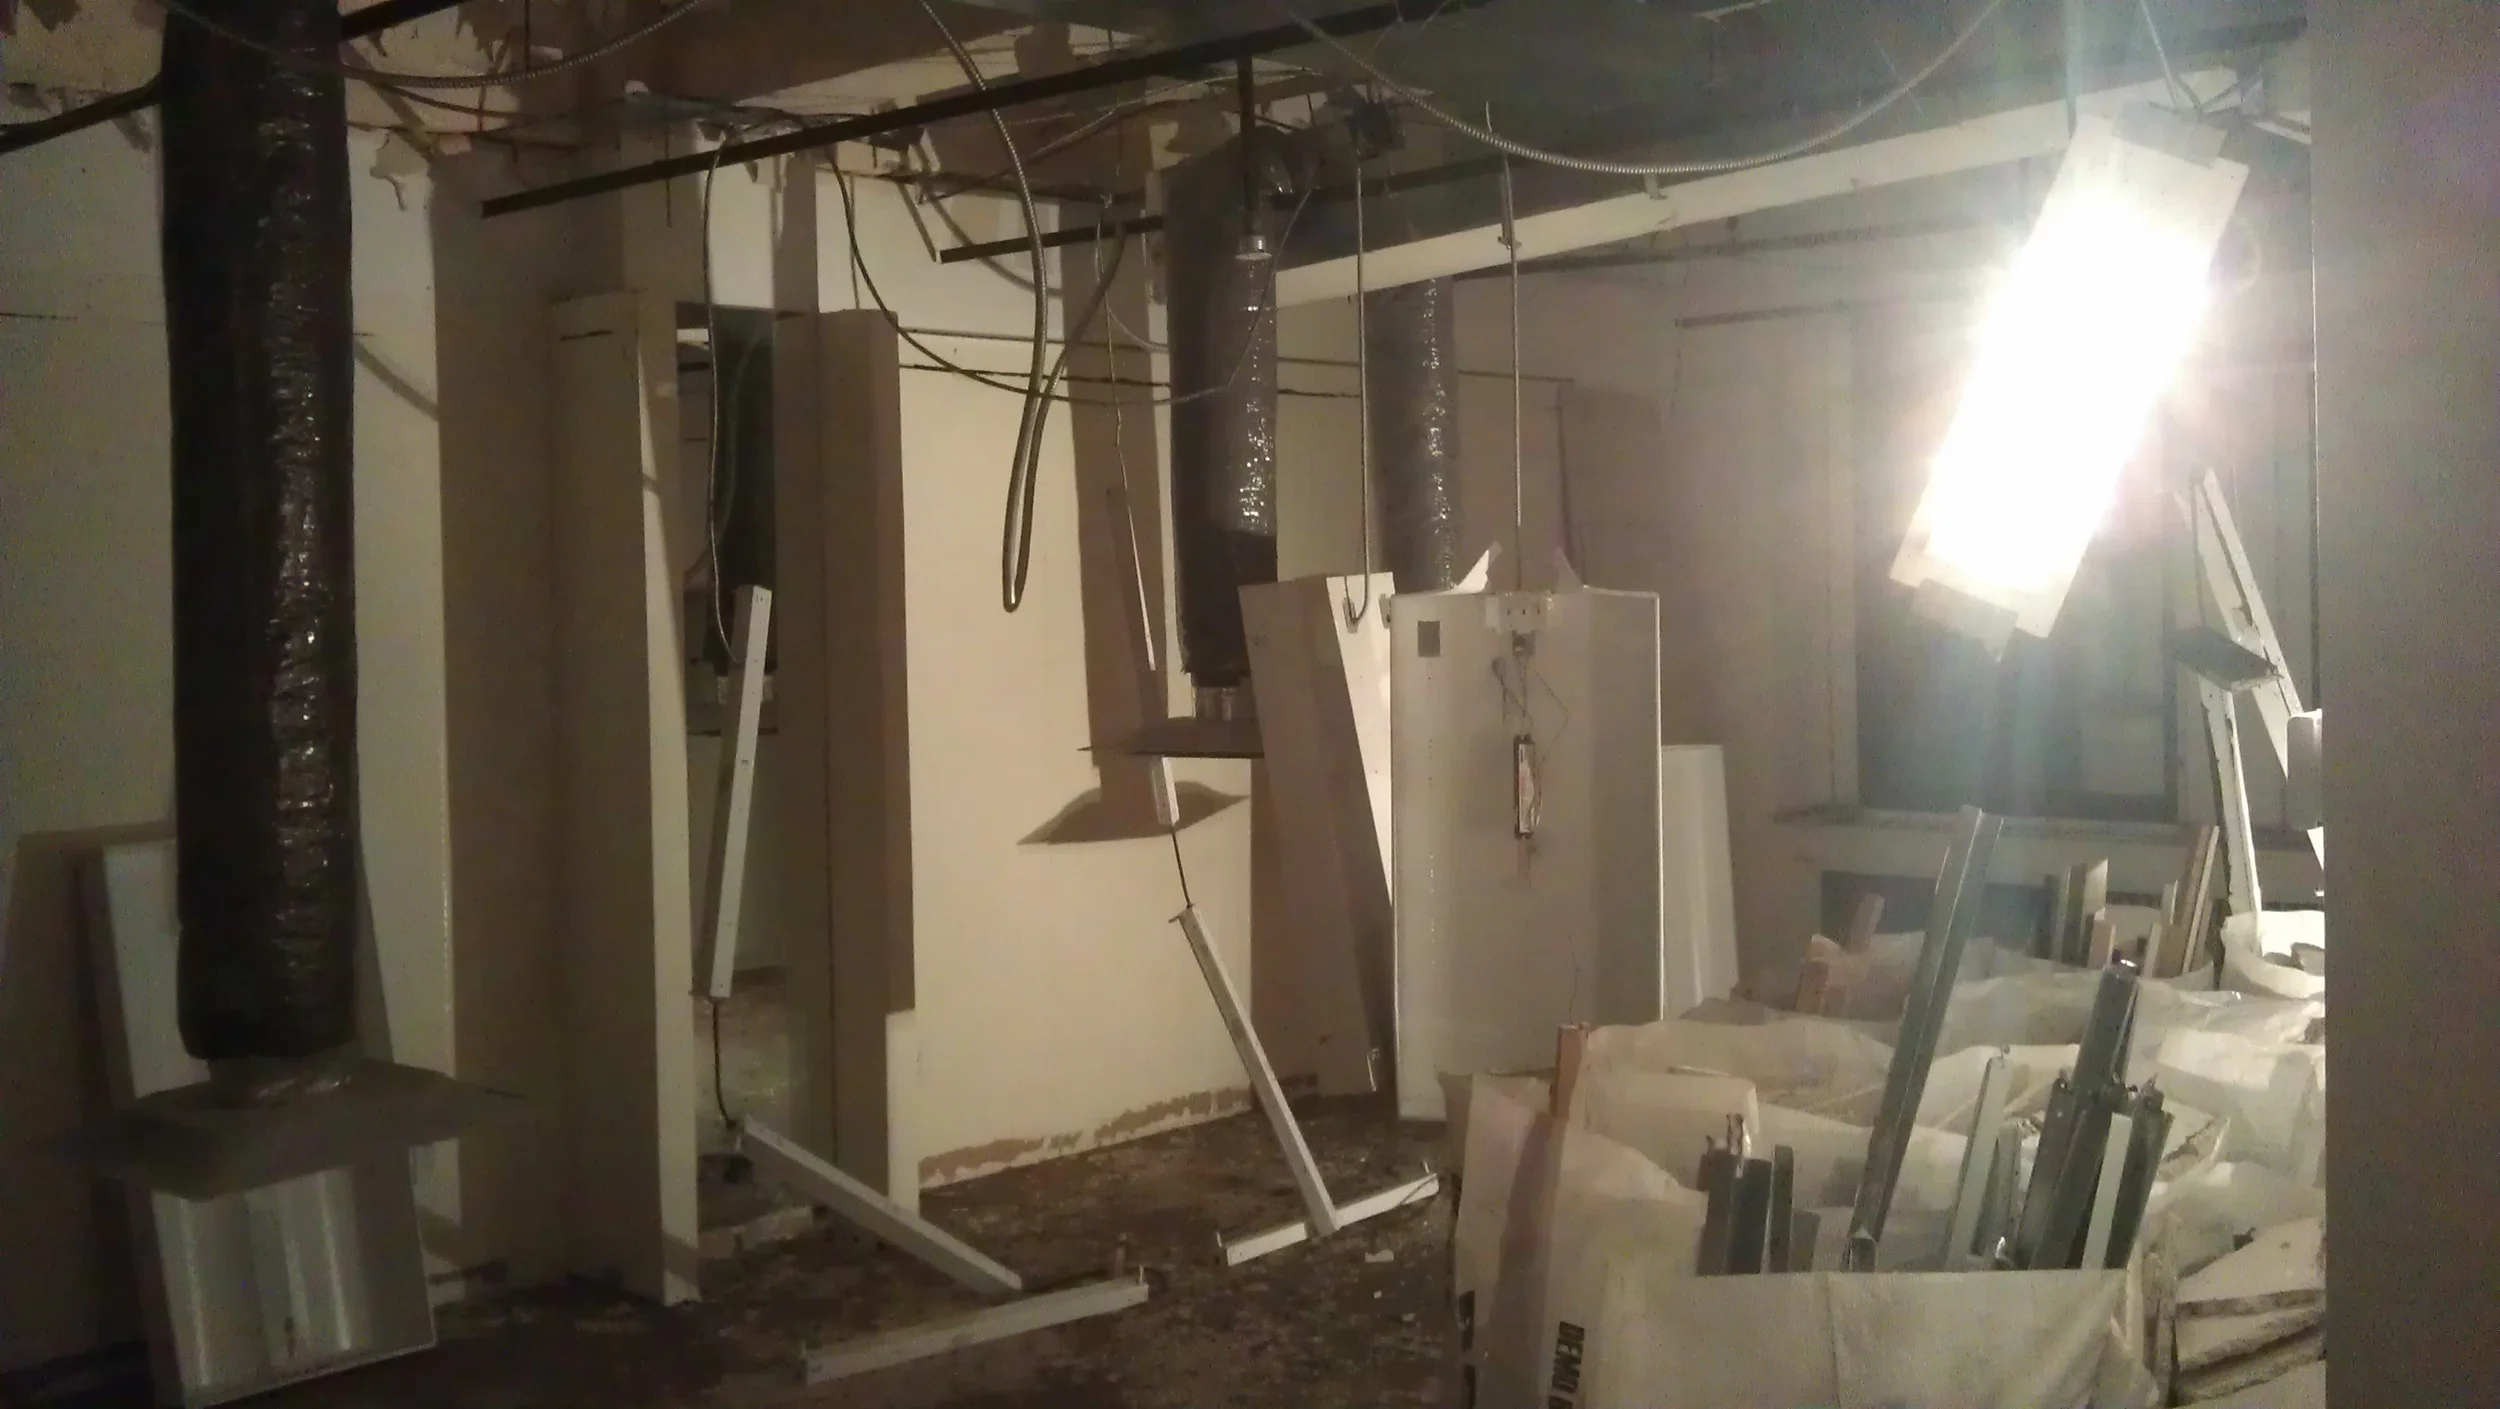
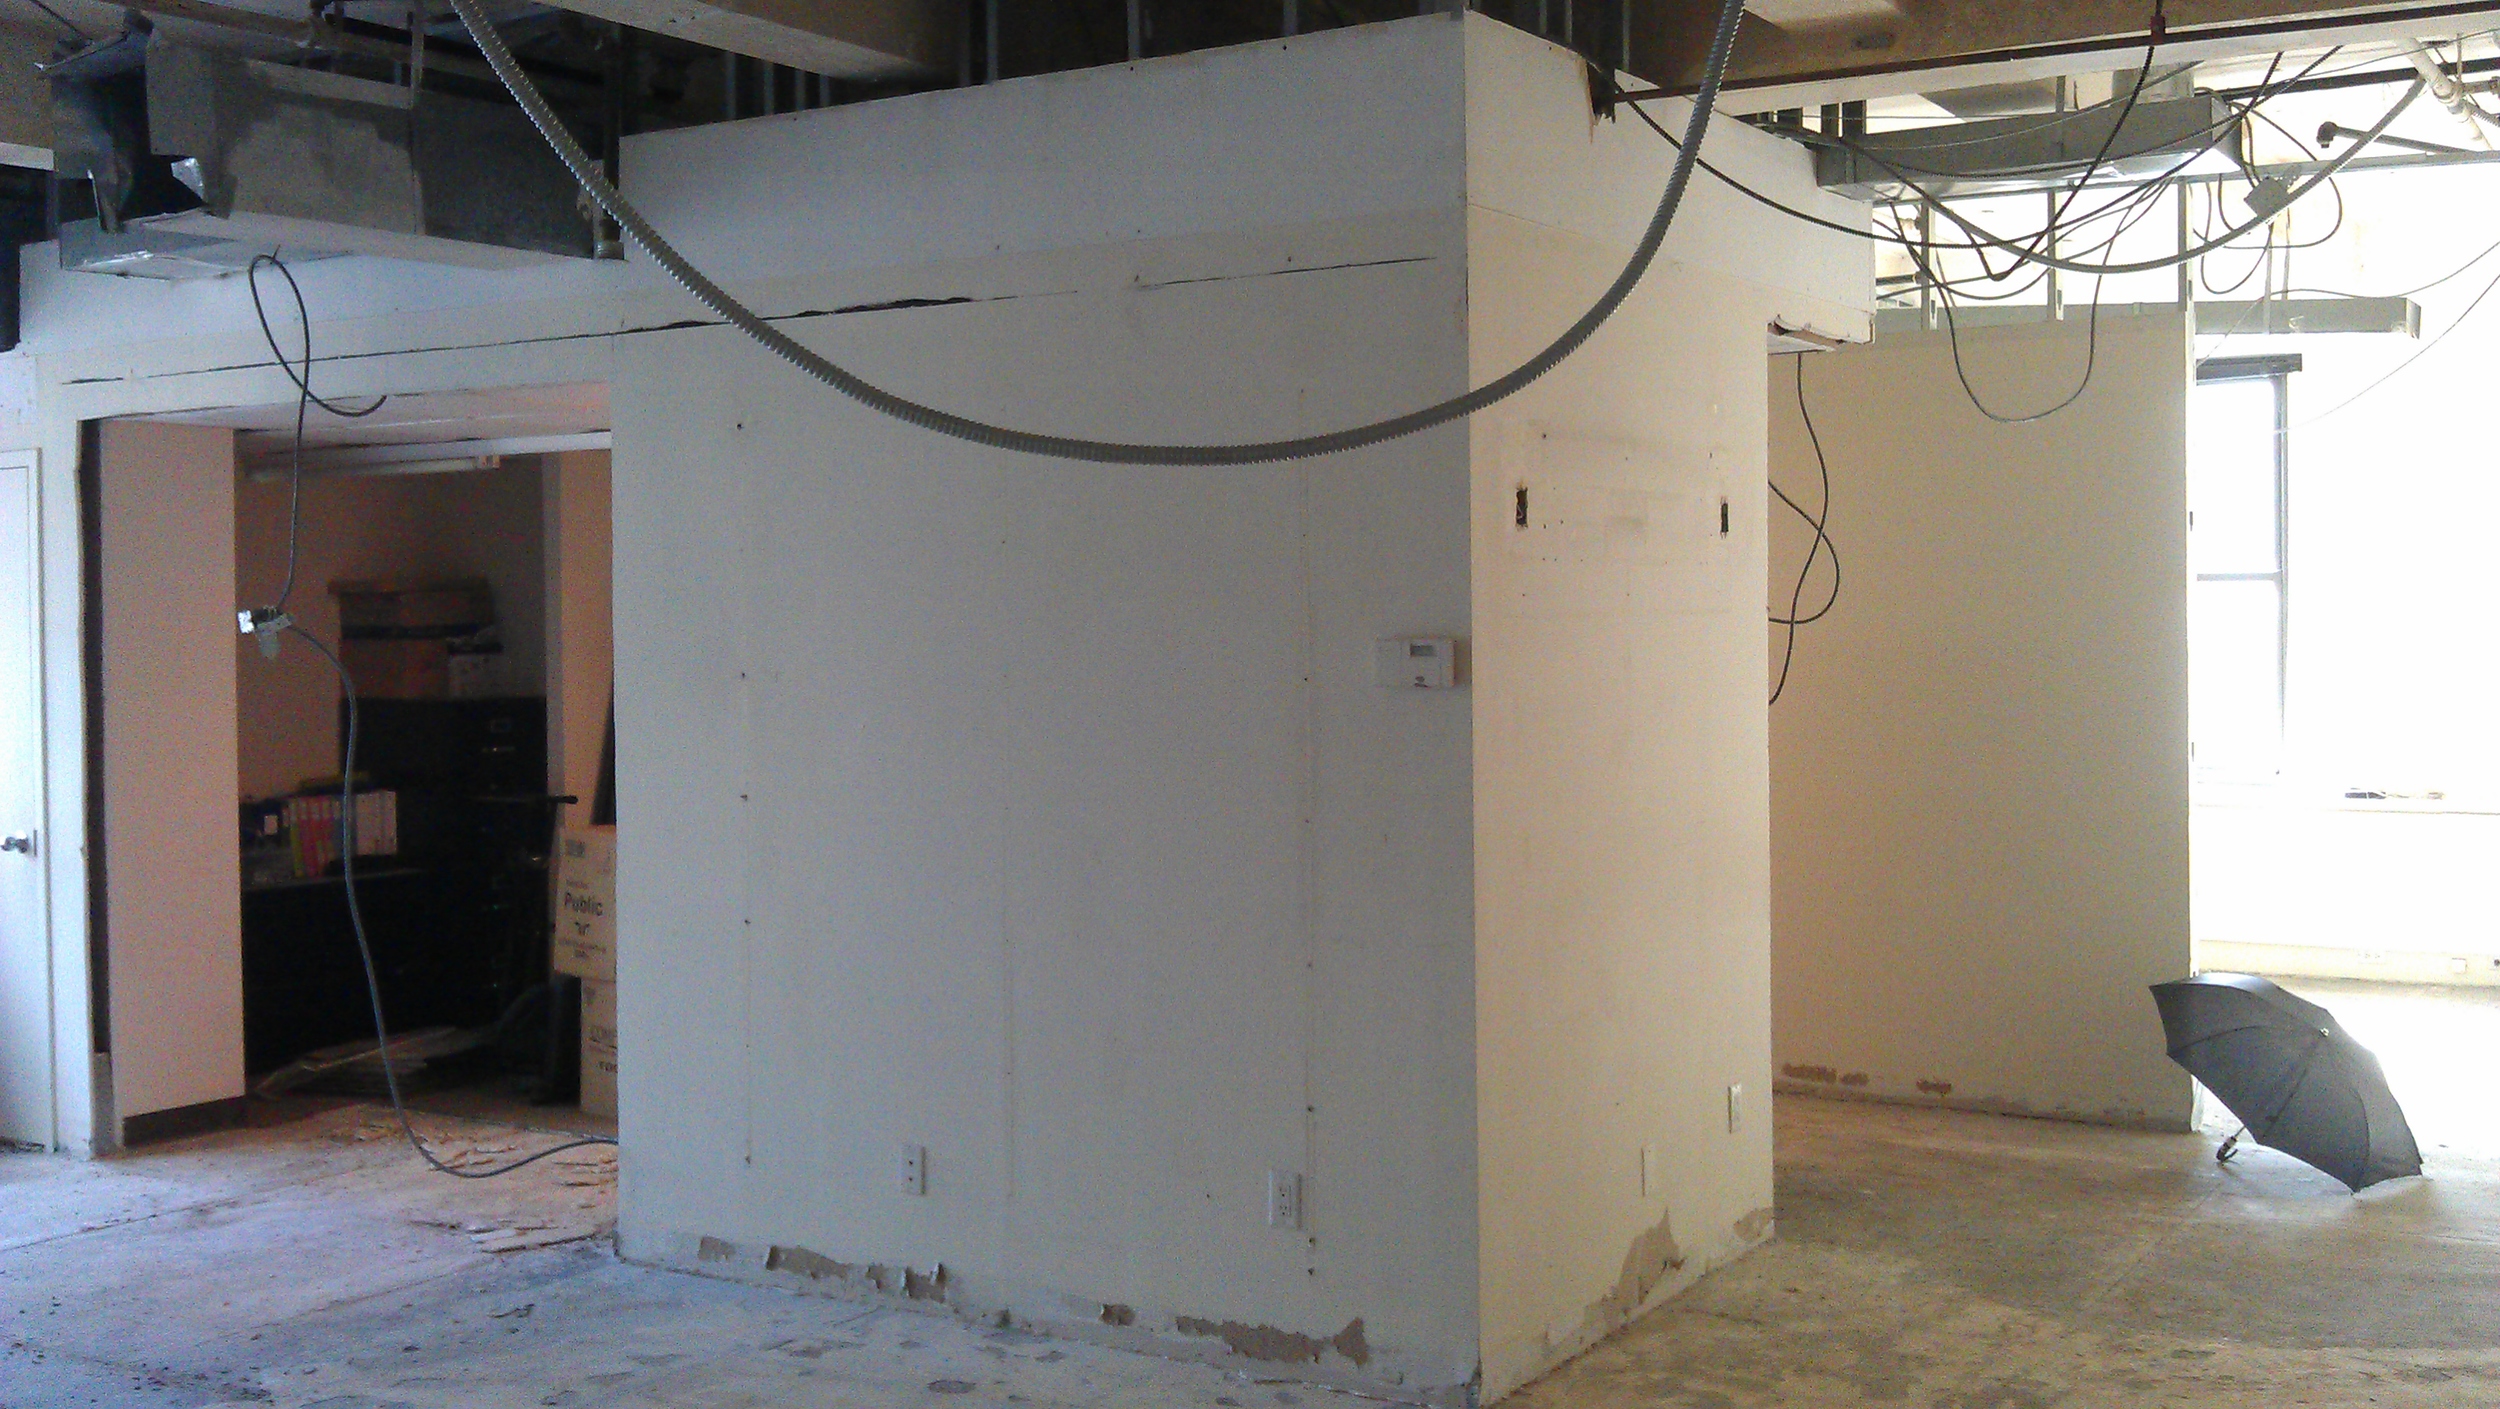
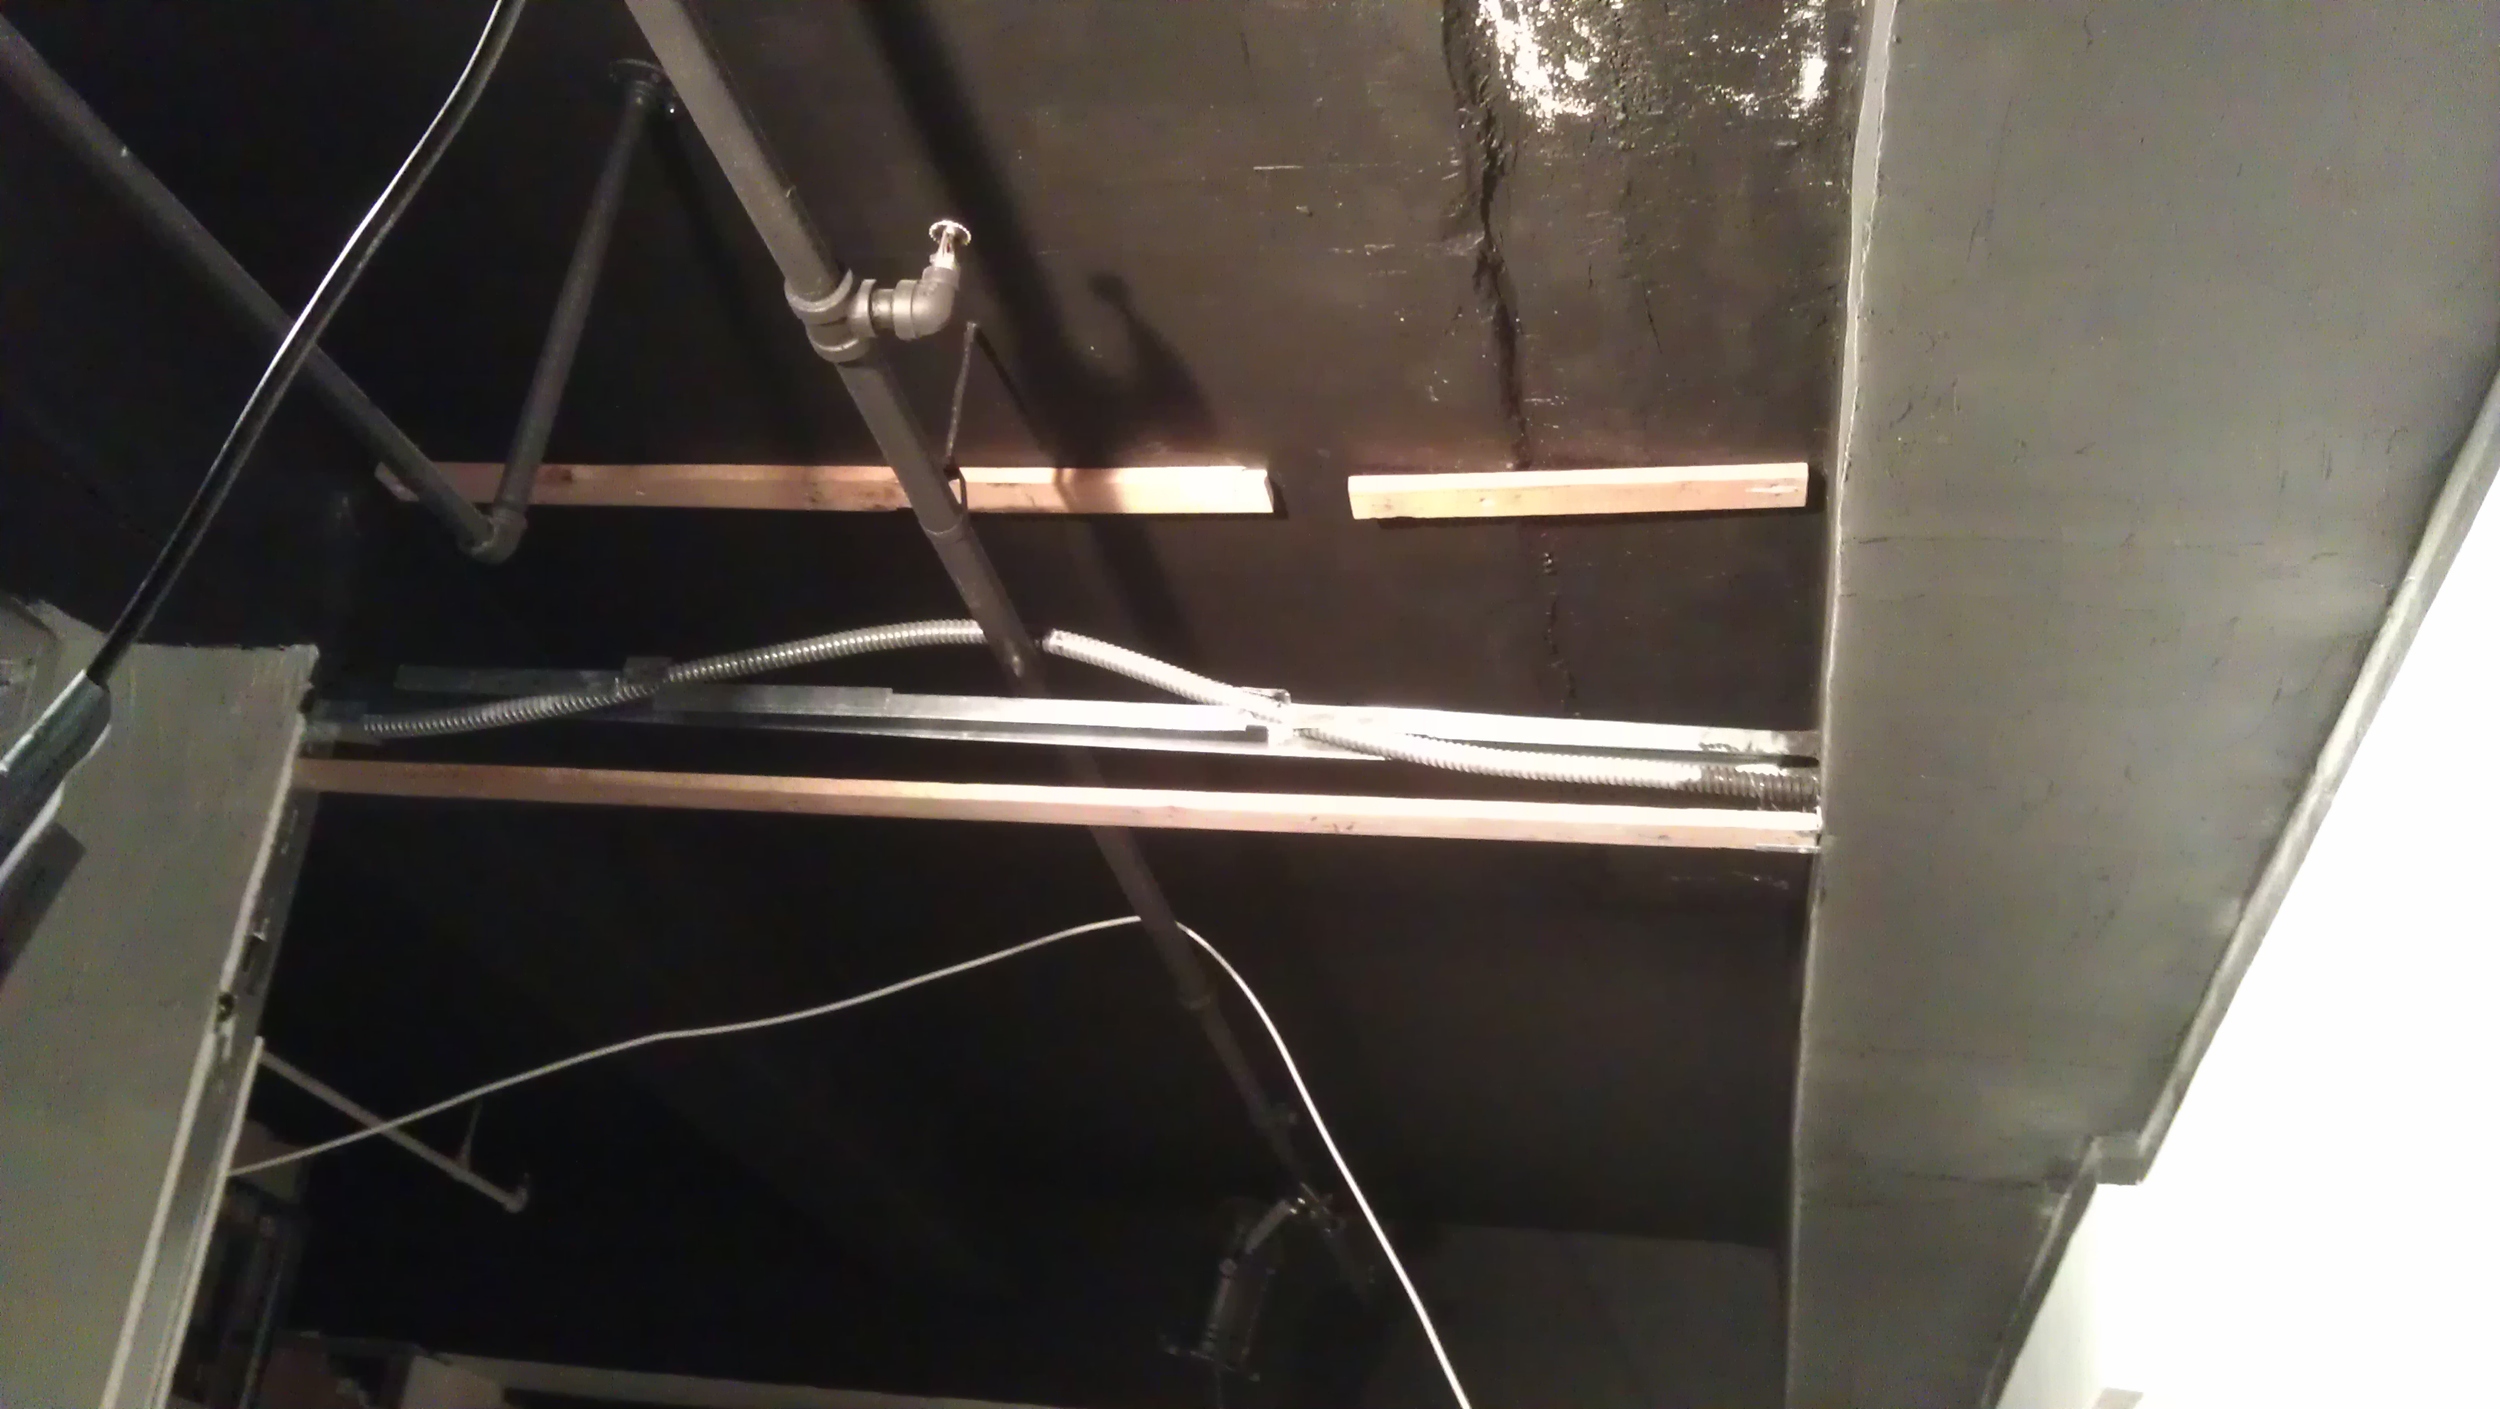
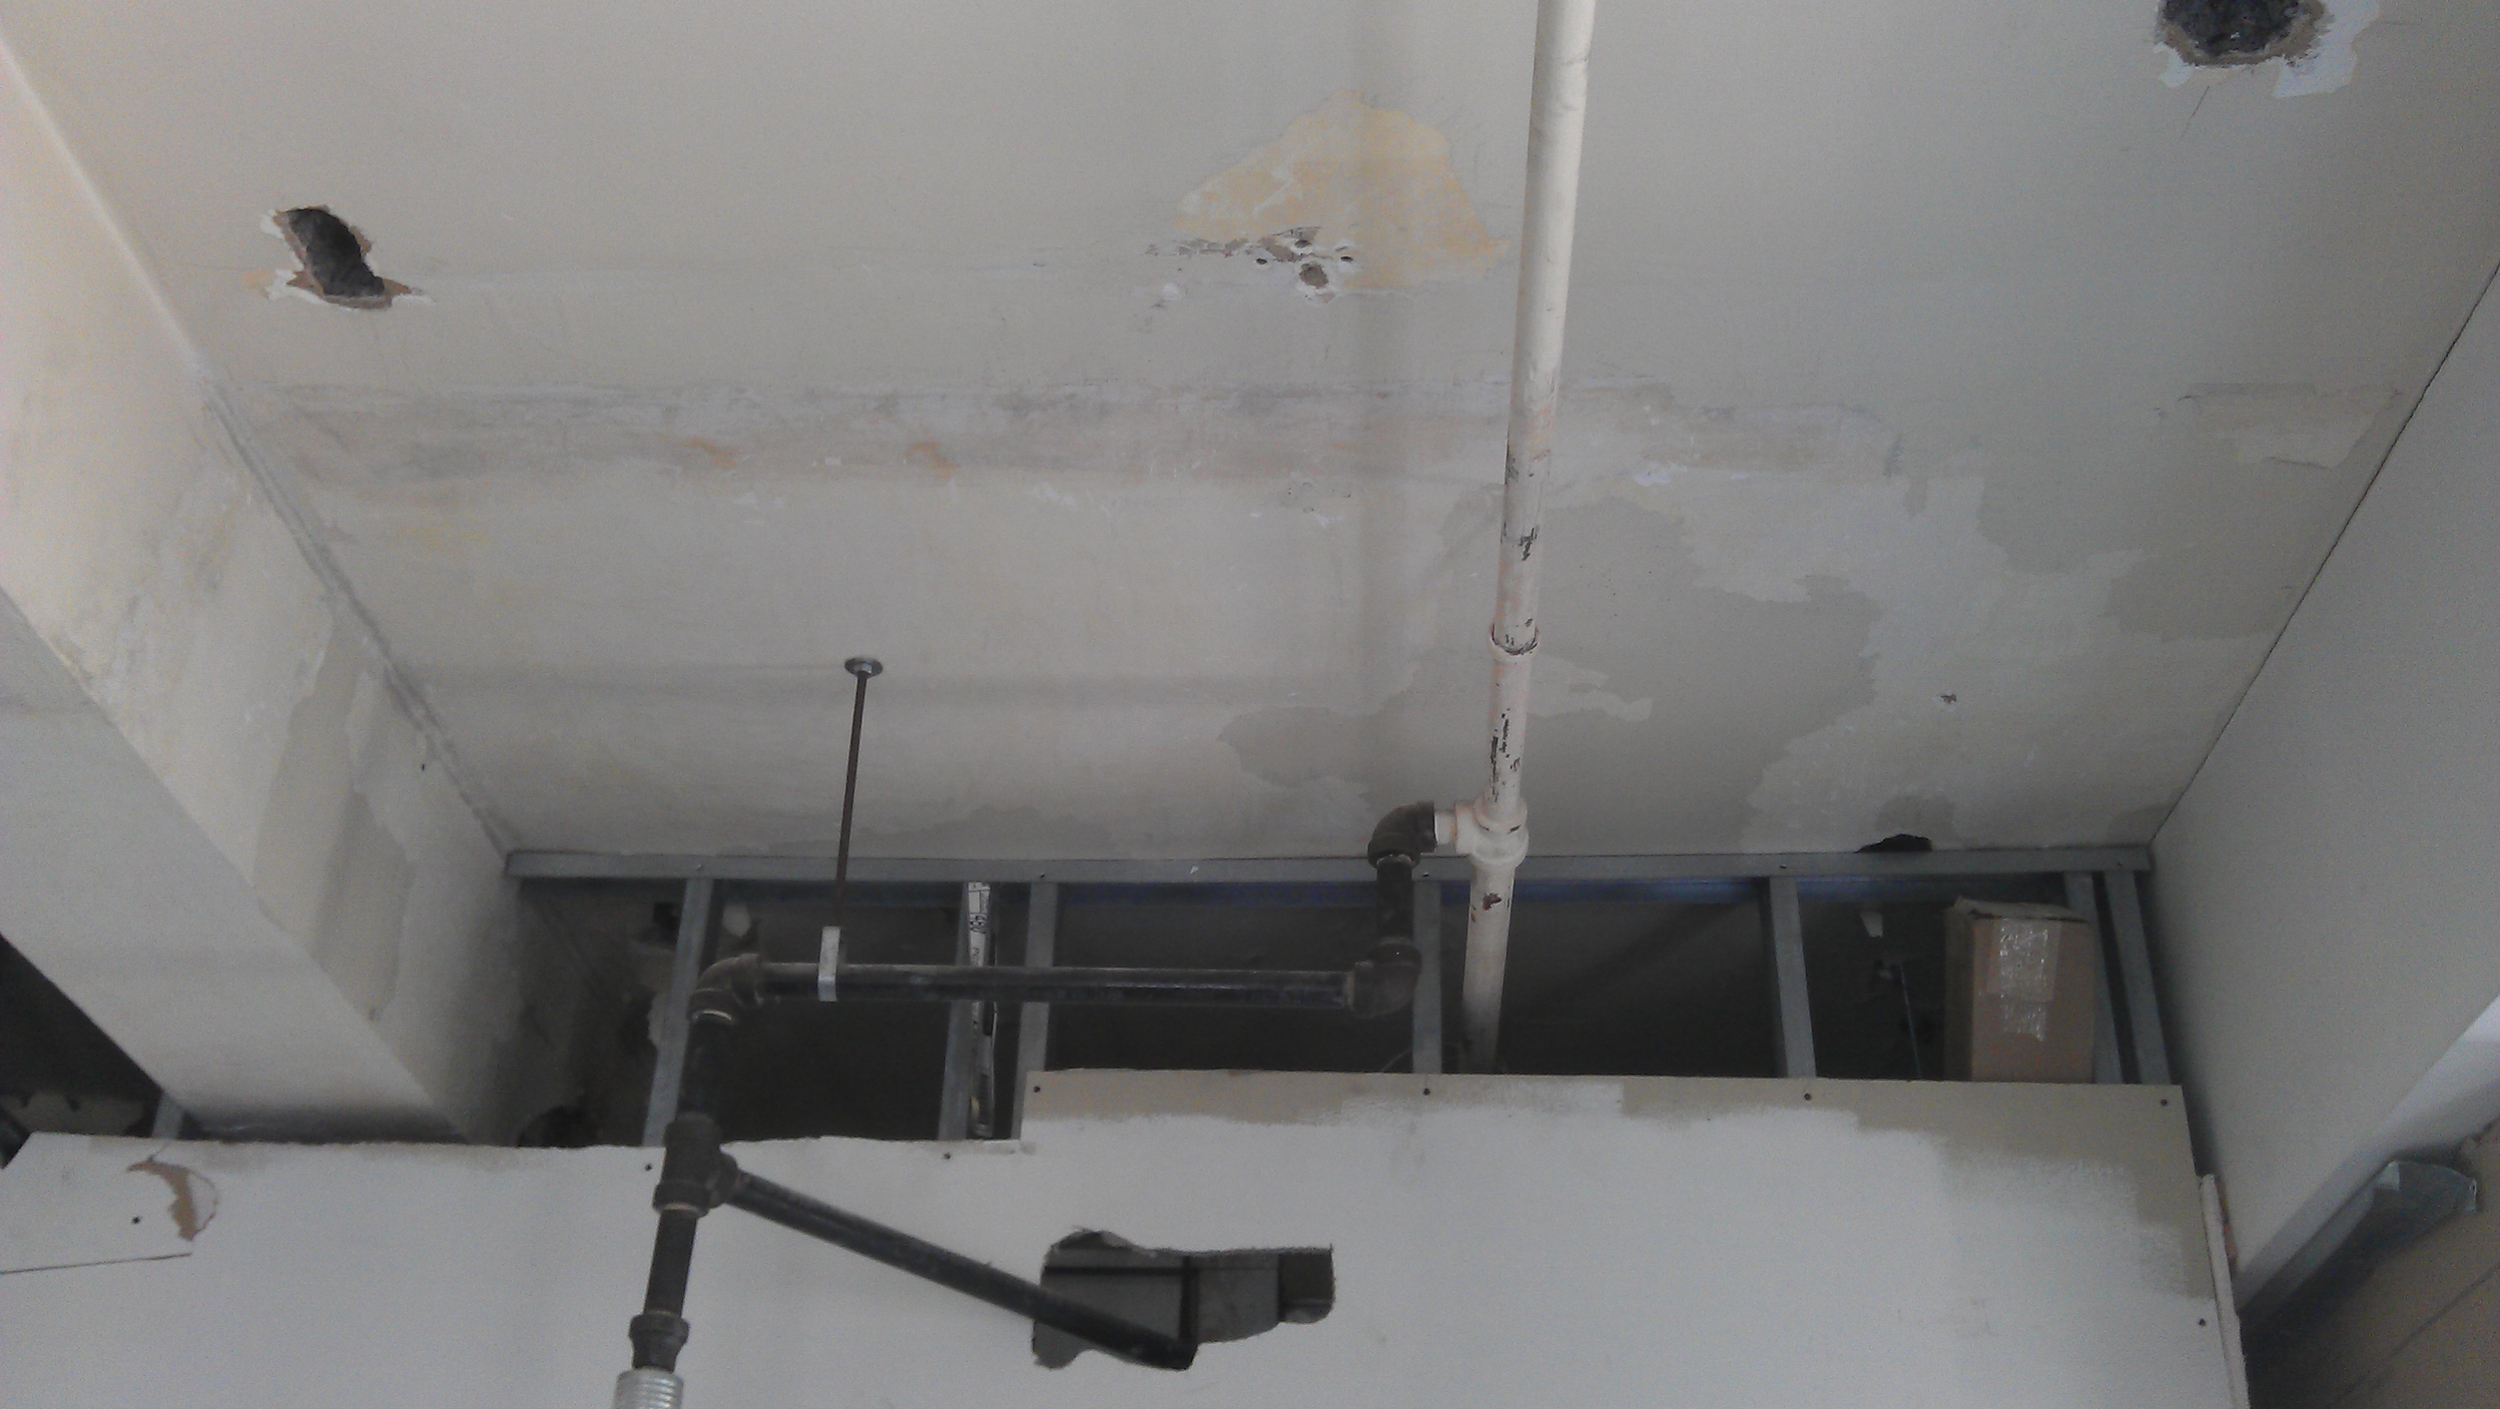
“...but what no one knew were the horrible conditions which the drop ceiling panels concealed. Removing these panels opened up a whole new can of worms...
Exposed pipes, loose ventilation, duct-work, flaking and chipping paint, snaking electrical wiring, broken concrete beams, etc., etc. were all now on full display!”


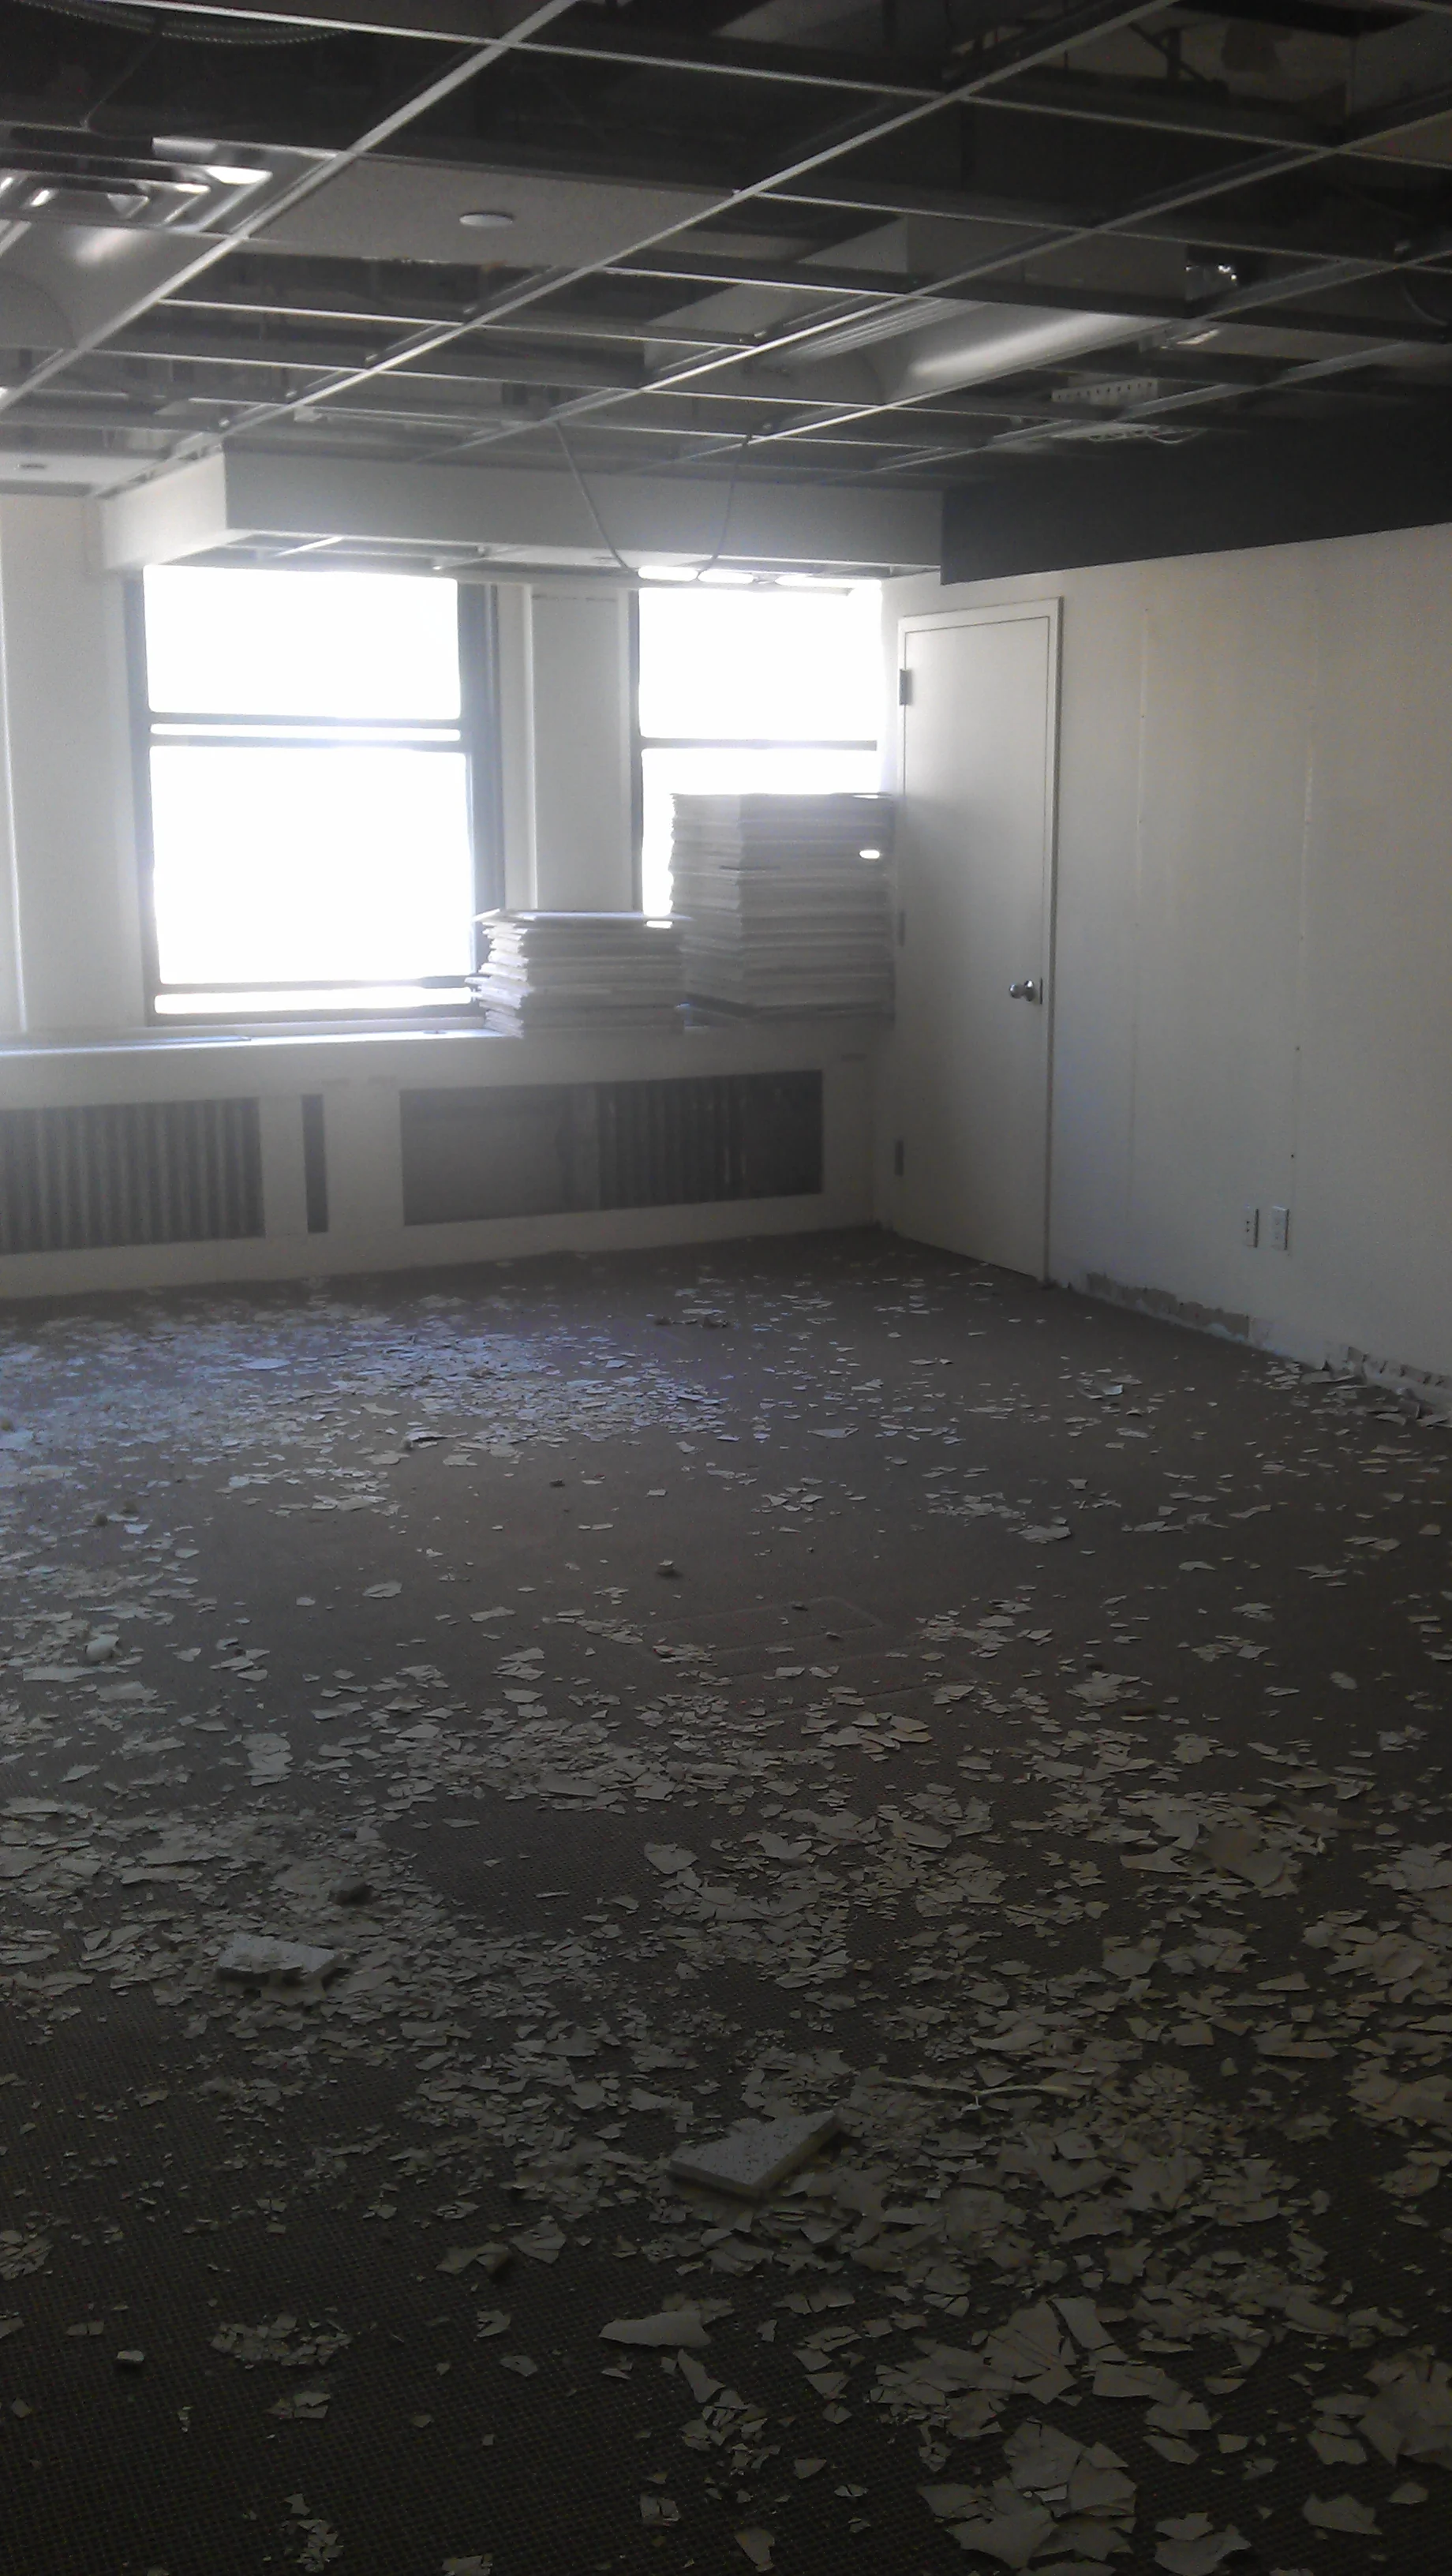
“The cleanup had to begin —but please keep in mind that there were no teams of people working on this space together. This project was started as just a one man job due to the situation at the time. AND work had to be done at night -as demolition cannot happen during the day due to there being offices all around the space.
I therefore began first and foremost by removing the skeletal structure of the drop ceiling. This filled up industrial debris bags rather quickly!”

“Once the ceiling structure was completely removed, the process of clearing all the chipping paint flakes began. Nearly every square foot of the concrete ceiling was scraped by hand!”

“April ended with the ceiling scraped, the electrical wires and lights removed, and some of the ventilation ducts taken down.”

May, 2014
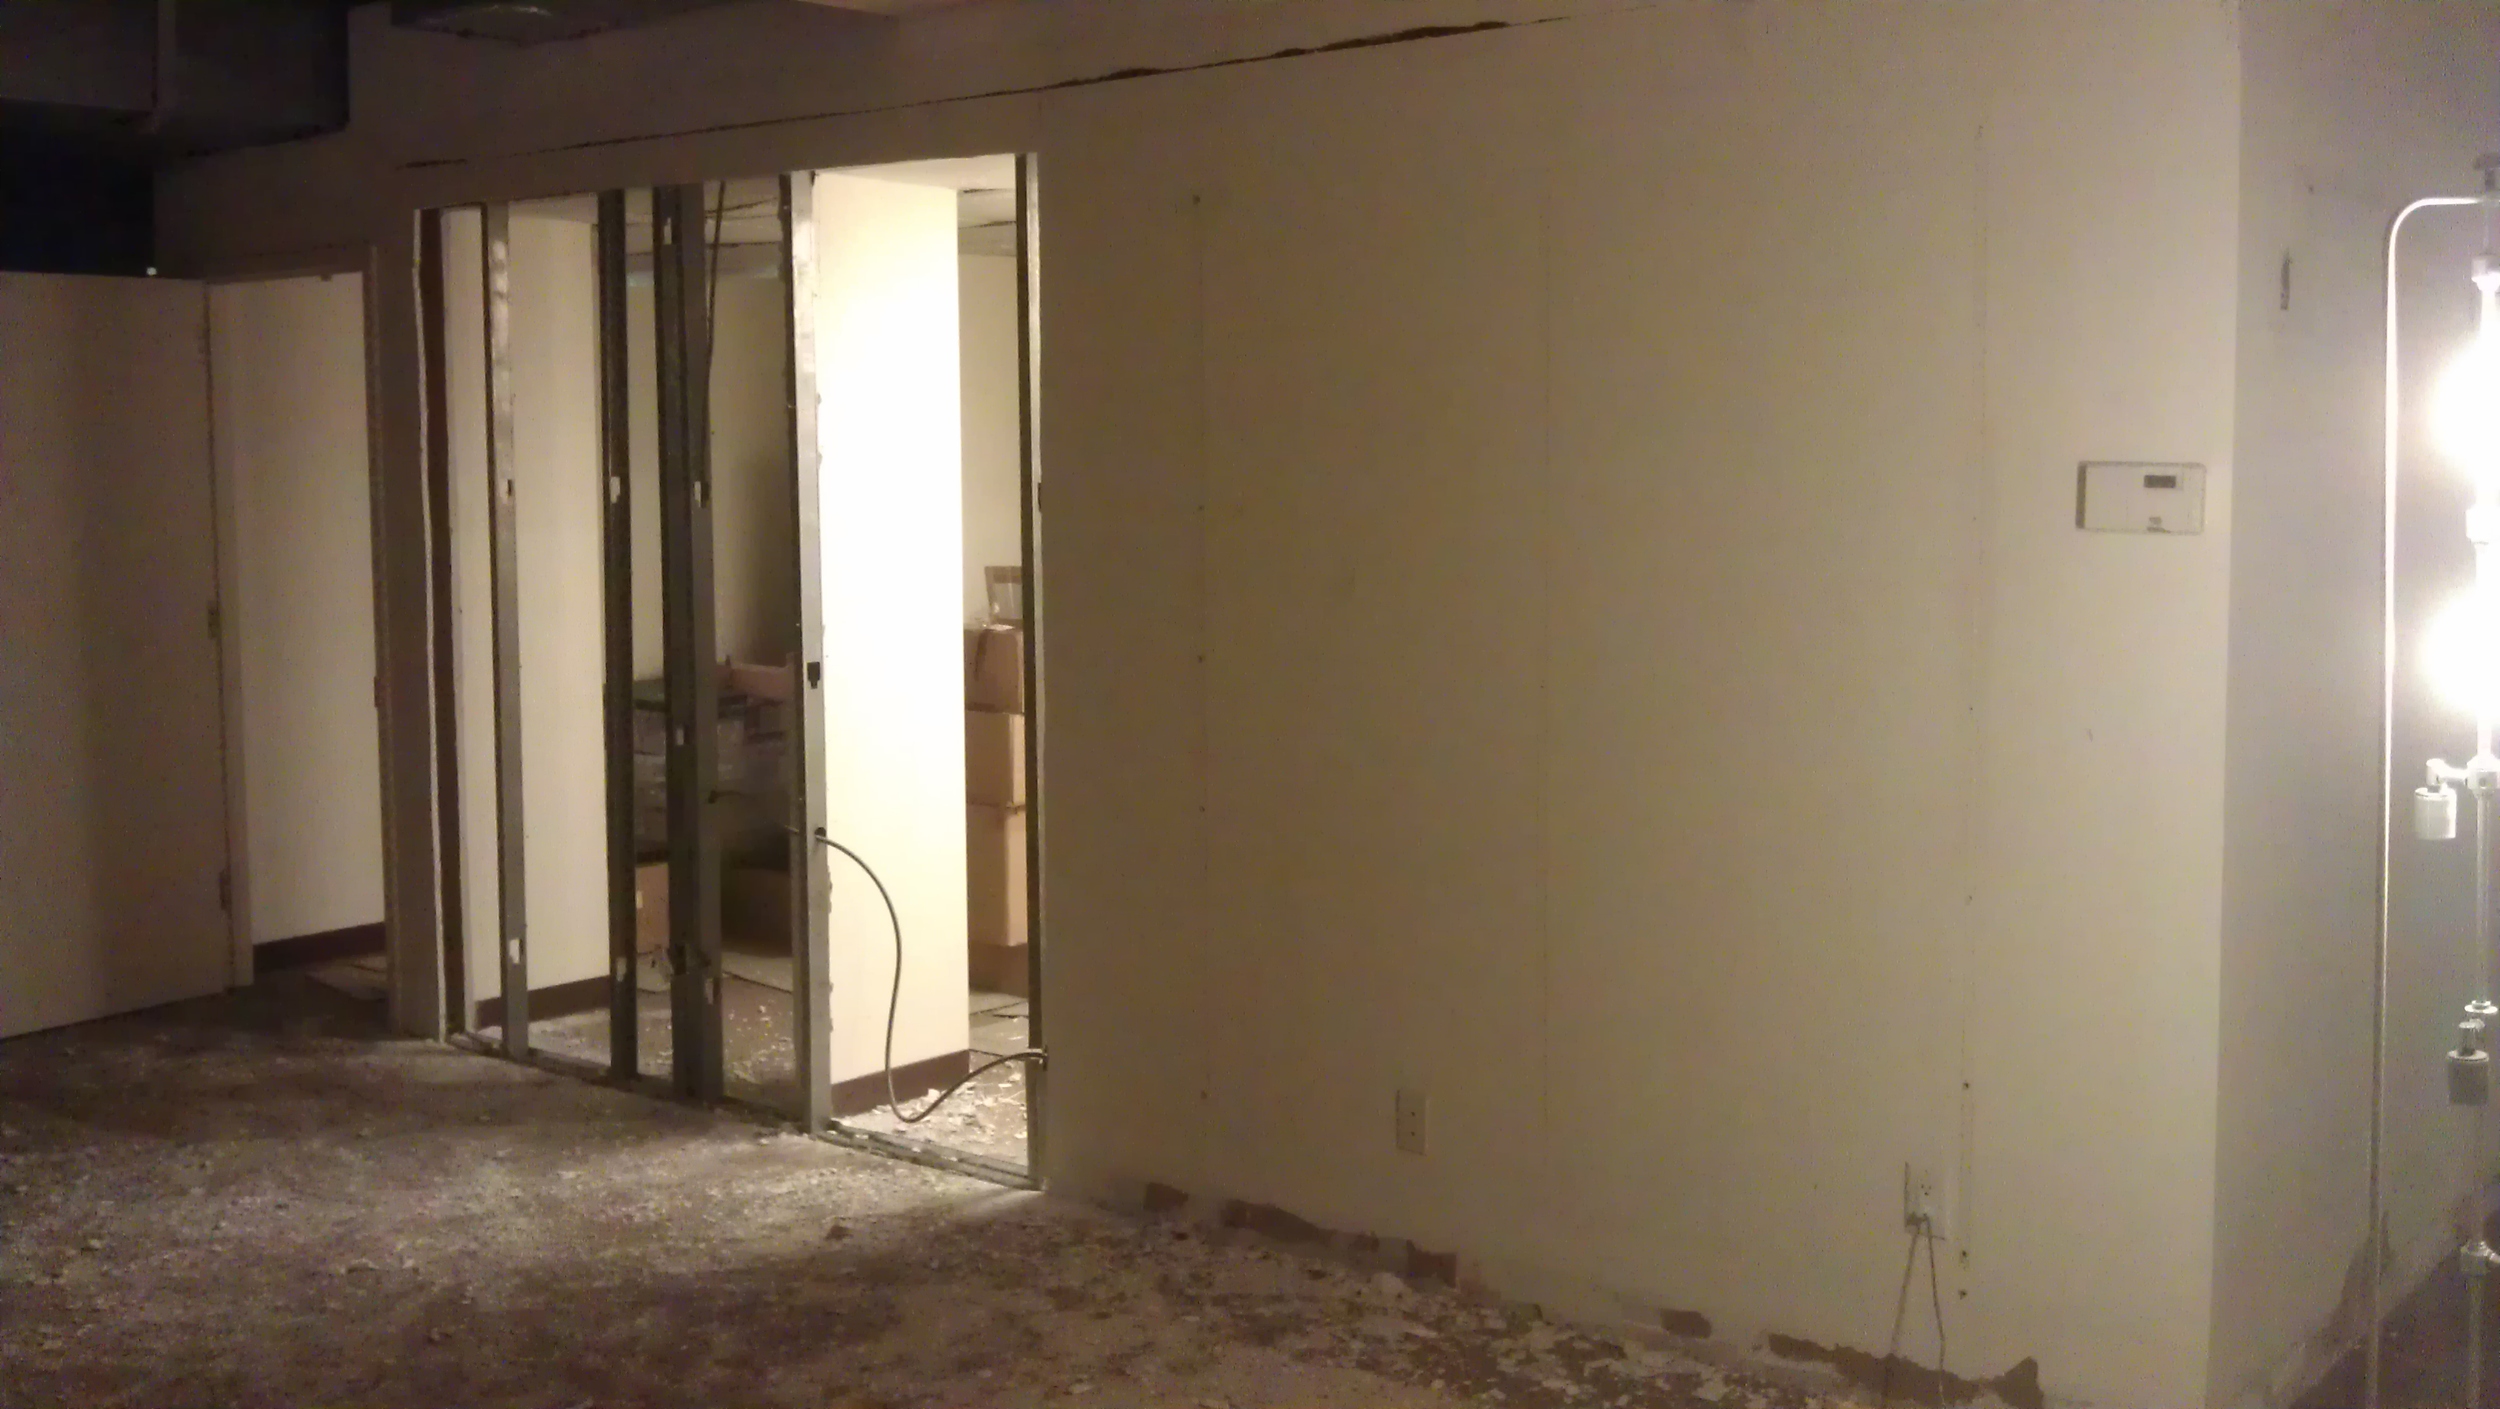
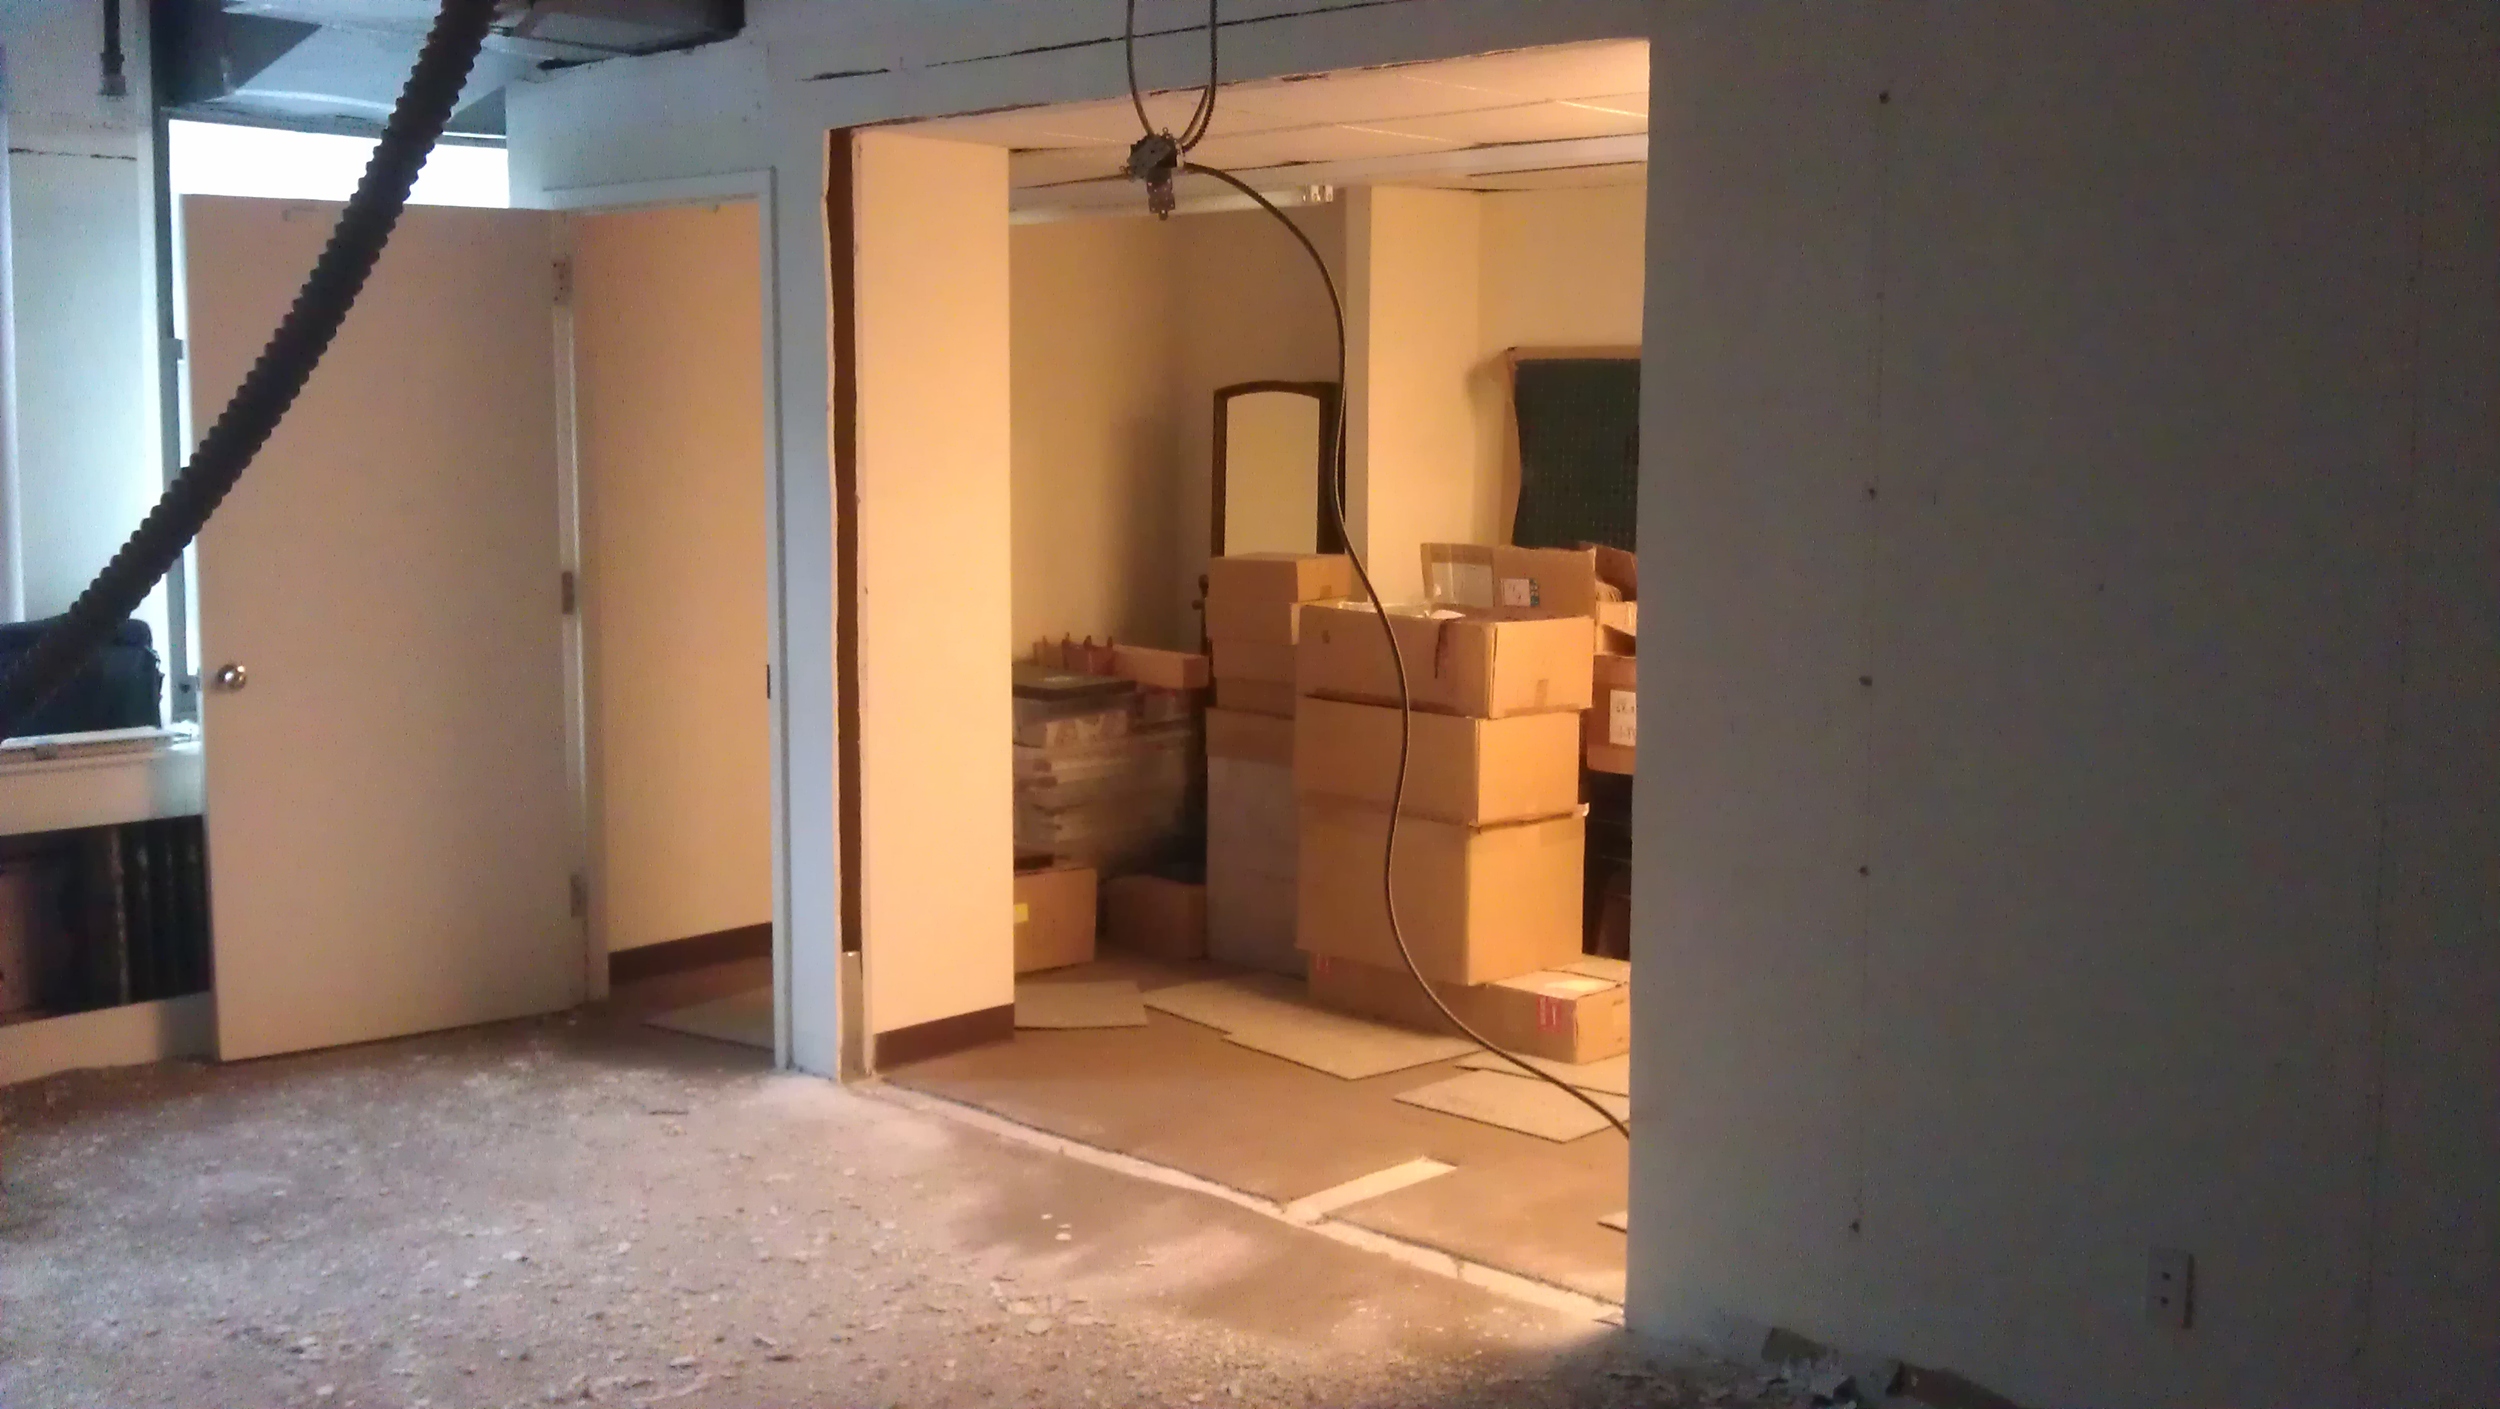
“May began with non load-bearing drywalls coming down...”


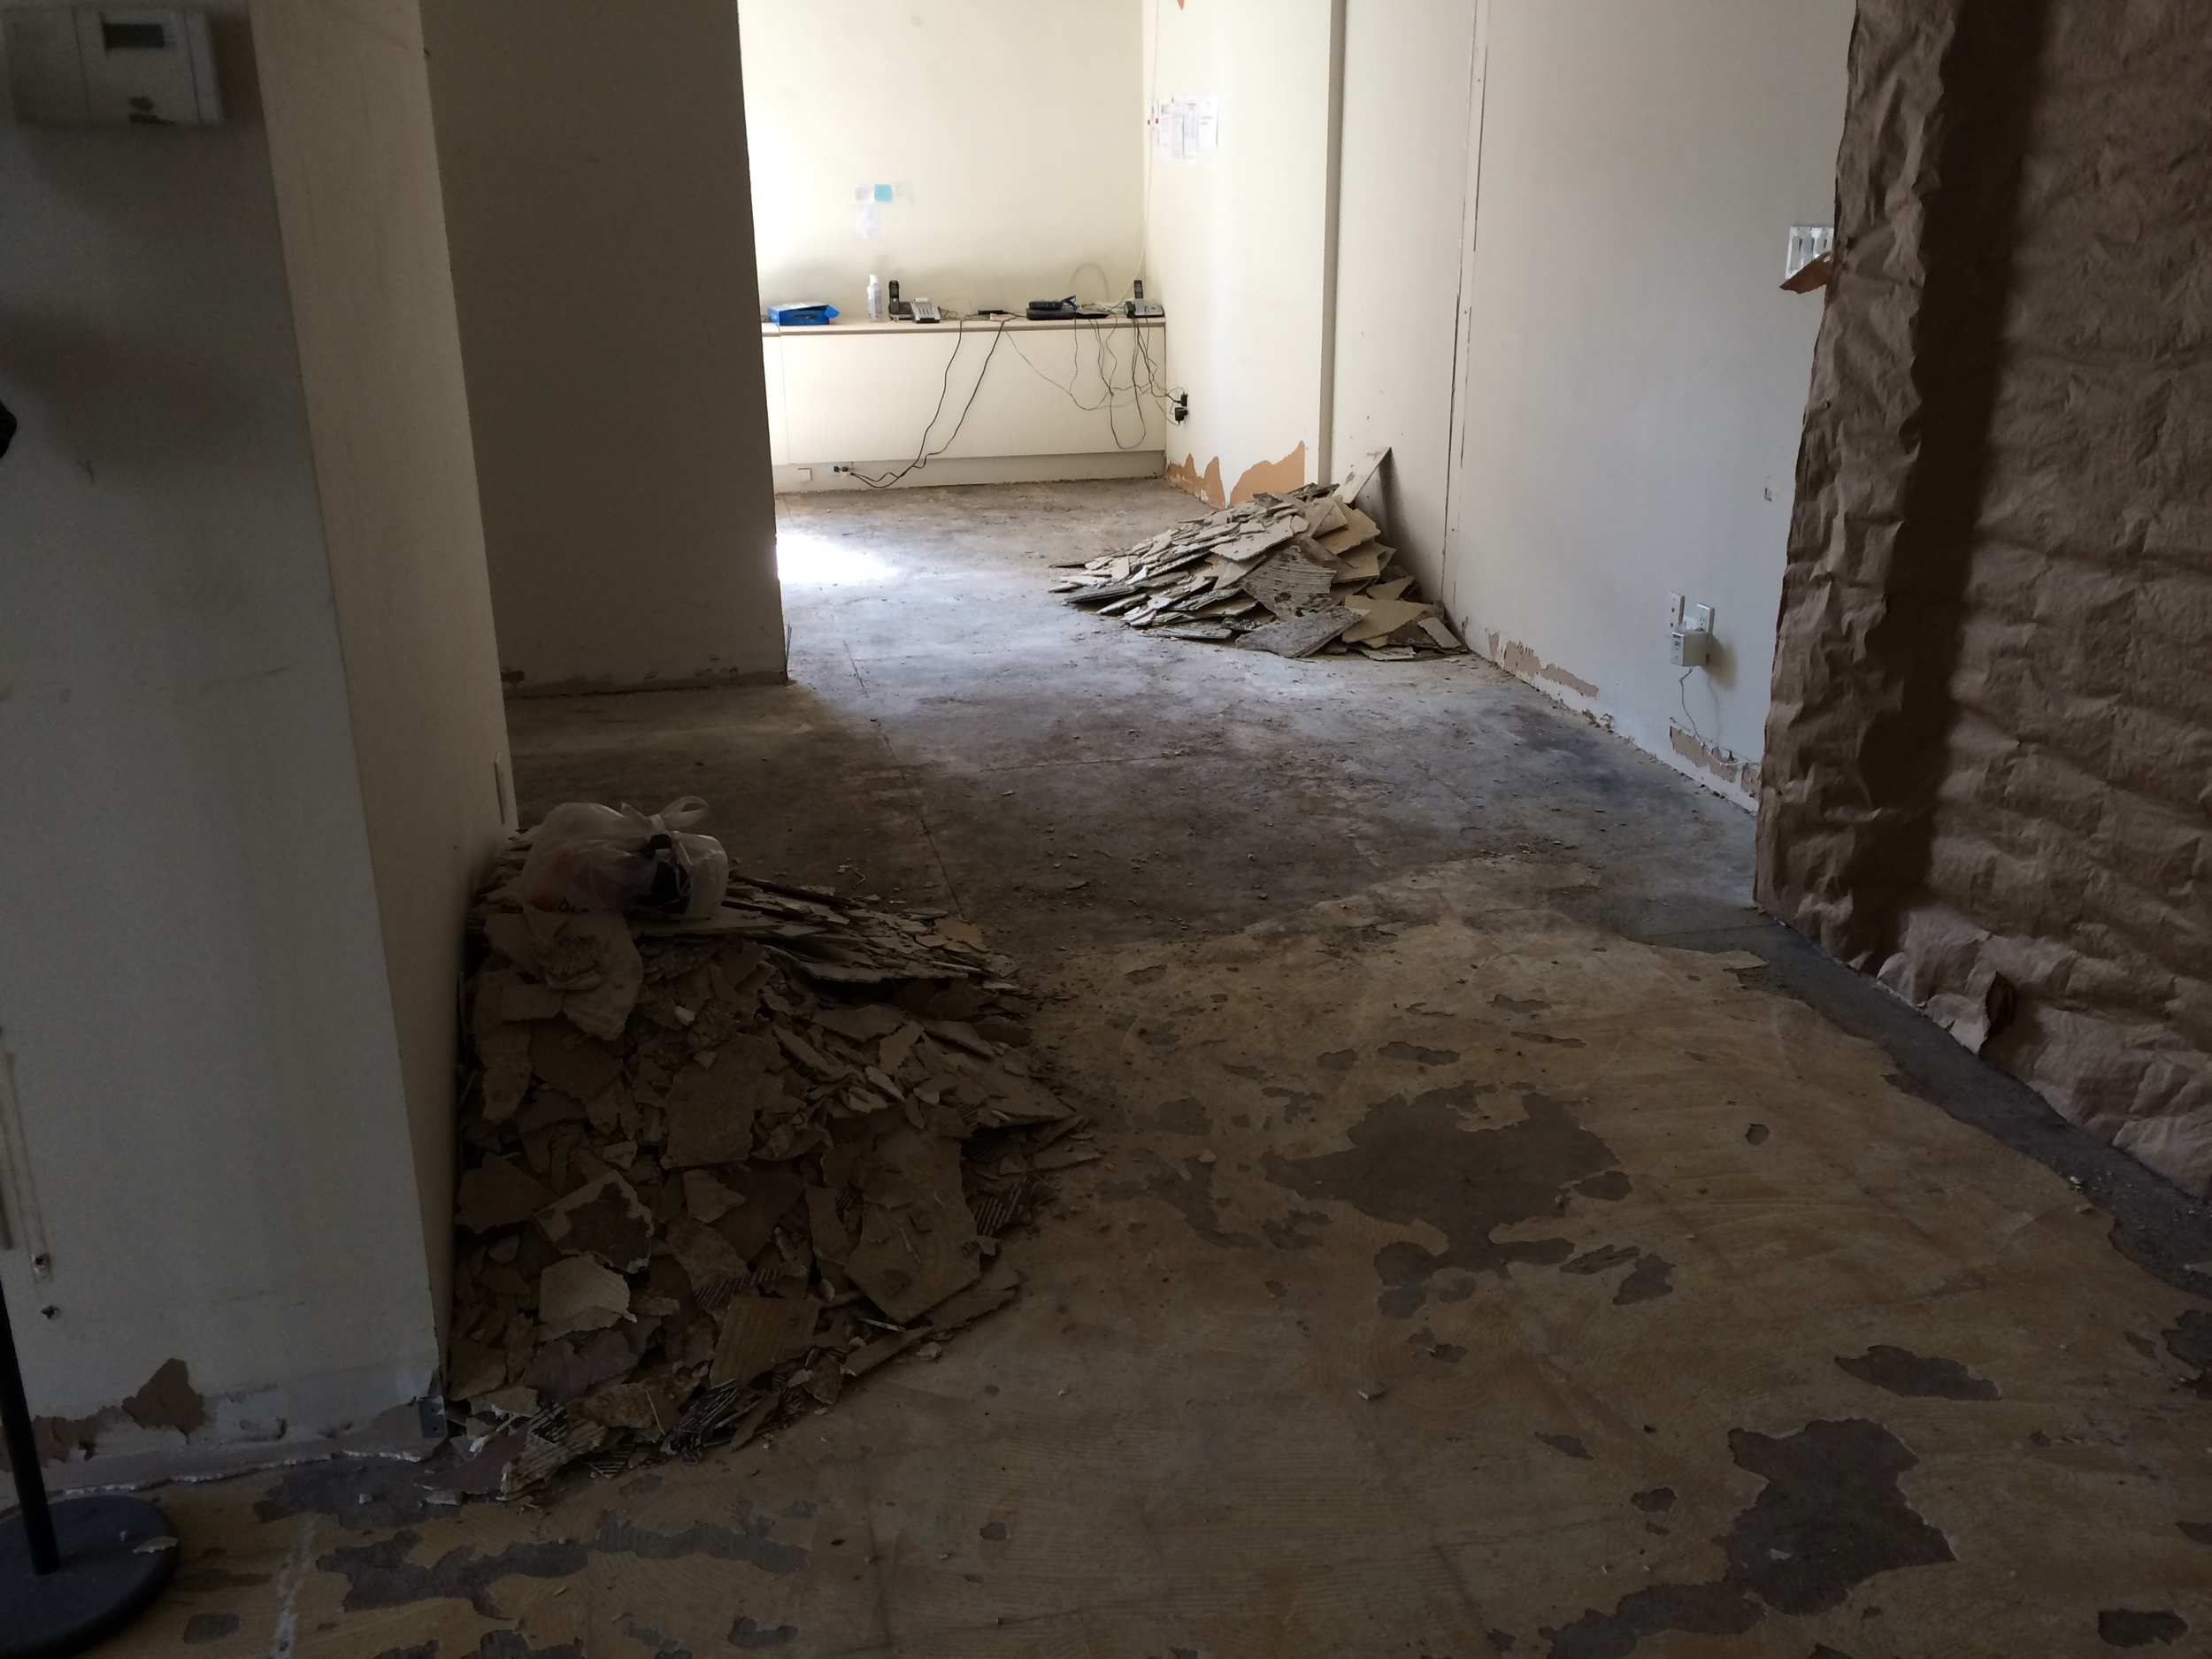
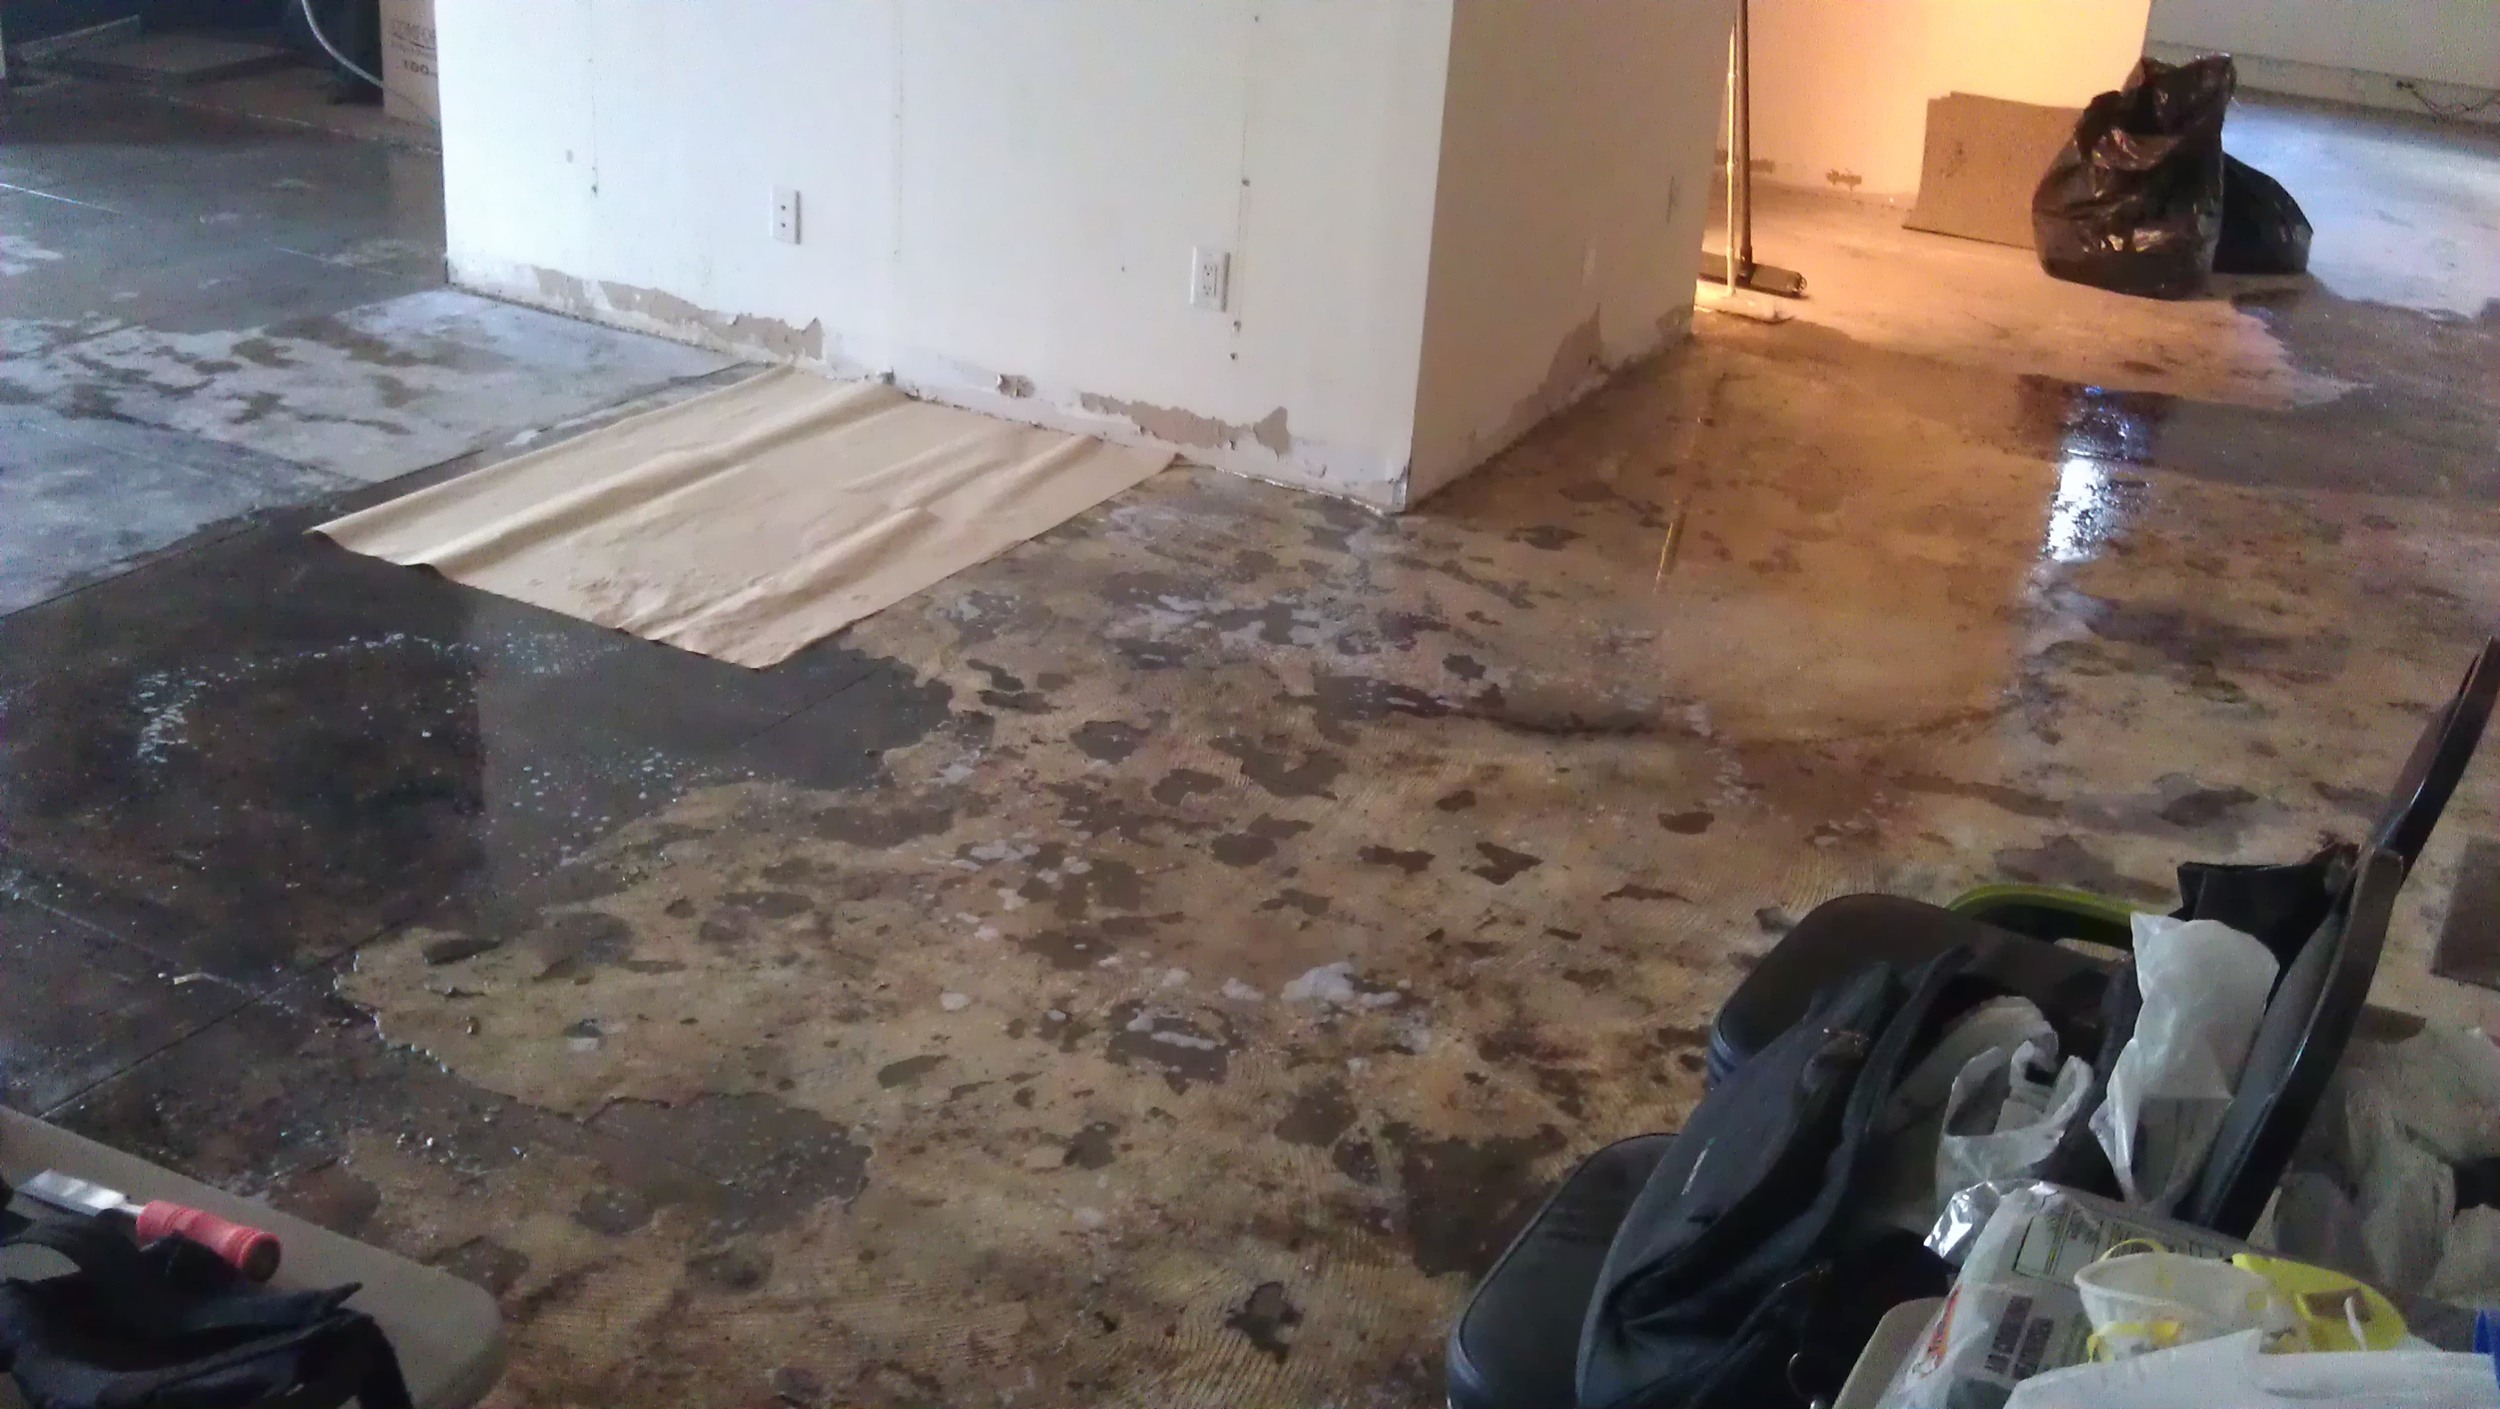
“Next came the removal of the industrial carpeting. (Here, just as with the ceiling, none could foresee the problems which lay underneath).
Under the carpet was a layer of padding, under that were 2 layers of tiles, and the bottom layer of tile was glued onto the bare concrete floor. Removing everything, including the glue took me well into the Summer...”


“... so I rented a tile stripper for a couple of nights during the removal process.”


“Once everything was cleared away there were still issues with the ceiling as electrical wires continued to dangle, vent ducts still had to be removed, telecommunication cables had to be contained, etc. But before I could start on any of that there was a much more pressing problem...”
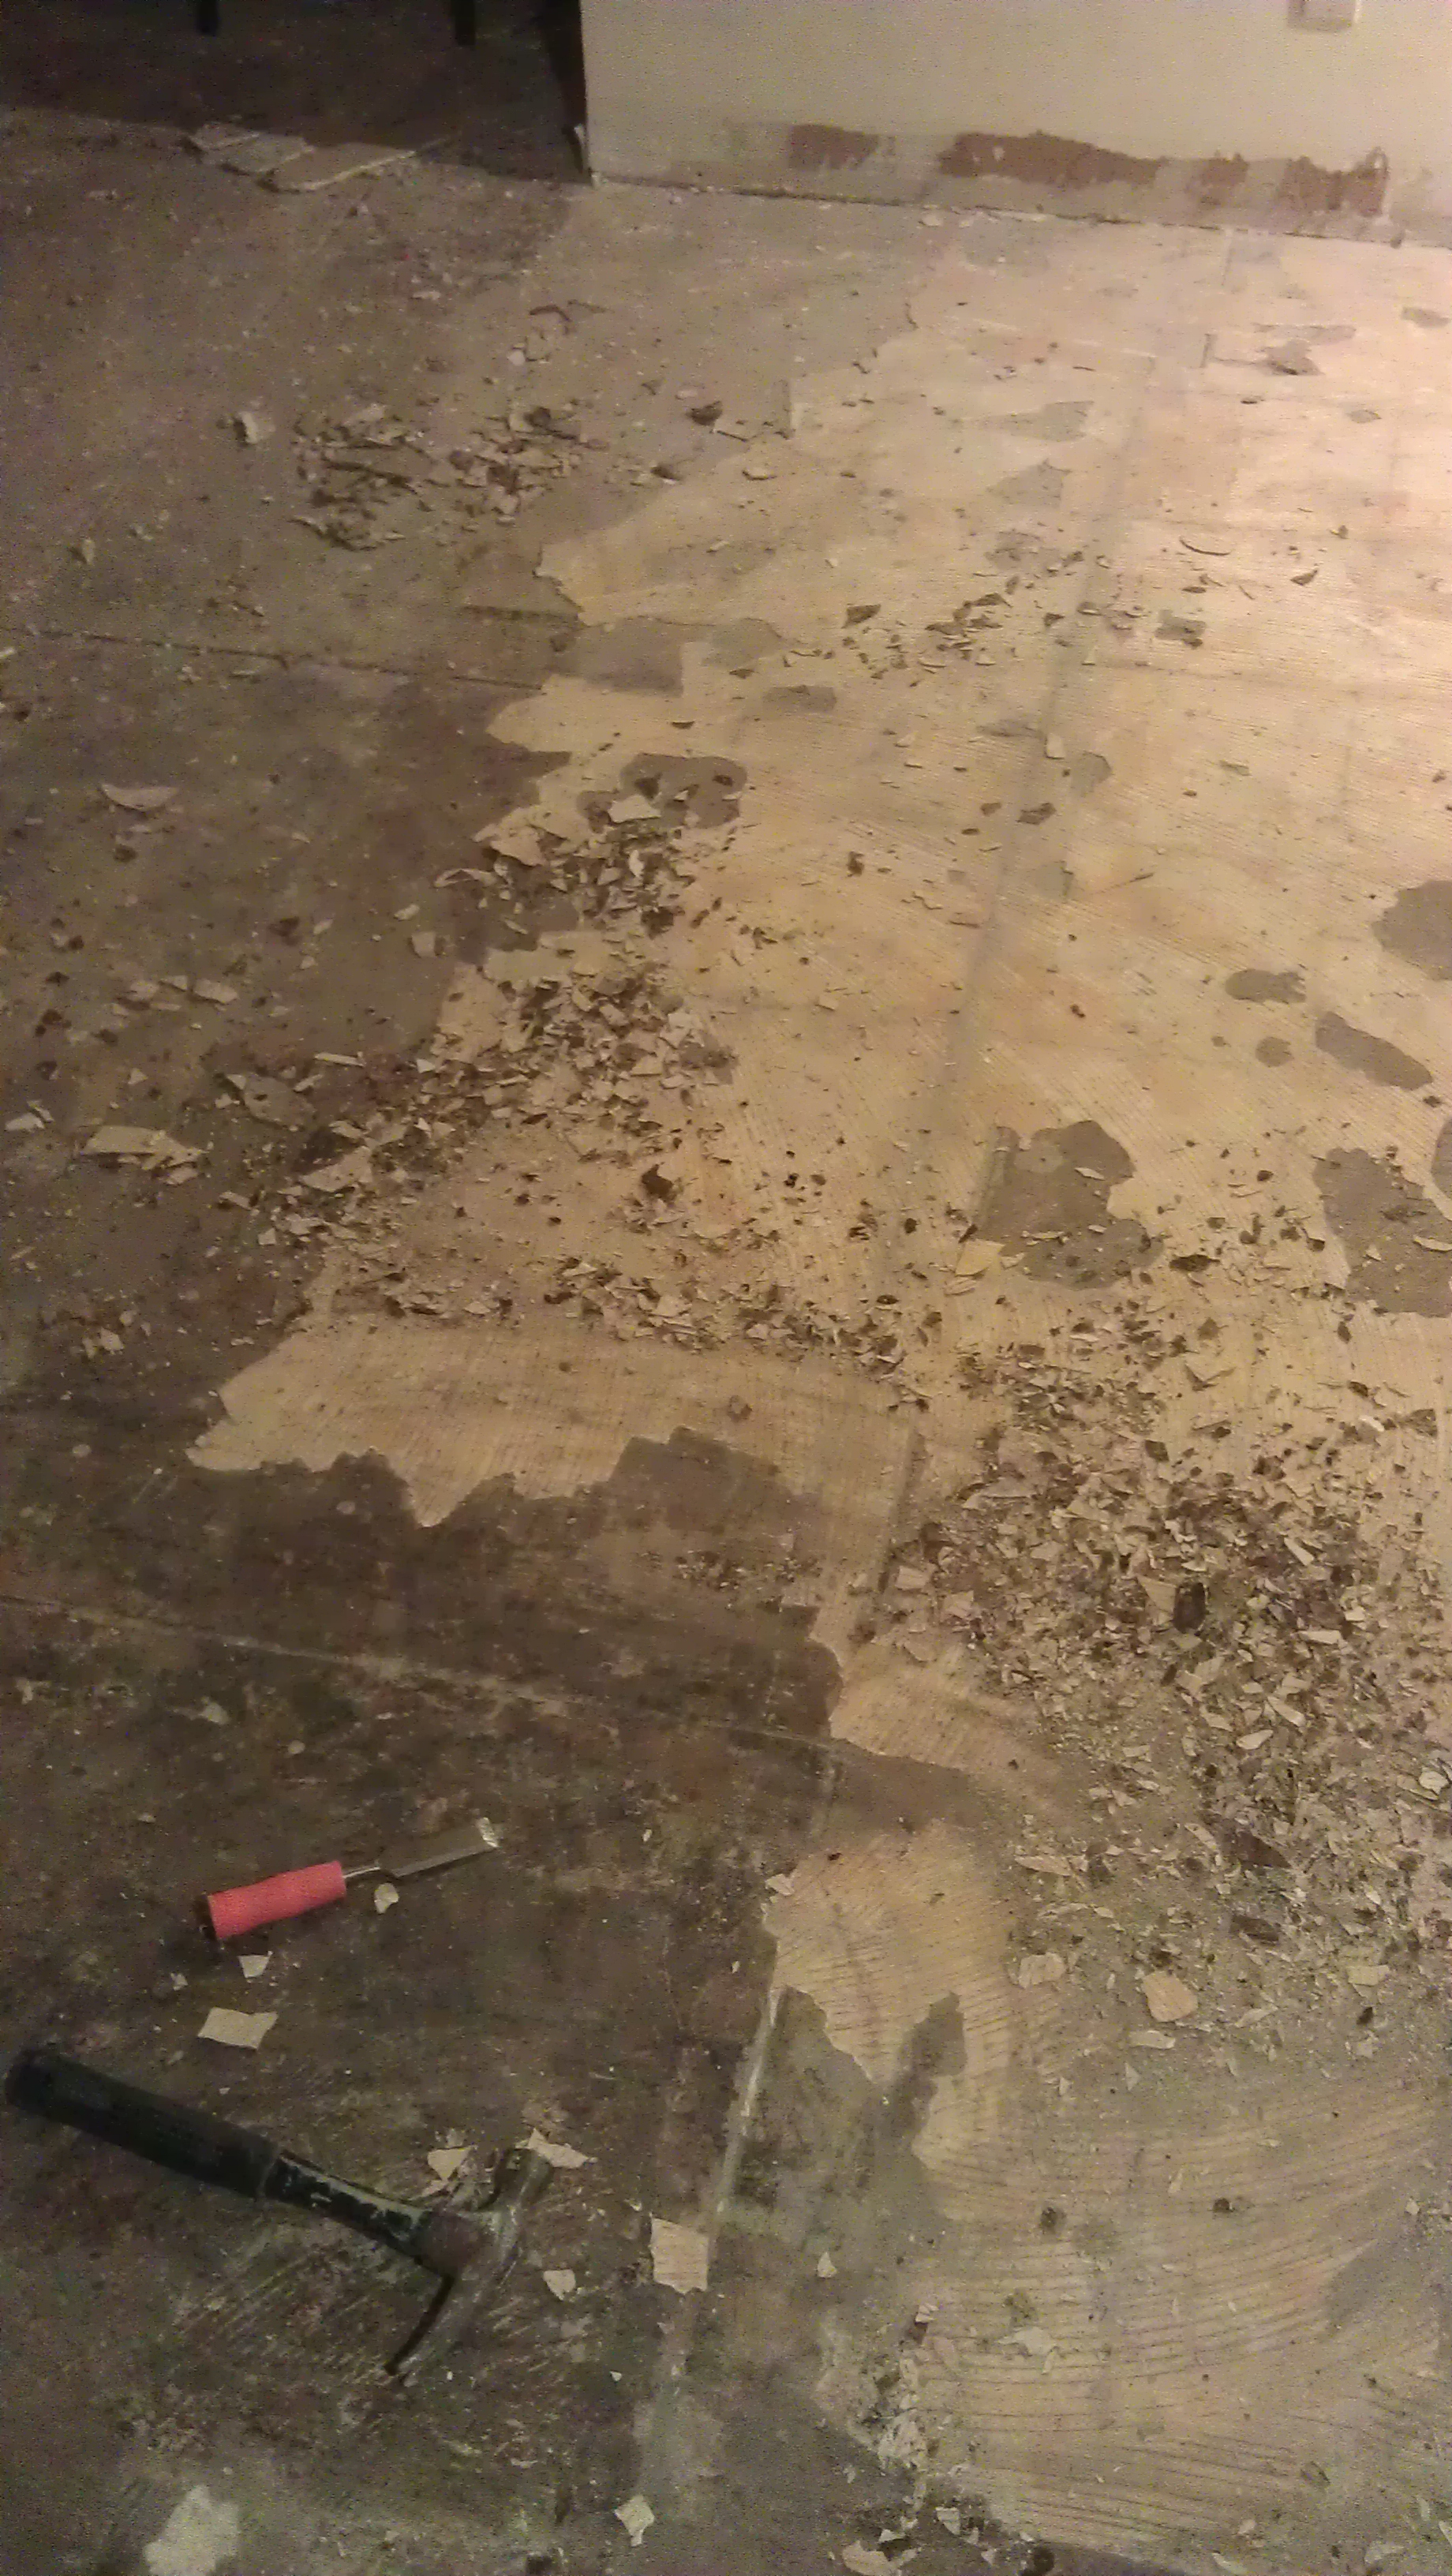
“... the glue from the bottom of the tiles remained on the concrete floor. I tried a number of solutions to have it removed, but in the end the only thing that worked was applying a soybean liquid mixture which only softened the glue enough so that it could then be scraped off.
I consider this to have been the hardest part of the entire project, as it was the most time consuming and physically exhausting. Over 420 sq ft of floor space had to be scraped and chiseled off by hand this way.”


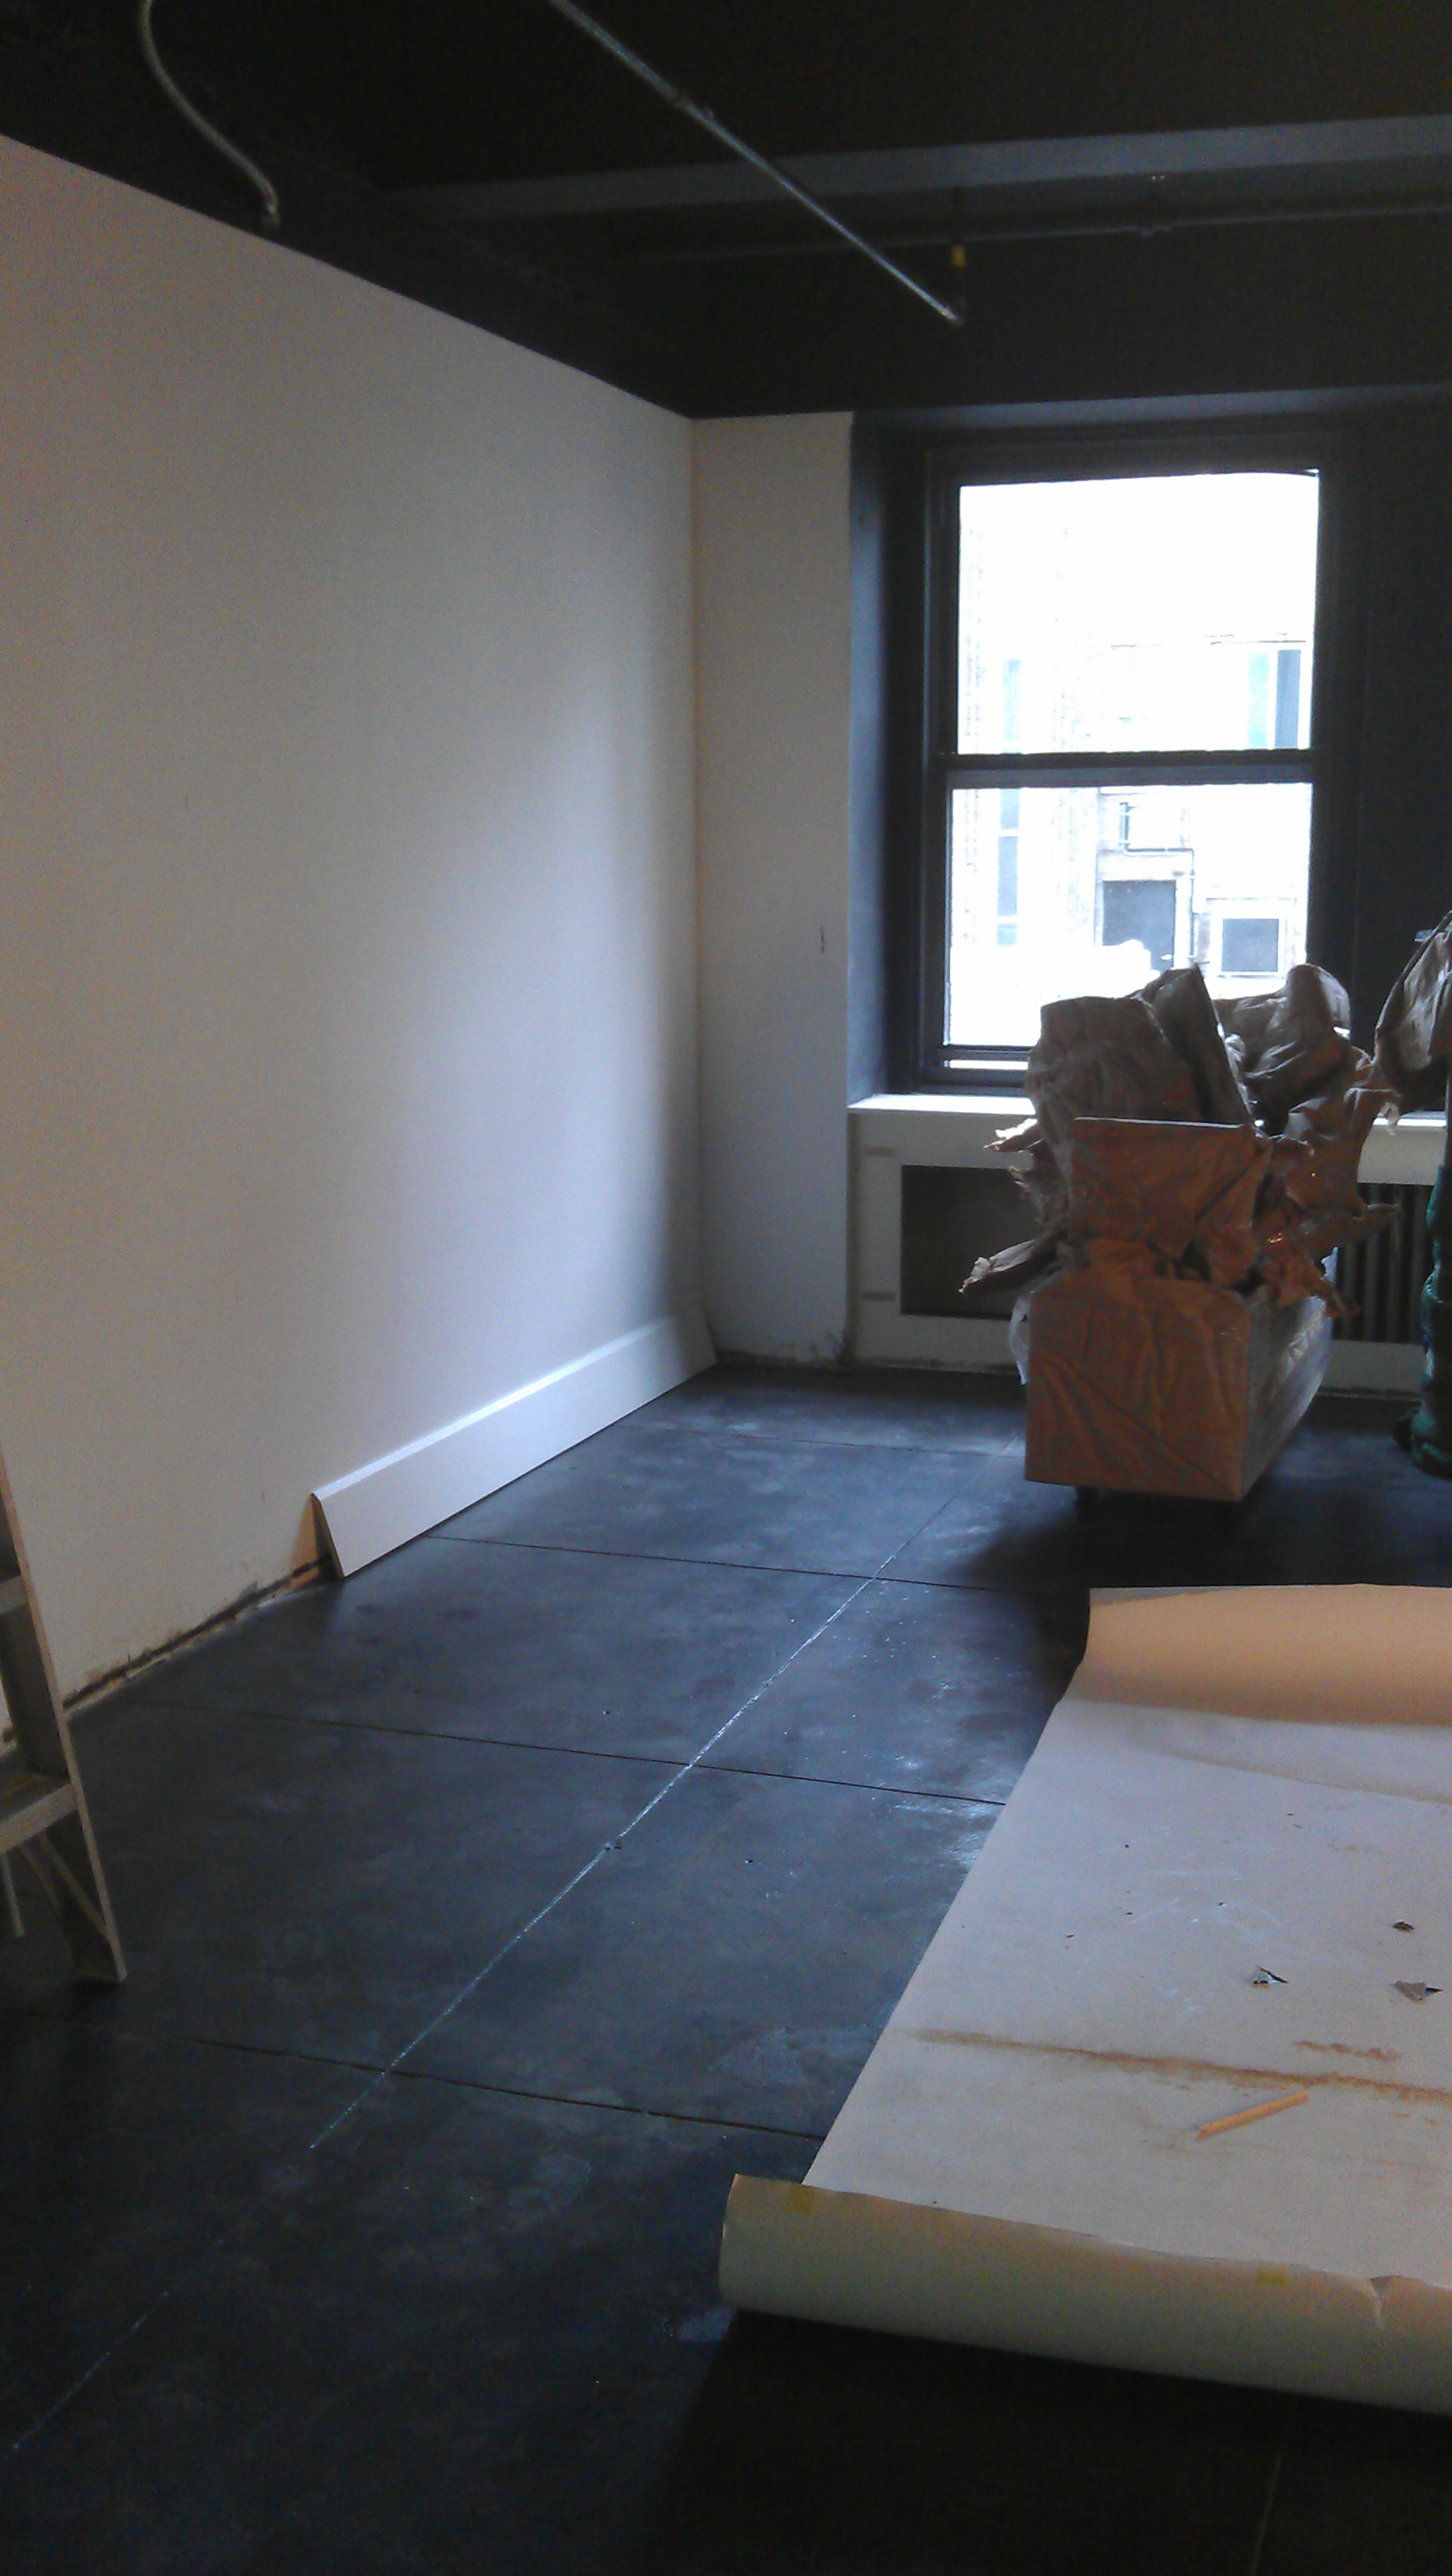
“Once finally done, the floors were thoroughly washed a few times to remove the oily film left behind from the soybean mixture.”

“Now that the floor was done, clean and dry, I was asked to try applying a concrete stain color for effect, but the ‘blue hue’ wasn’t fitting. I removed it just as quickly as I applied it! Good thing I only did a test section.”

July, 2014
“By this point it was already July, and the focus was shifted right back to the ceiling. The sprinkler systems were modified and raised by the building’s plumbing team. I had no hand in that!
In order to hide the beams and pipes from direct view it was decided to paint everything entirely black, this included the upper most portion of all surrounding walls.”

“The cracks in the concrete beams were usually left as I found them in order to give more of a raw look to the space. One major issue was in the far, back corner of the ceiling. That area was once an opening which contained a spiral stairway leading from this floor to the upstairs one. Since that prior tenant moved out the ceiling was patched up, but the exposed steel beams were never covered over with concrete like the rest of the ceiling. I therefore had to find a way of covering that over so it would blend in with the rest of the space.”


“I used a number of solutions, including building a wooden frame underneath and then covering it with corrugated boards to conceal the exposed beams. Then it was all plastered over and painted.
Once I finished with it there was no semblance of what was once there.”


August, 2014
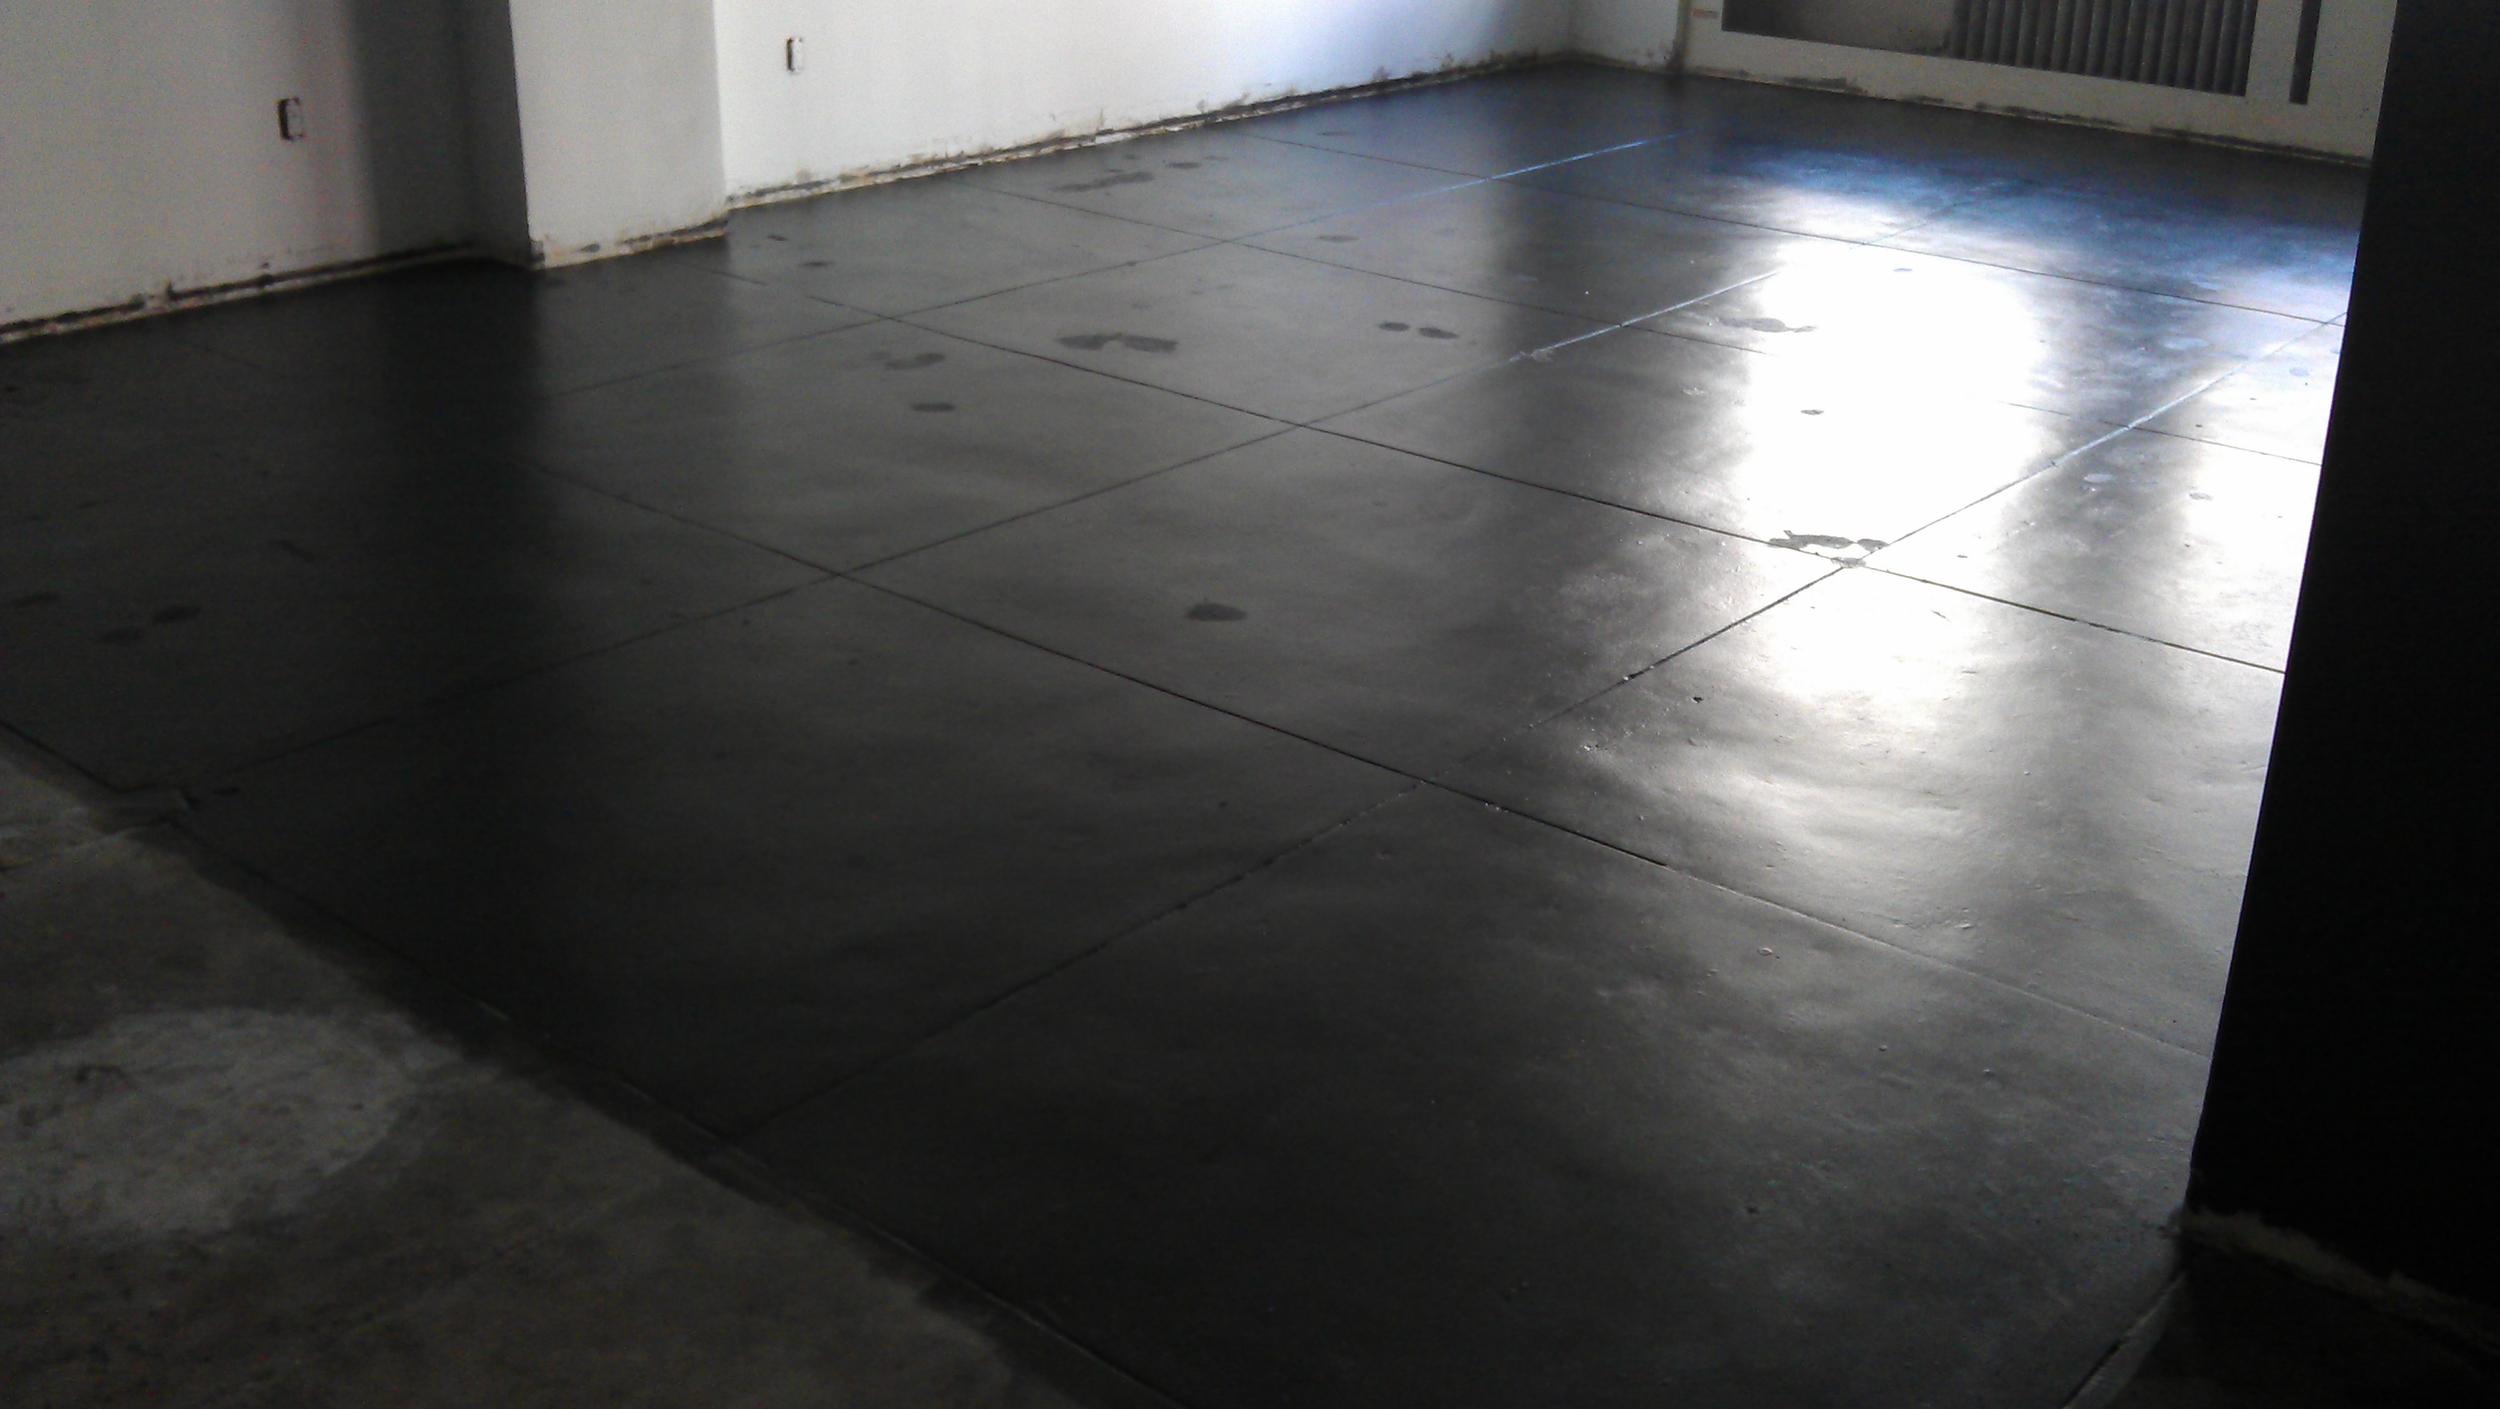
“By this point I was well into August and since the blue concrete stain color hadn’t worked out the gallery owners decided to go for a black stain. At that point I really liked how the bare concrete floor looked and asked that we leave it as such, but their idea was that between the black ceiling and a black floor the visitor’s attention would be directly drawn to the furniture pieces in the gallery middle.
I was eventually proven right but not until after I applied 3 coats of a black concrete stain and then 3 more coats of a low-lustre sealant which was to protect the floor.”

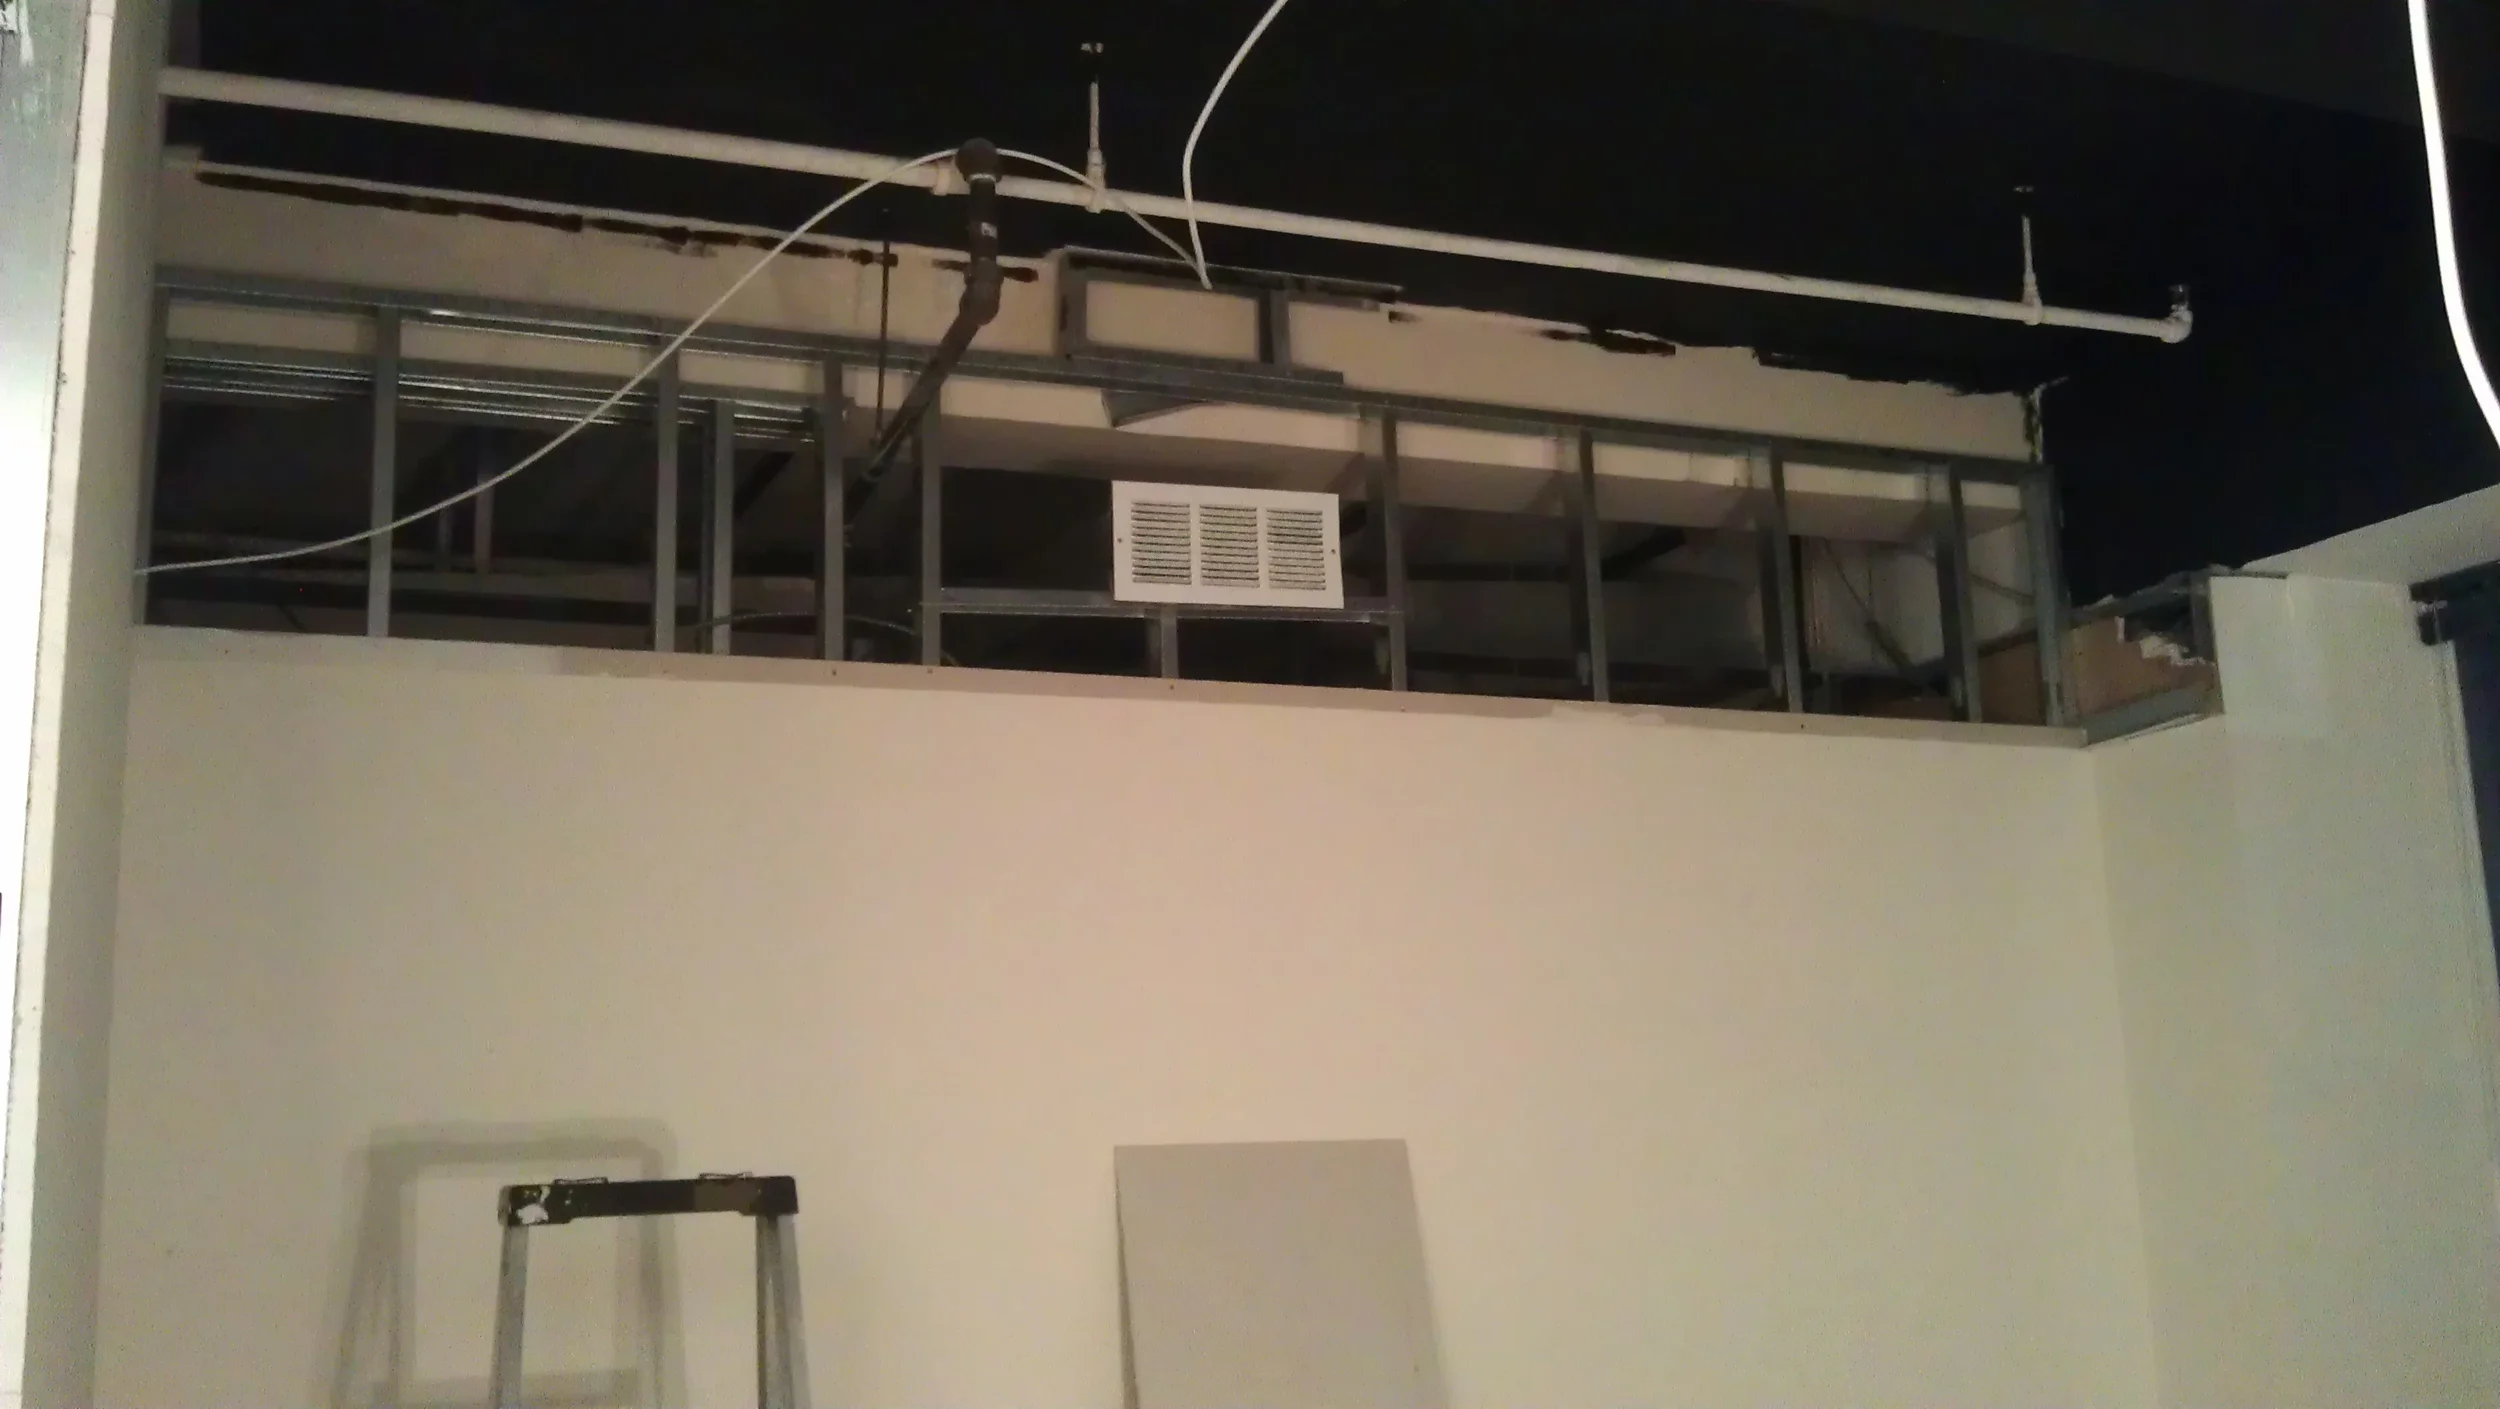
“Since the entire space consisted of a number of rooms, I planned to work on each one at a time. Once I’d reach a certain point in one location I would start on another. Here is a whole new section of the space which again had ceiling issues.
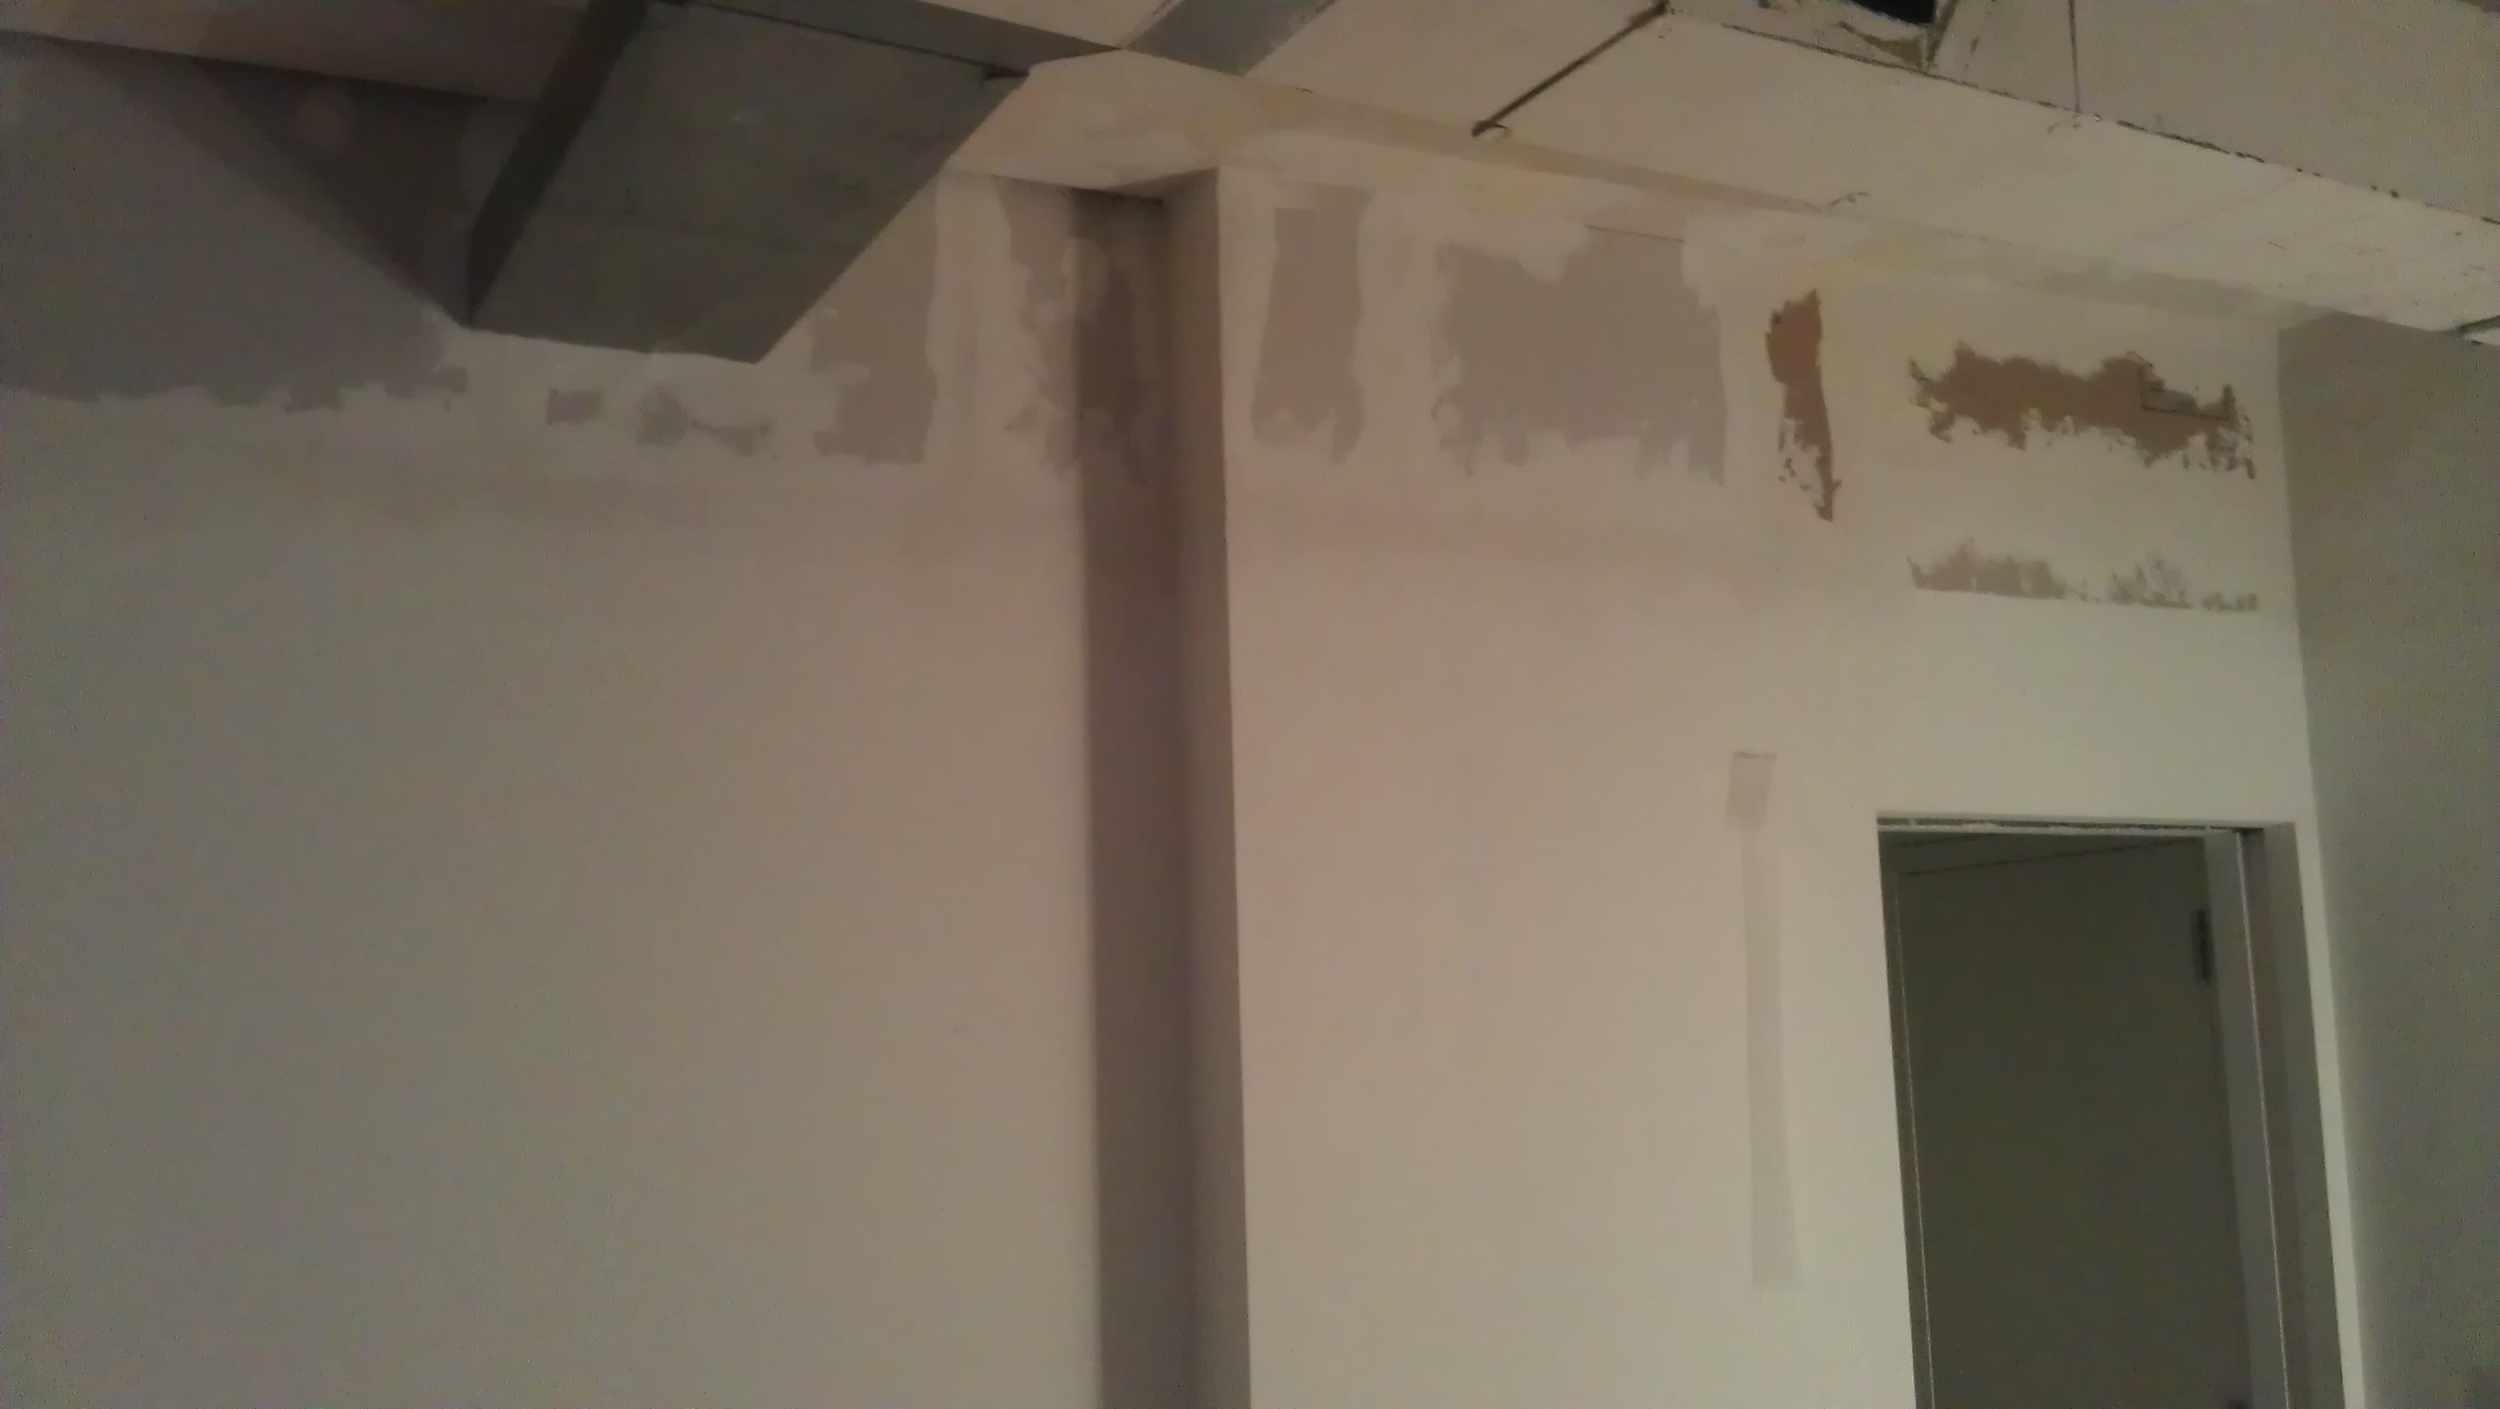
Just as before, upon removal of the drop down ceiling a number of issues were exposed including walls which were never built all the way to the top since the prior contractor saved time and money by having the panel ceiling cover up missing gaps in the upper portions of the walls.
Now it became my job to not only raise the walls to the true concrete ceiling height but also plaster and even them out in line with the rest of the walls...”

“...an exposed concrete ceiling beam, unfinished walls and a lot of electrical wires.”


“And once that section was completed I built a soffit under the ceiling and between two perpendicular walls.
The purpose of this was mostly aesthetic since it helped to hide the metal stud and thick BX cable running along that portion of the ceiling.”


“Continuing all the way around the room every wall had to be raised and drywalled to the top!”
“In order to do this I personally sourced all necessary materials and brought them to the space in order to complete construction.
All in all, one of the reasons this project took so long wasn’t just because of the sheer amount of work, but also having to deal with the logistics along the way.”

“All along the way I removed as many A/C ducts as I possibly could in order to free up ceiling space. Grills were affixed to all the openings.
We consulted two HVAC firms ahead of time and the recommendations from both was that since drop panel ceilings were removed there was no need for alll those ducts hanging from the top. The less the better as they were also less of an eye-sore.”


“...that soffit seen from the other side.
And then using a laser line to designate an even marker for the black paint along the upper portion of all walls.”


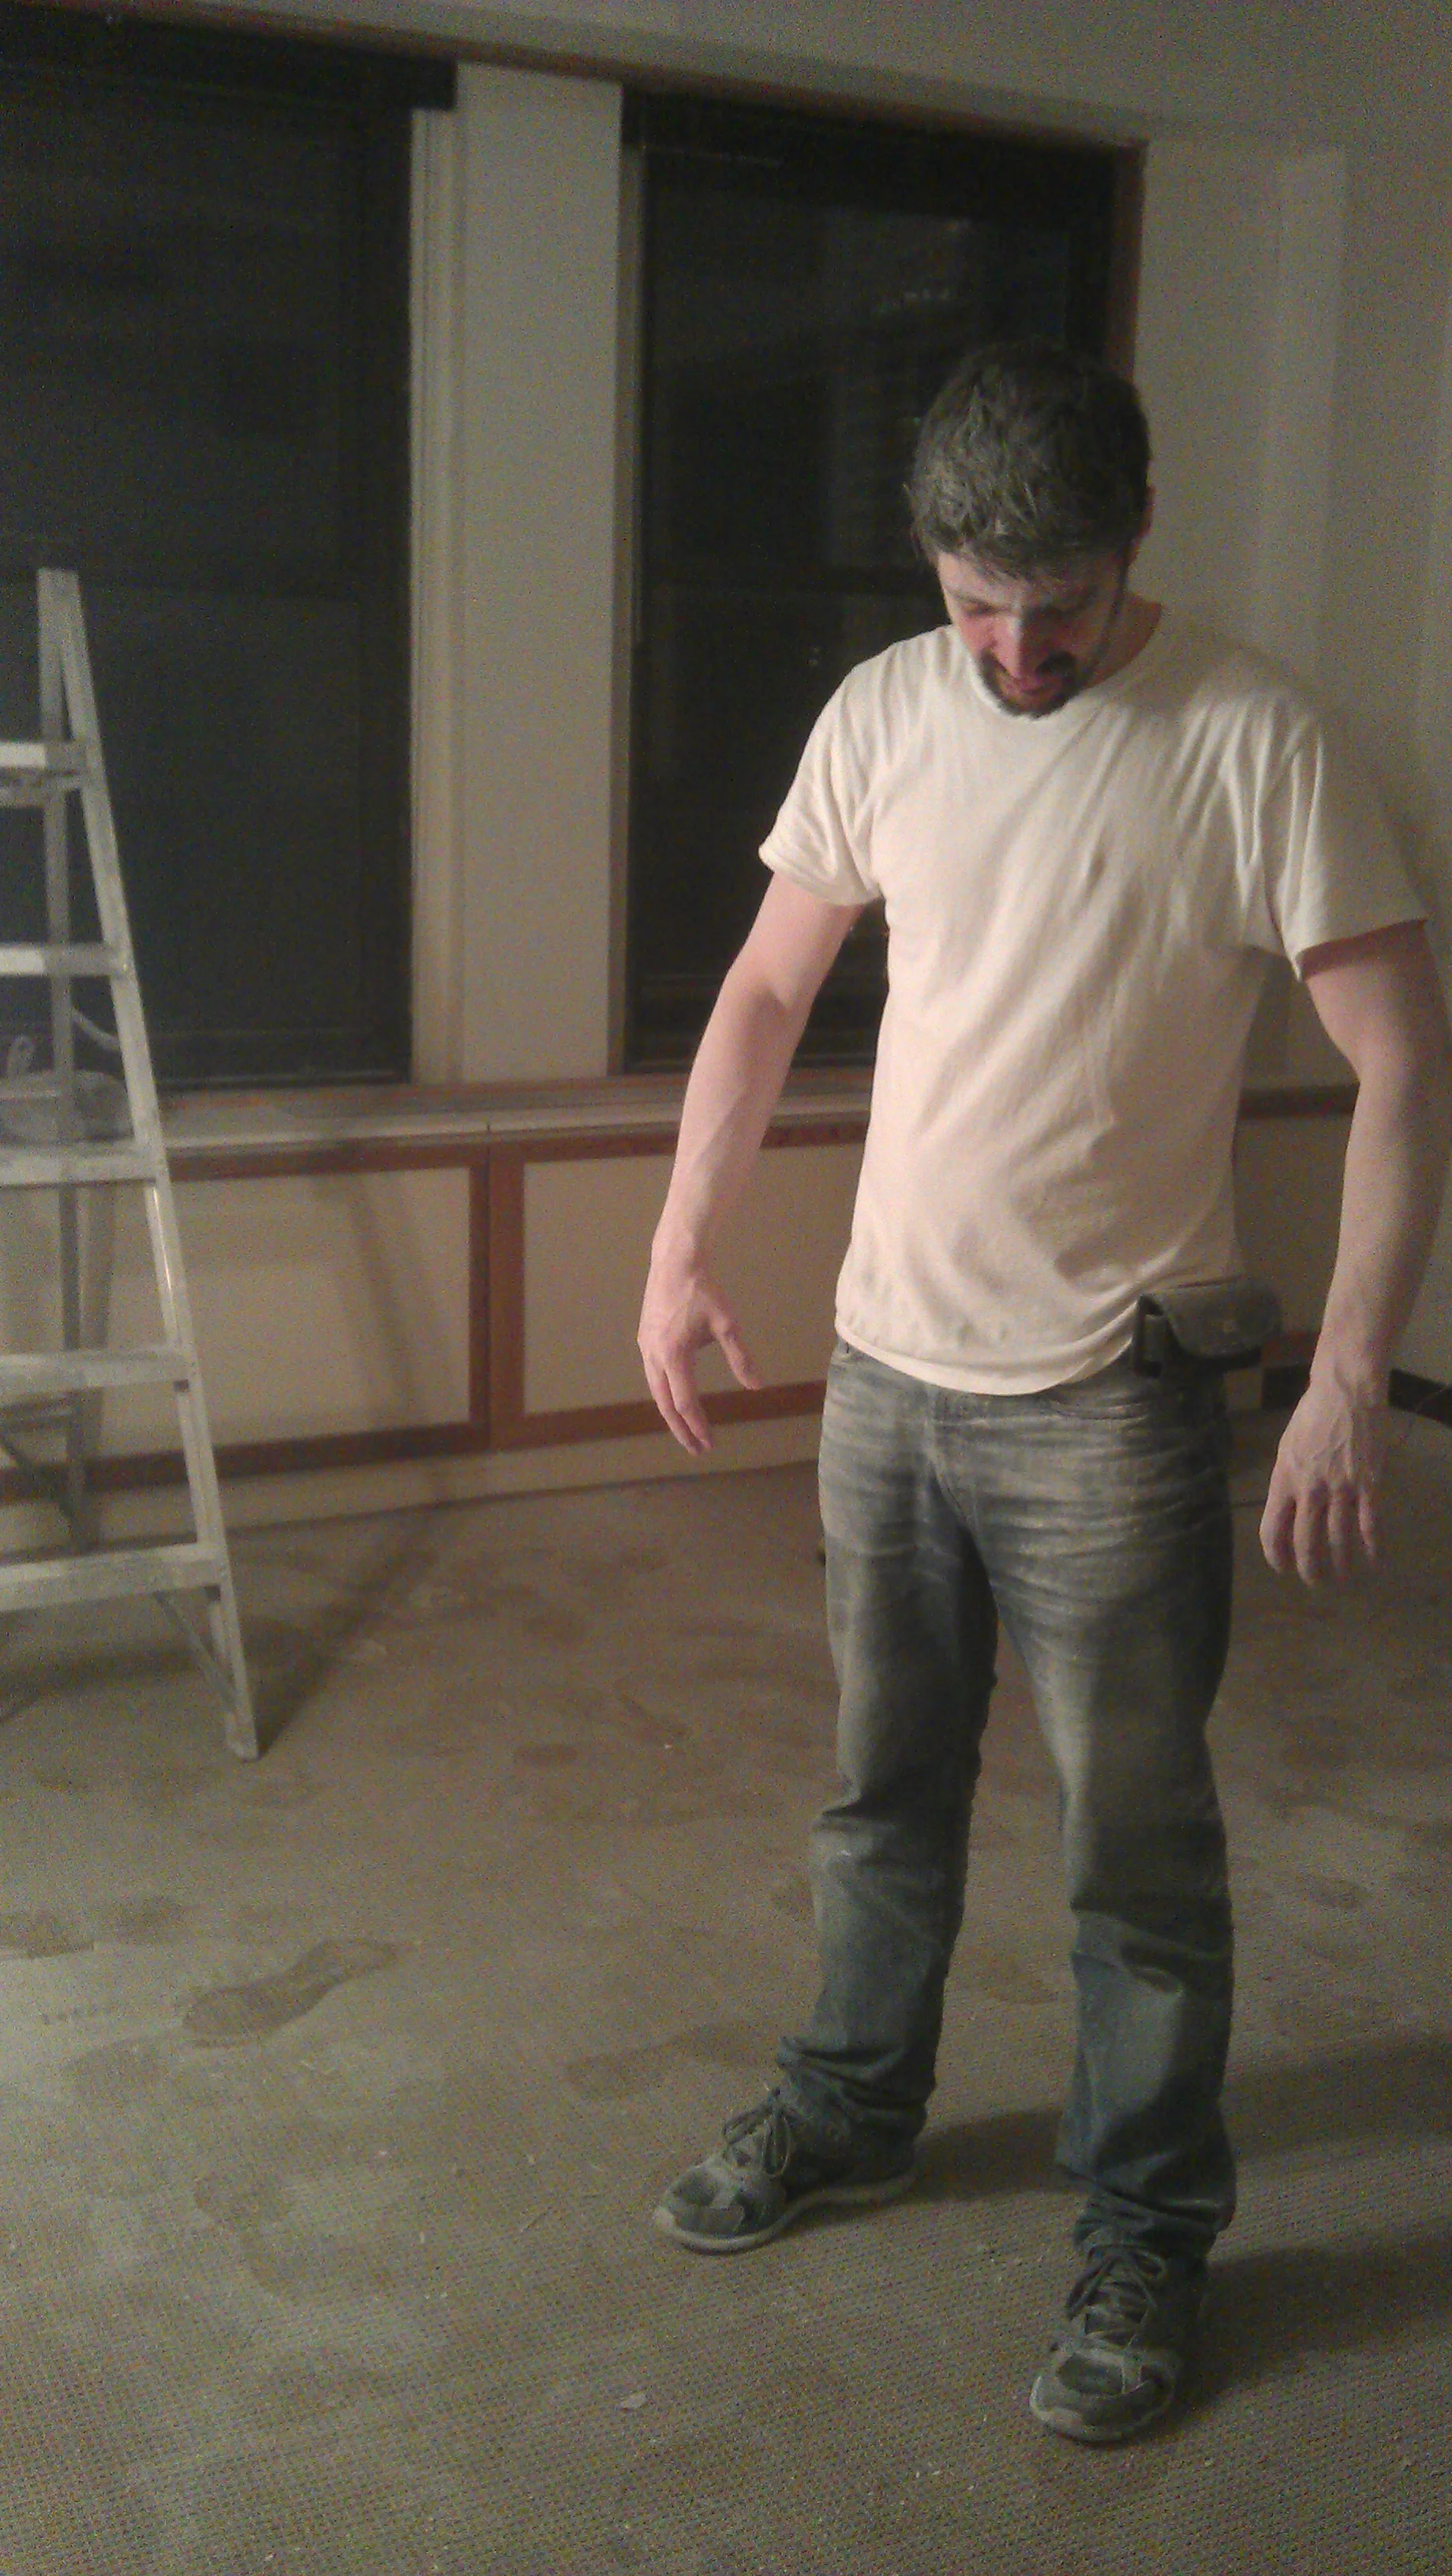
“Laser line seen better in the dark...”


“Taped off and painted straight line (above).
About this same time I also sourced the hollow steel pipes and fittings which were to hold the theatre par can lights (below).”

October, 2014
“Autumn arrived and progress was being made, albeit slowly. By this point I had already installed all the custom measured steel pipes along the entire lengths of the gallery space. Lights will hang from these.
I also started installing the baseboard along all the edges of the walls.”
“Par can lighting installed on the length of the gallery’s main room.
Obviously the lights need to be plugged in so extension cables will be needed very soon!”


“Continuing work on the baseboards (above)...
Baseboards completed (below).”

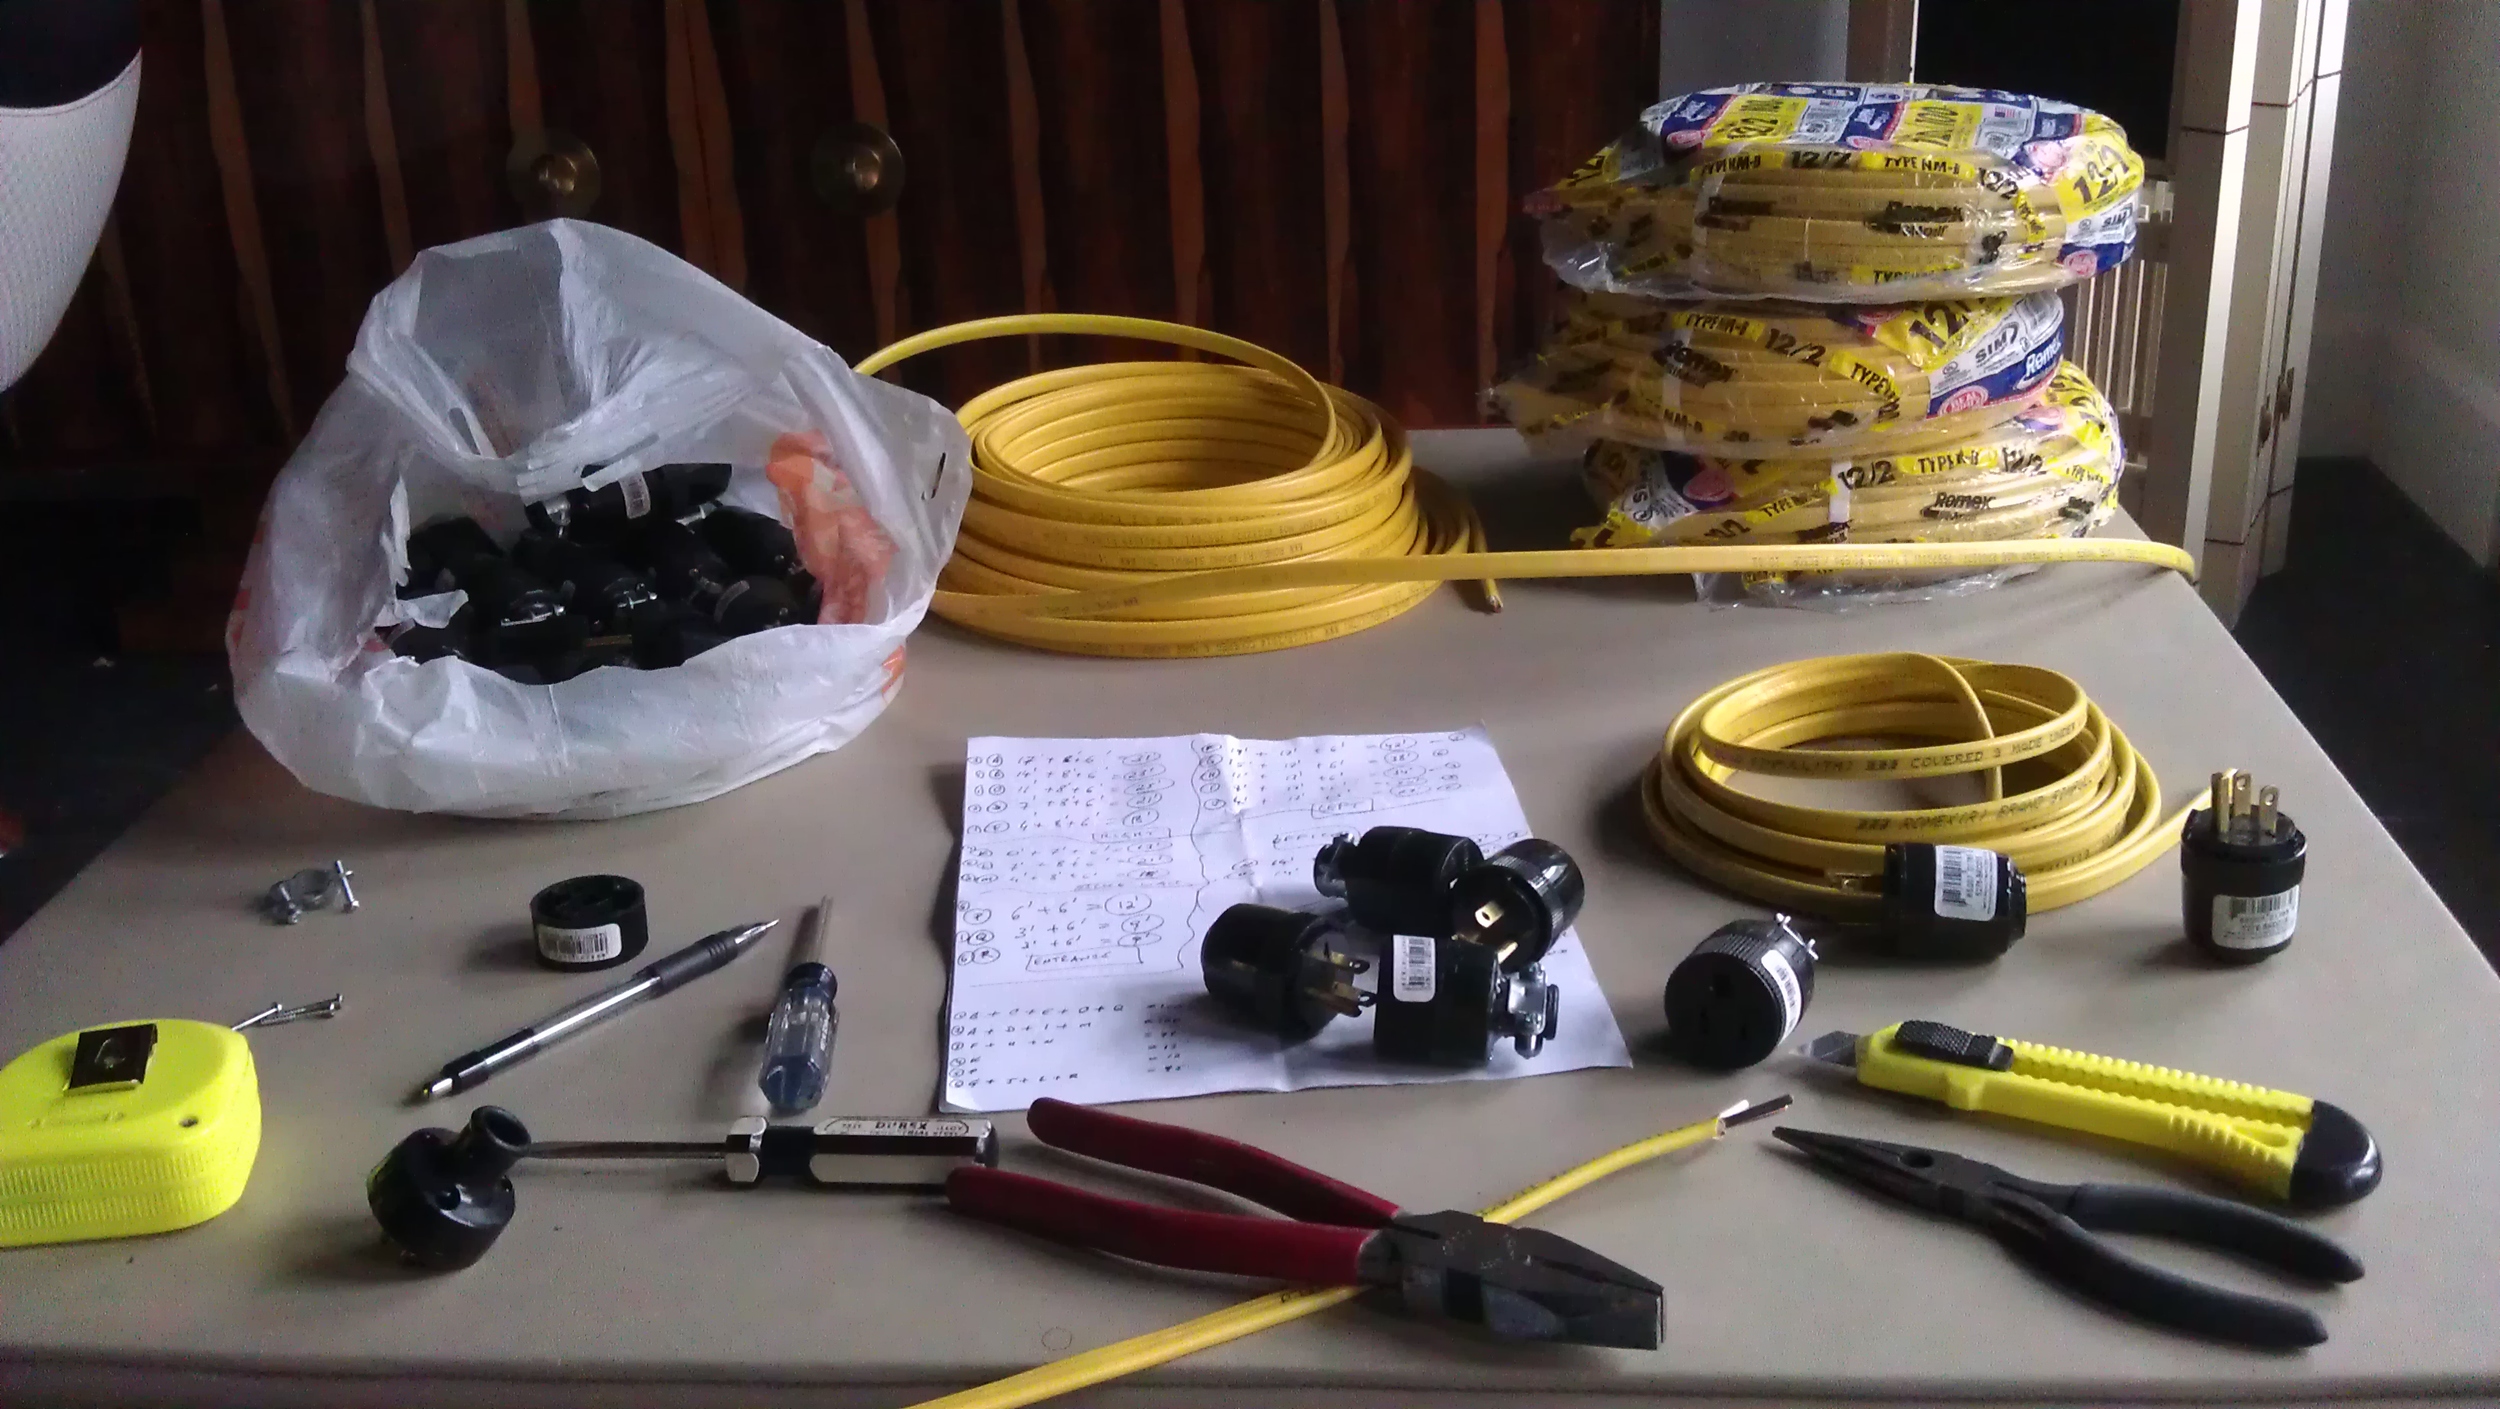
“Since this was a custom built gallery it was very difficult at times to source necessary parts at the specific sizes I needed. I usually ended up creating my own, as in this example of the extension cables for the par can lights.
Even though the lights were placed in specific locations I still allowed for a couple of feet of adjustability in either direction on the length of pipe. Then I measured the distance to the designated outlets and created custom length extension cables.”
“Custom length extension cables snaking their way from each can light to the designated outlets.
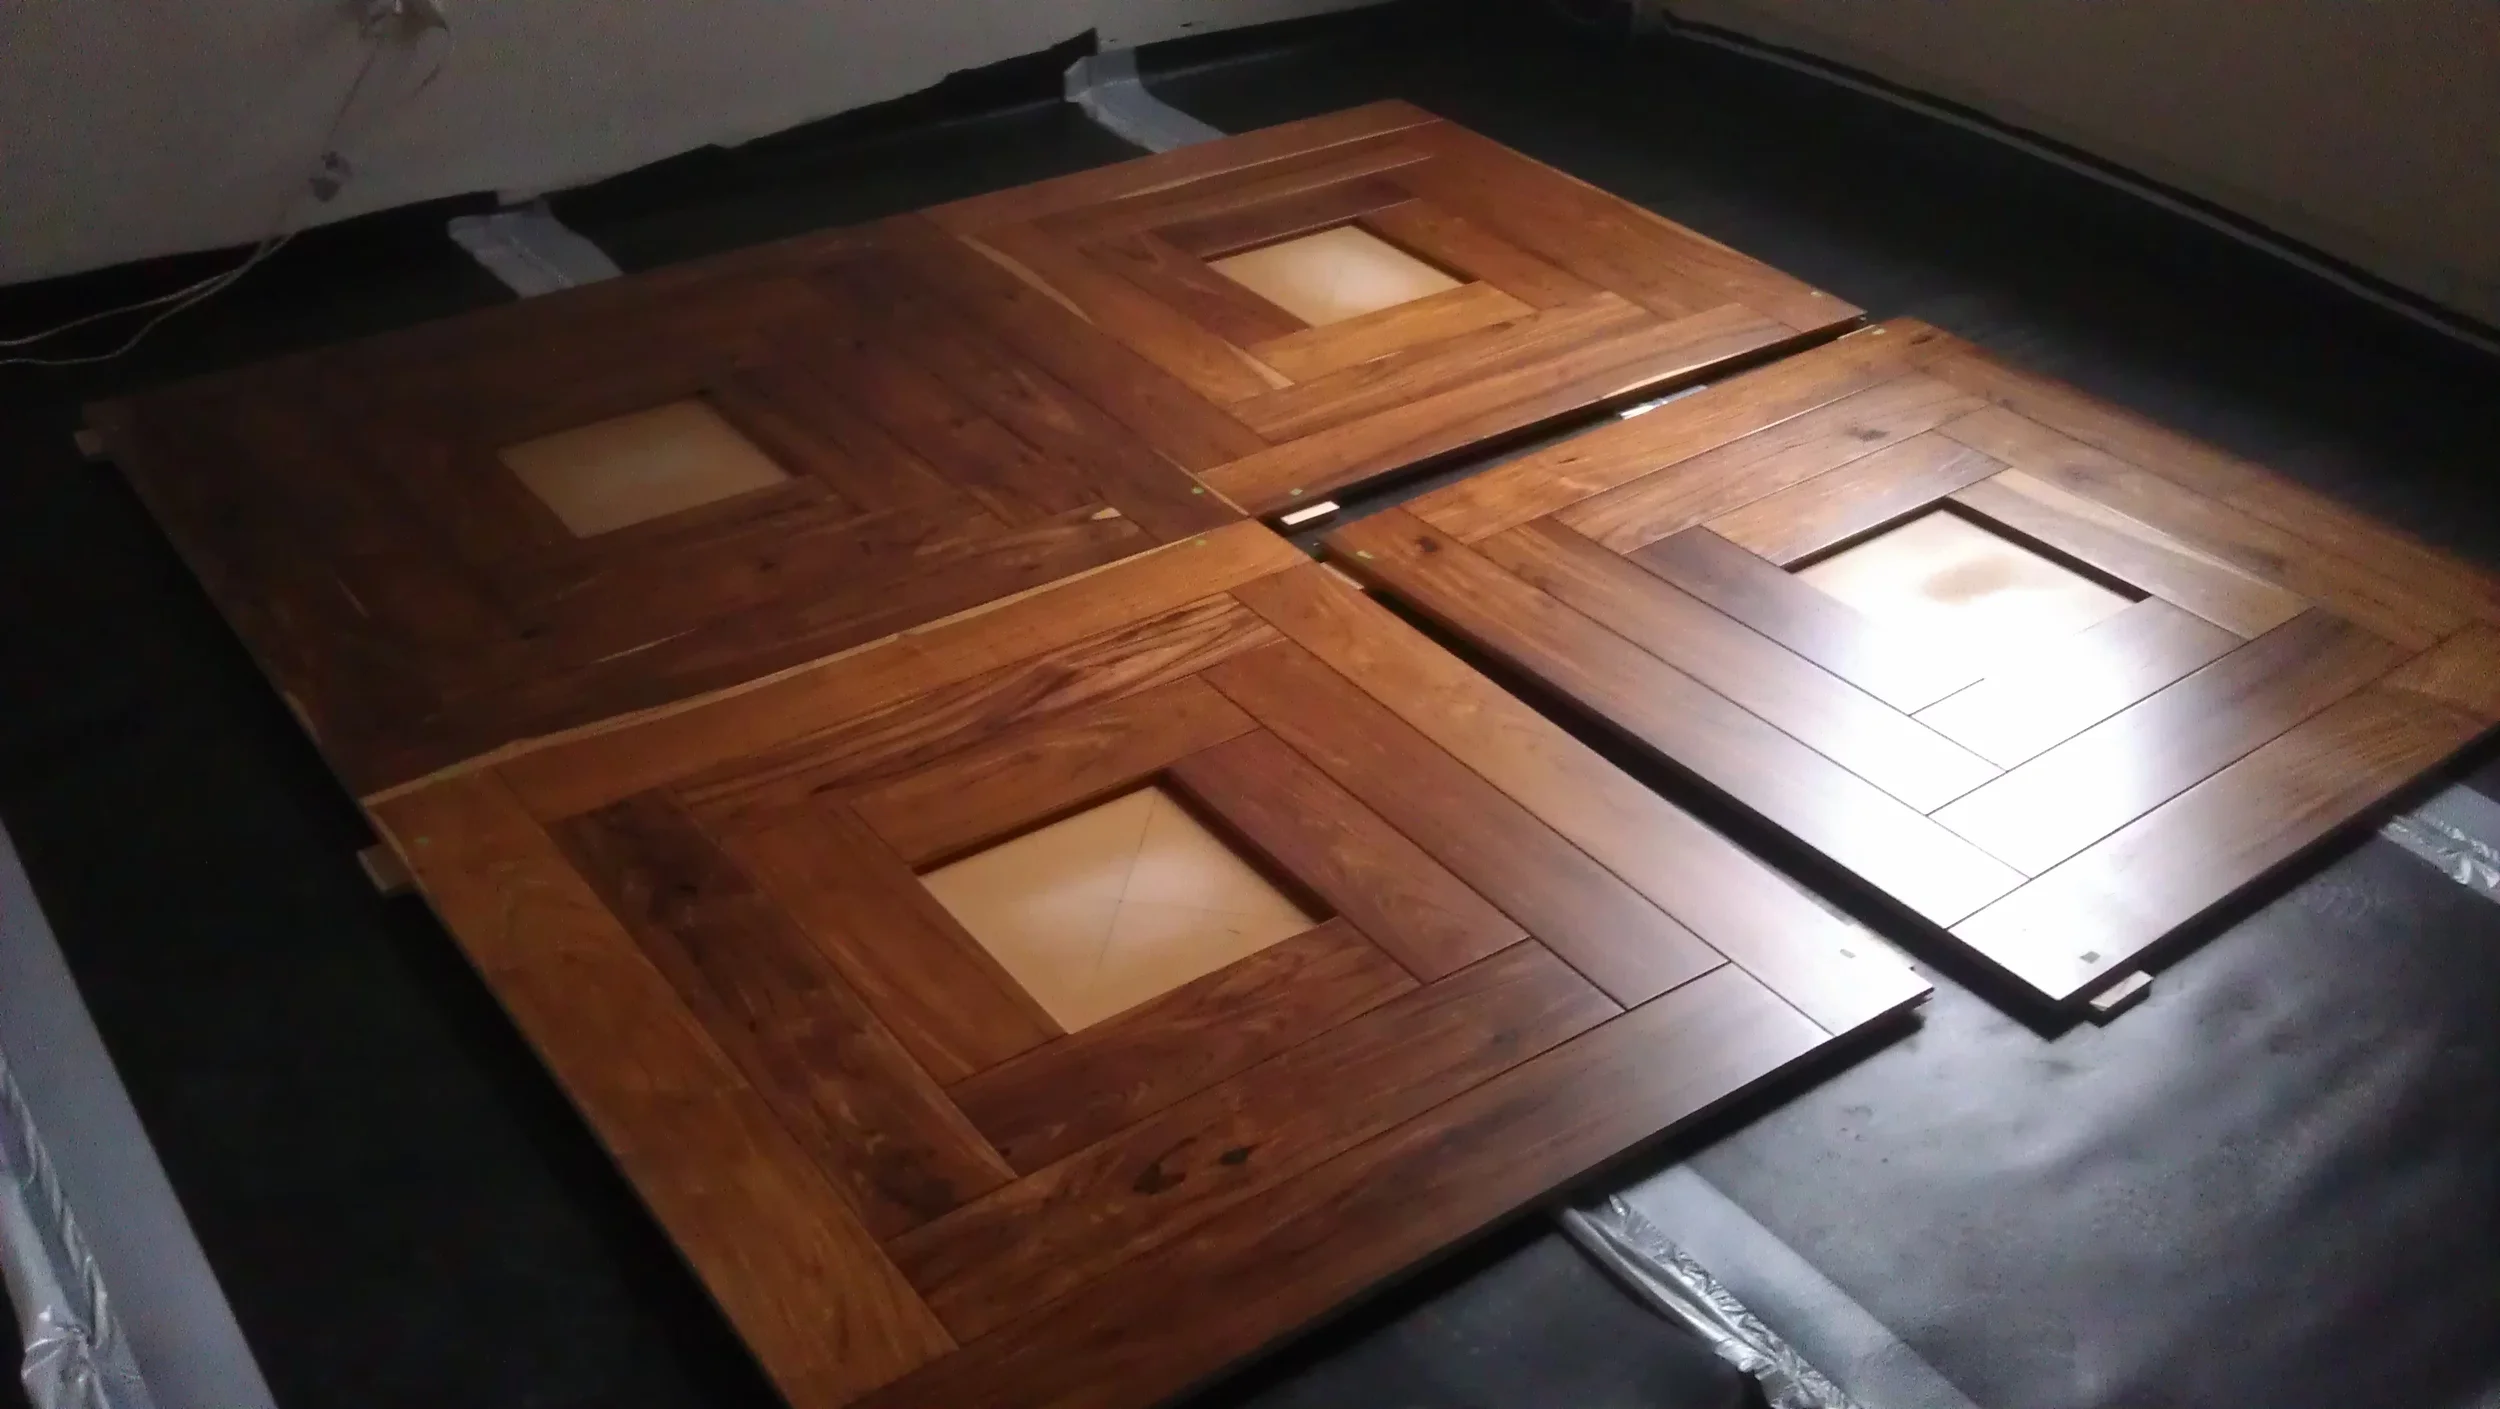
In the back leaning against the wall are the custom designed and built barn doors. These will have to be put up on a track soon enough!”


Beginning of November, 2014
“It’s starting to look like a true gallery space as some of the designer furniture pieces begin arriving!”


December, 2014
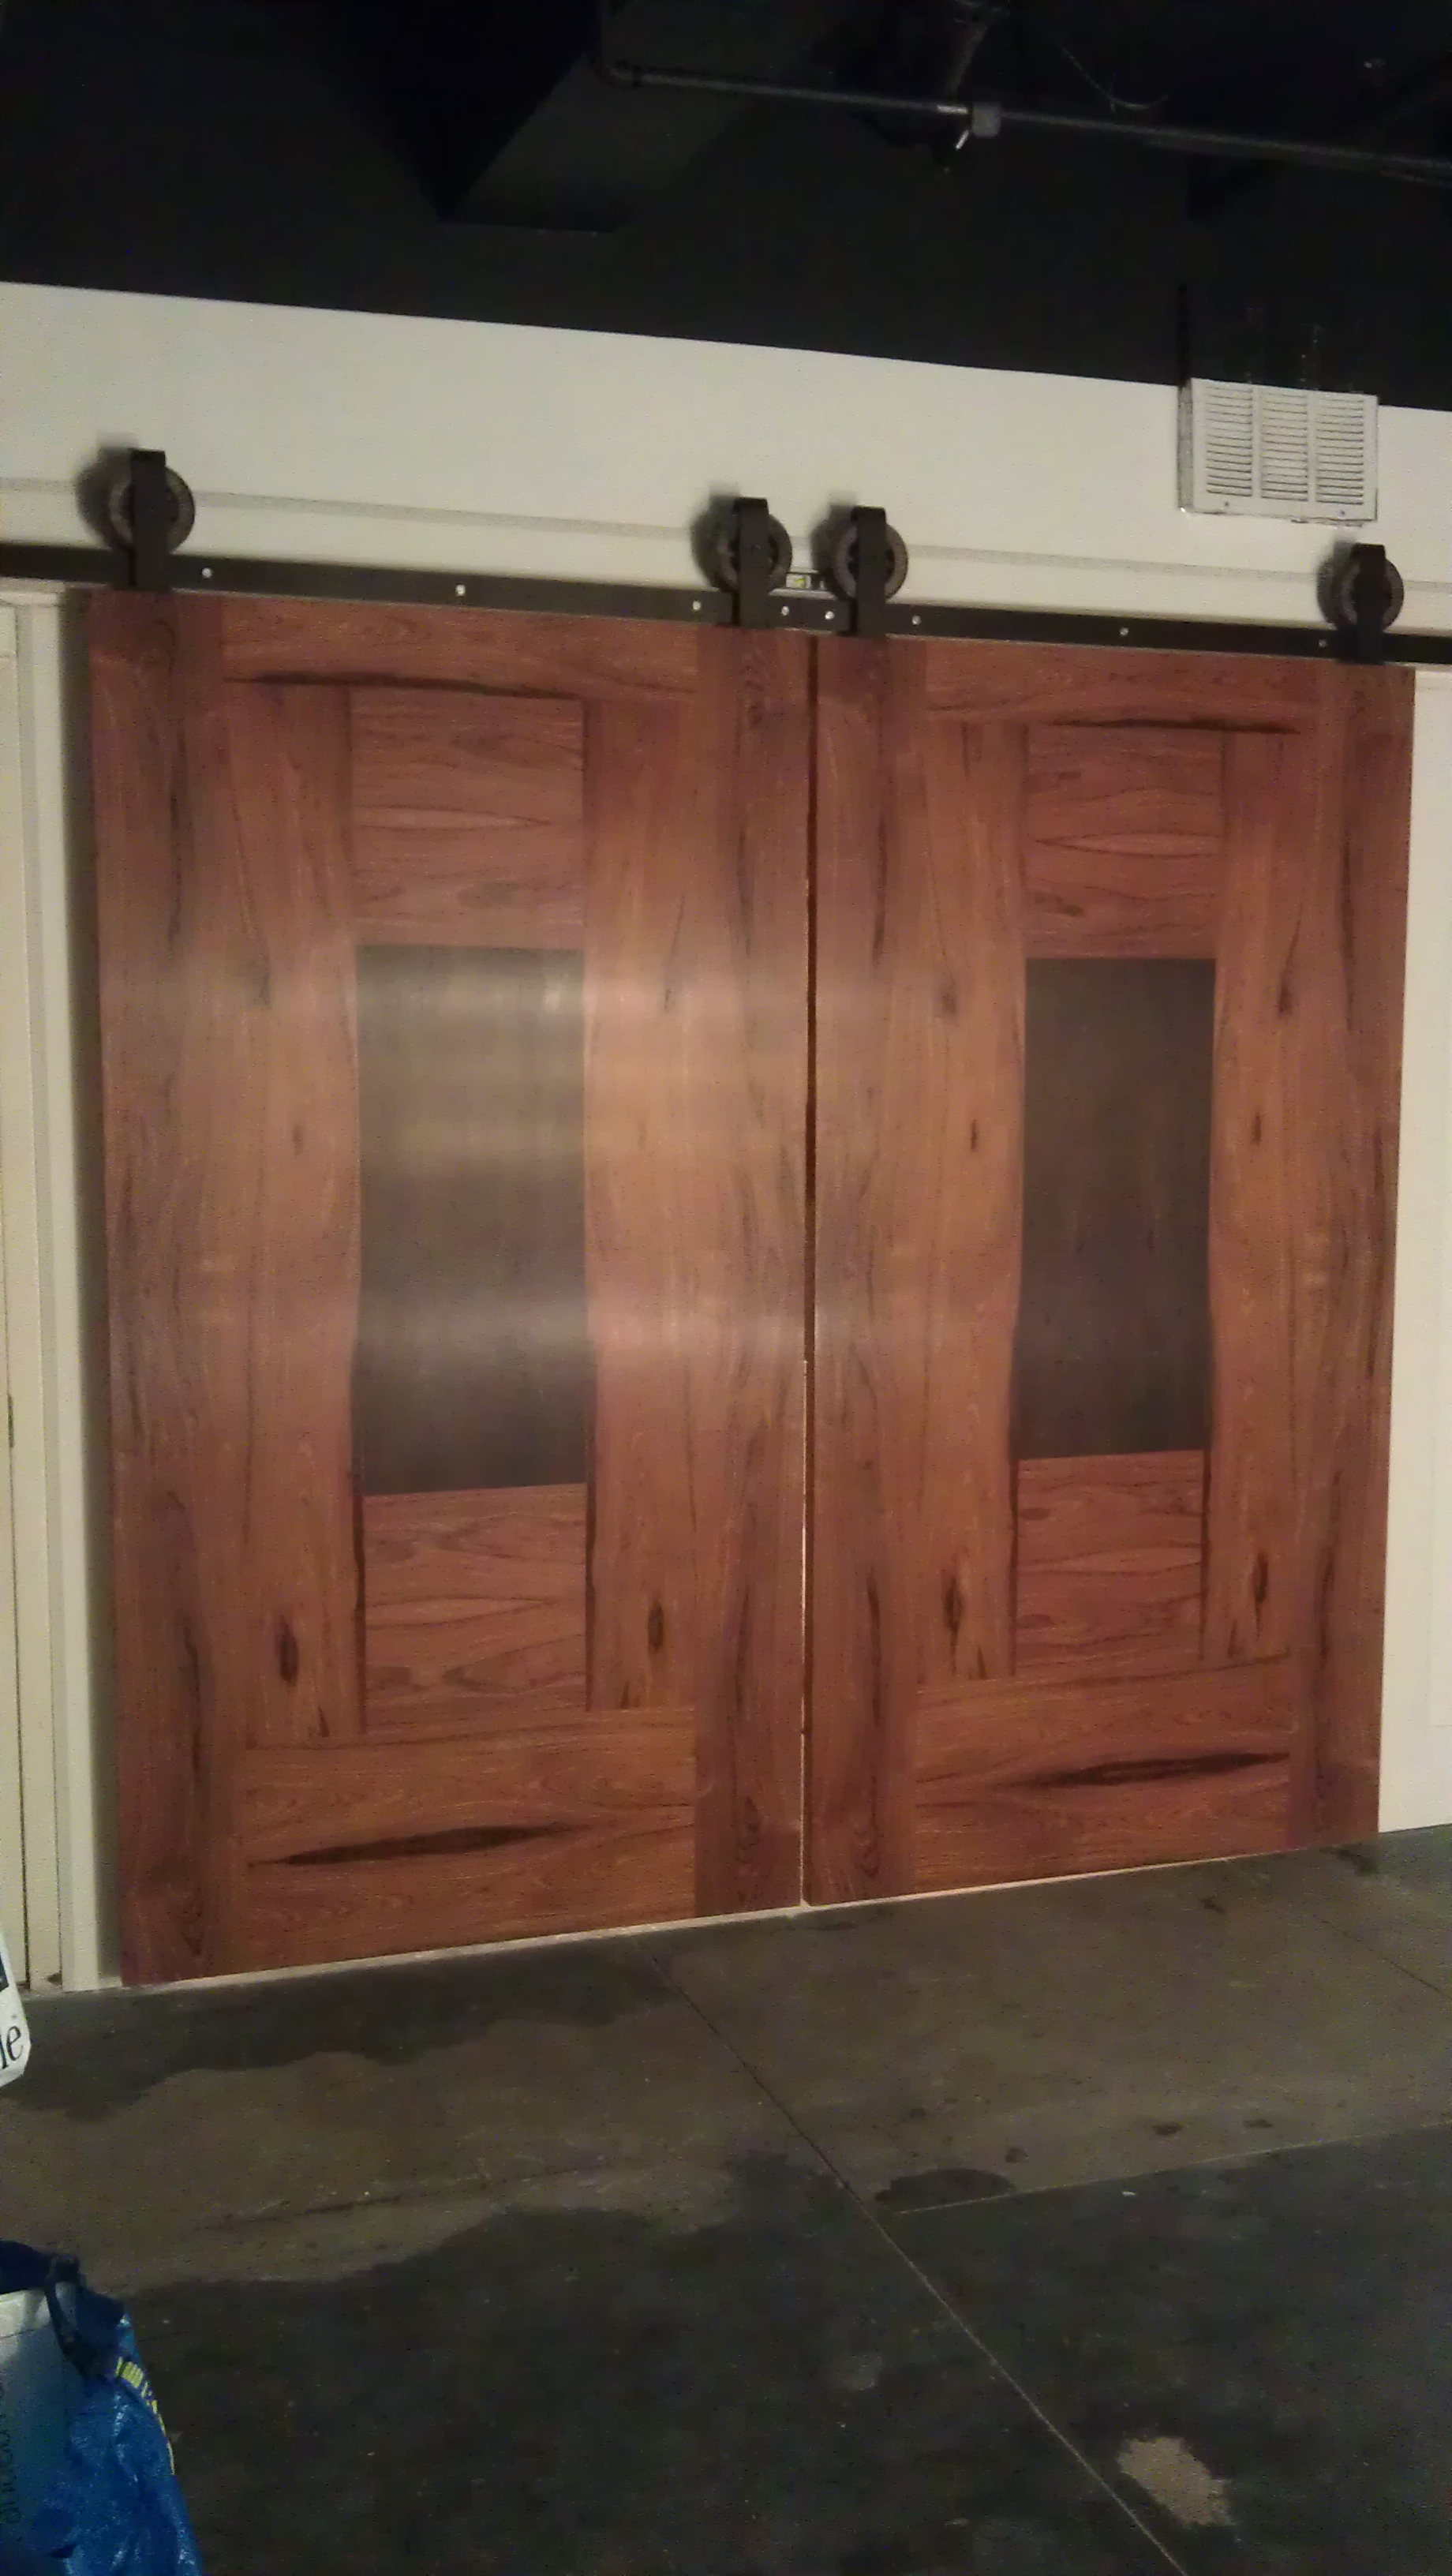
“These two doors were designed by Anthony Morris, with the purpose of concealing the material samples space within the Gallery.
Each door is 8 ft tall, 4 feet wide and approx 2 inches thick. Solid wood, and I had to hang them from a track above the cut out opening in the wall... ”


“Even though I received the track and all necessary parts I realized there was a problem when looking into the top portion of the wall cutout...”


“With the exception of a few randomly spaced thin aluminum studs there was nothing but an empty sheetrock wall. This wasn’t enough to hold the weight of two massive wooden doors, so I decided to reinforce the interior portions of the walls using 2x4’s...
Seen below is a quick hand drawing showing the idea behind this.”

“I had already installed moulding around the cutout wall area, so instead of removing it all I only cut off sections which were in the way of my installing the 2x4’s on the inside of the walls.
Below I’m cutting out a section of the wall in order to eventually install the 2x4 wooden beam...”


“Cutout complete and new 4 foot wooden 2x4 beam installed...”


“...and an 8’ tall vertical cutout on the back for support.”

“Left vertical side also reinforced as well as the top.”

“Cutting and preparing the final 2x4 for the left side above the existing door.”


“Once the wooden beams are installed, the walls are patched back up. Then moulding is applied the length of the track which will hold the doors.”


“And in order to fill in the enpty space between sheetrock wall and 2x4 wooden beam I cut out a couple of 1/2” squares and pre-drilled holes in the center. This was to ensure that the 8” lag bolts I used to keep up the track would hold everything together.”


“Spot on level (above)!!
Metal track for the door to slide on was finally installed (below).”

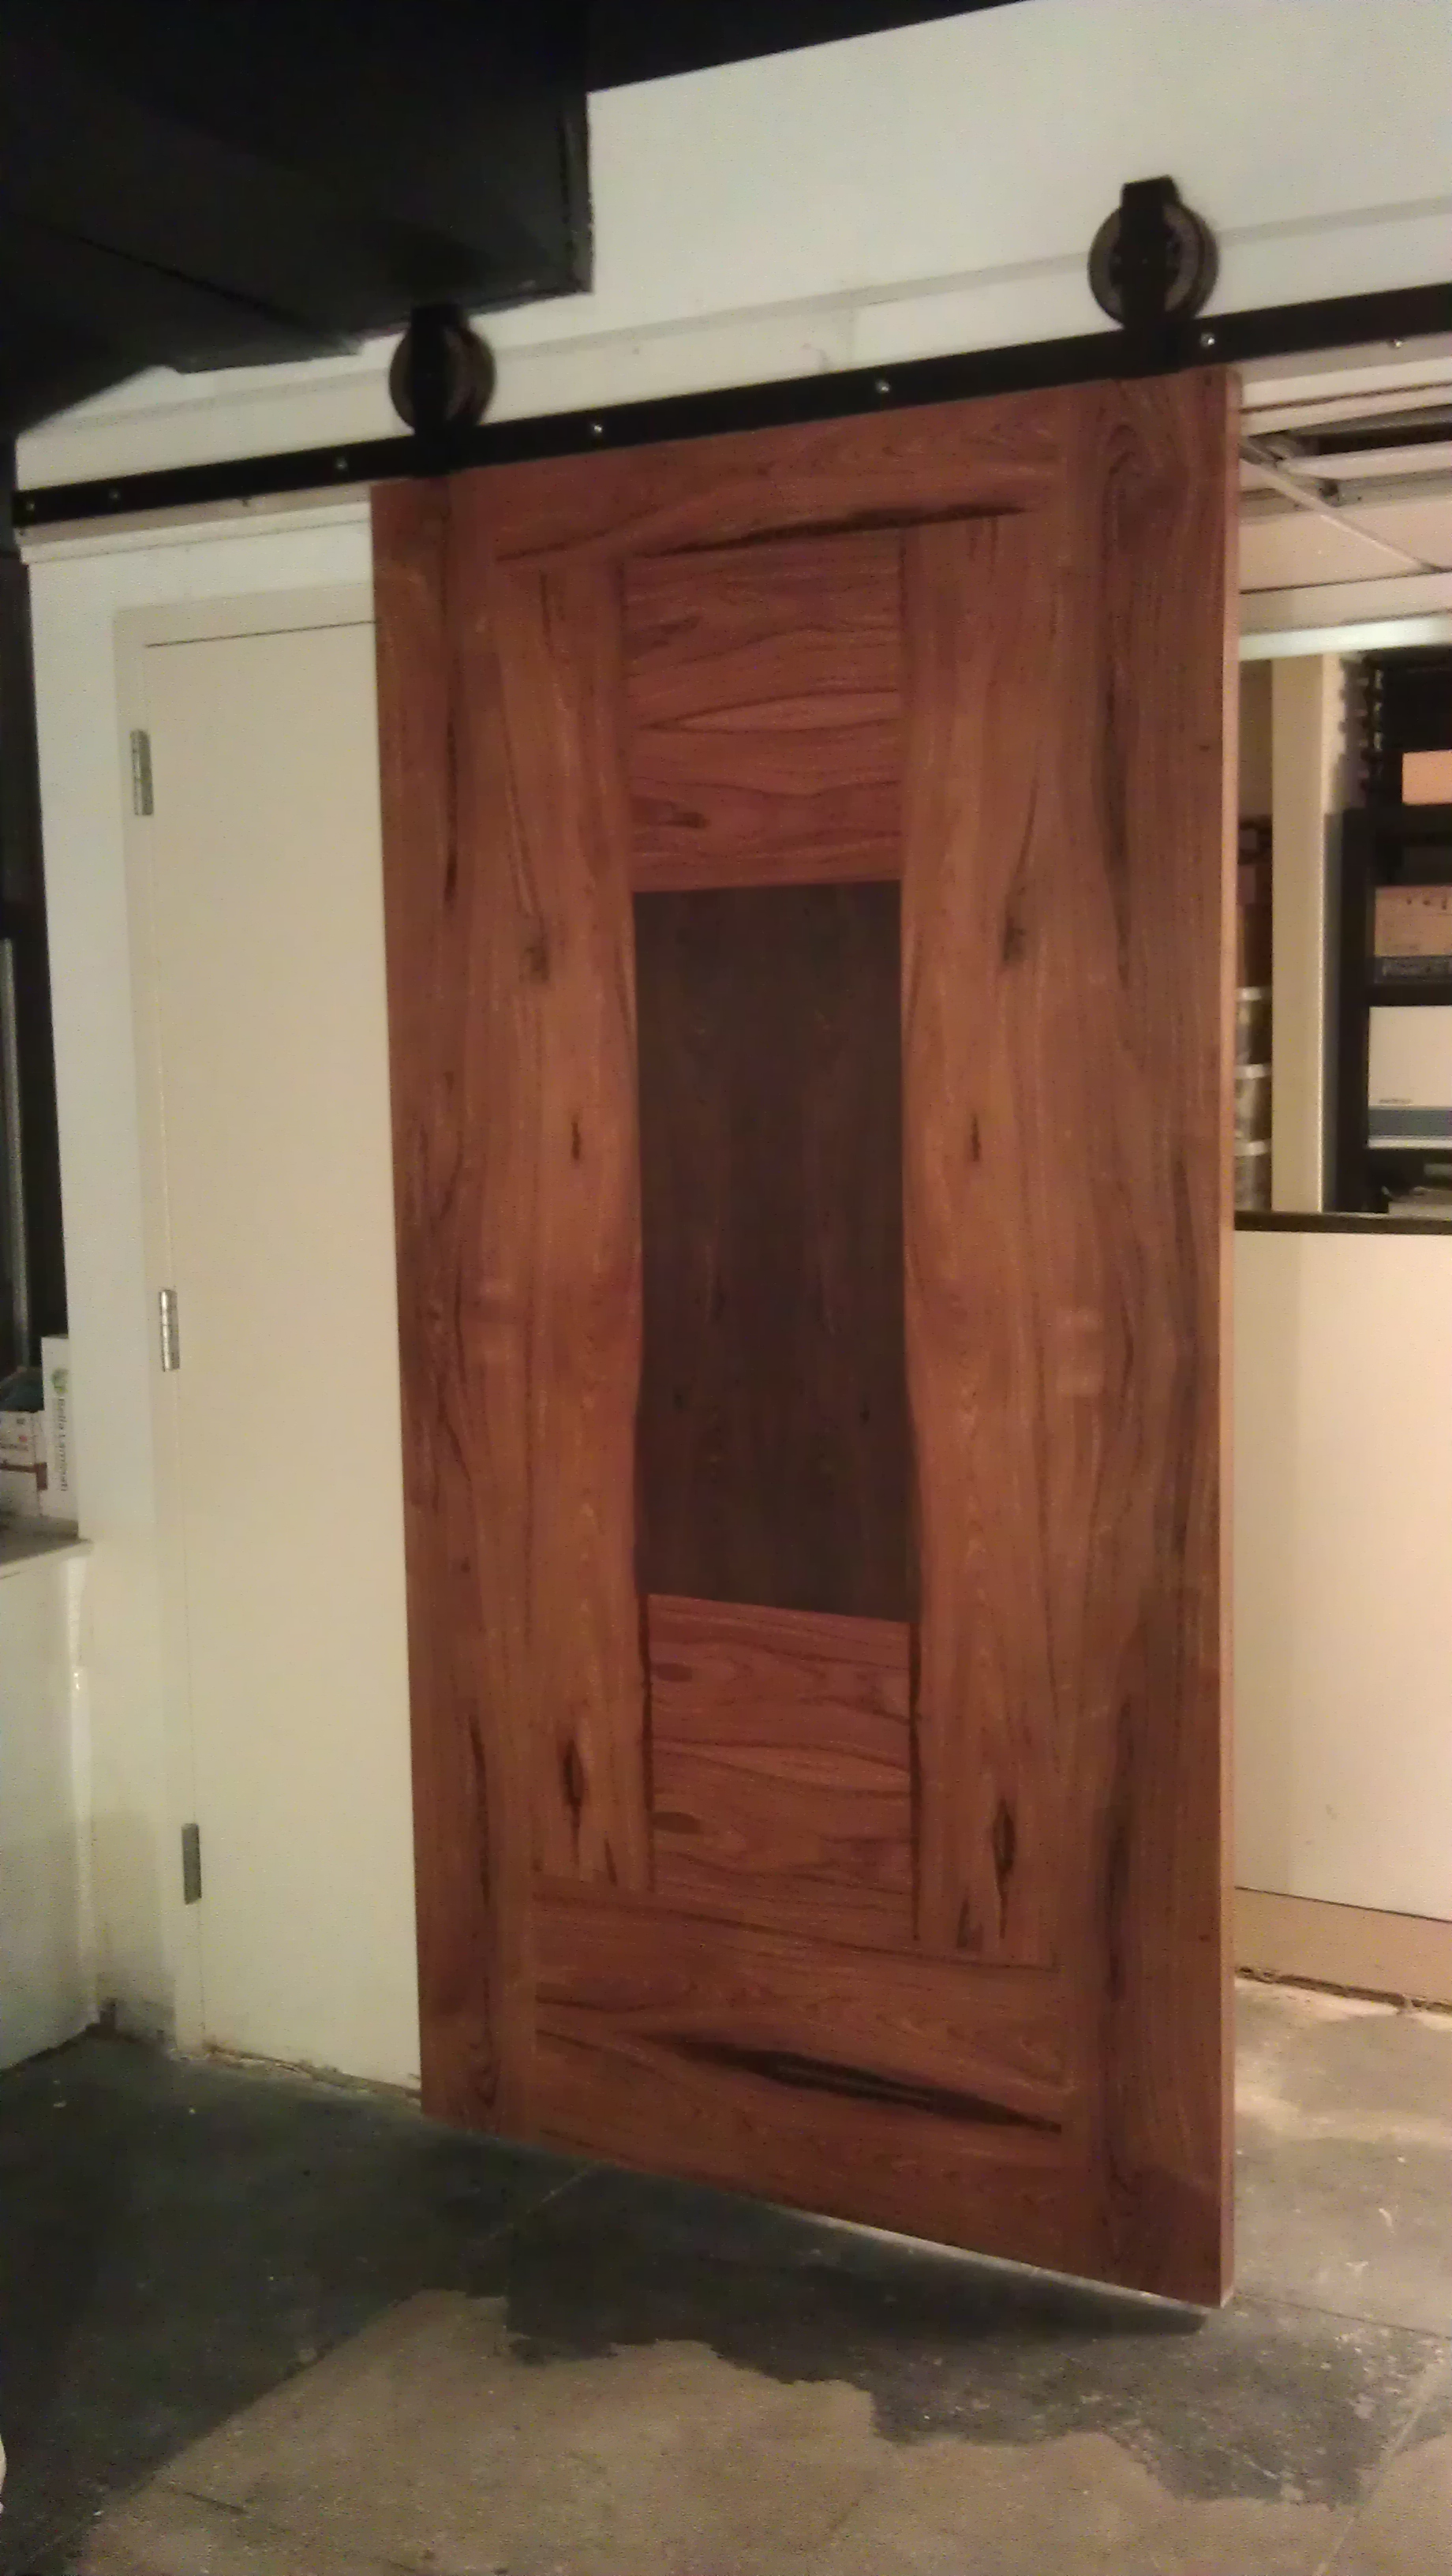

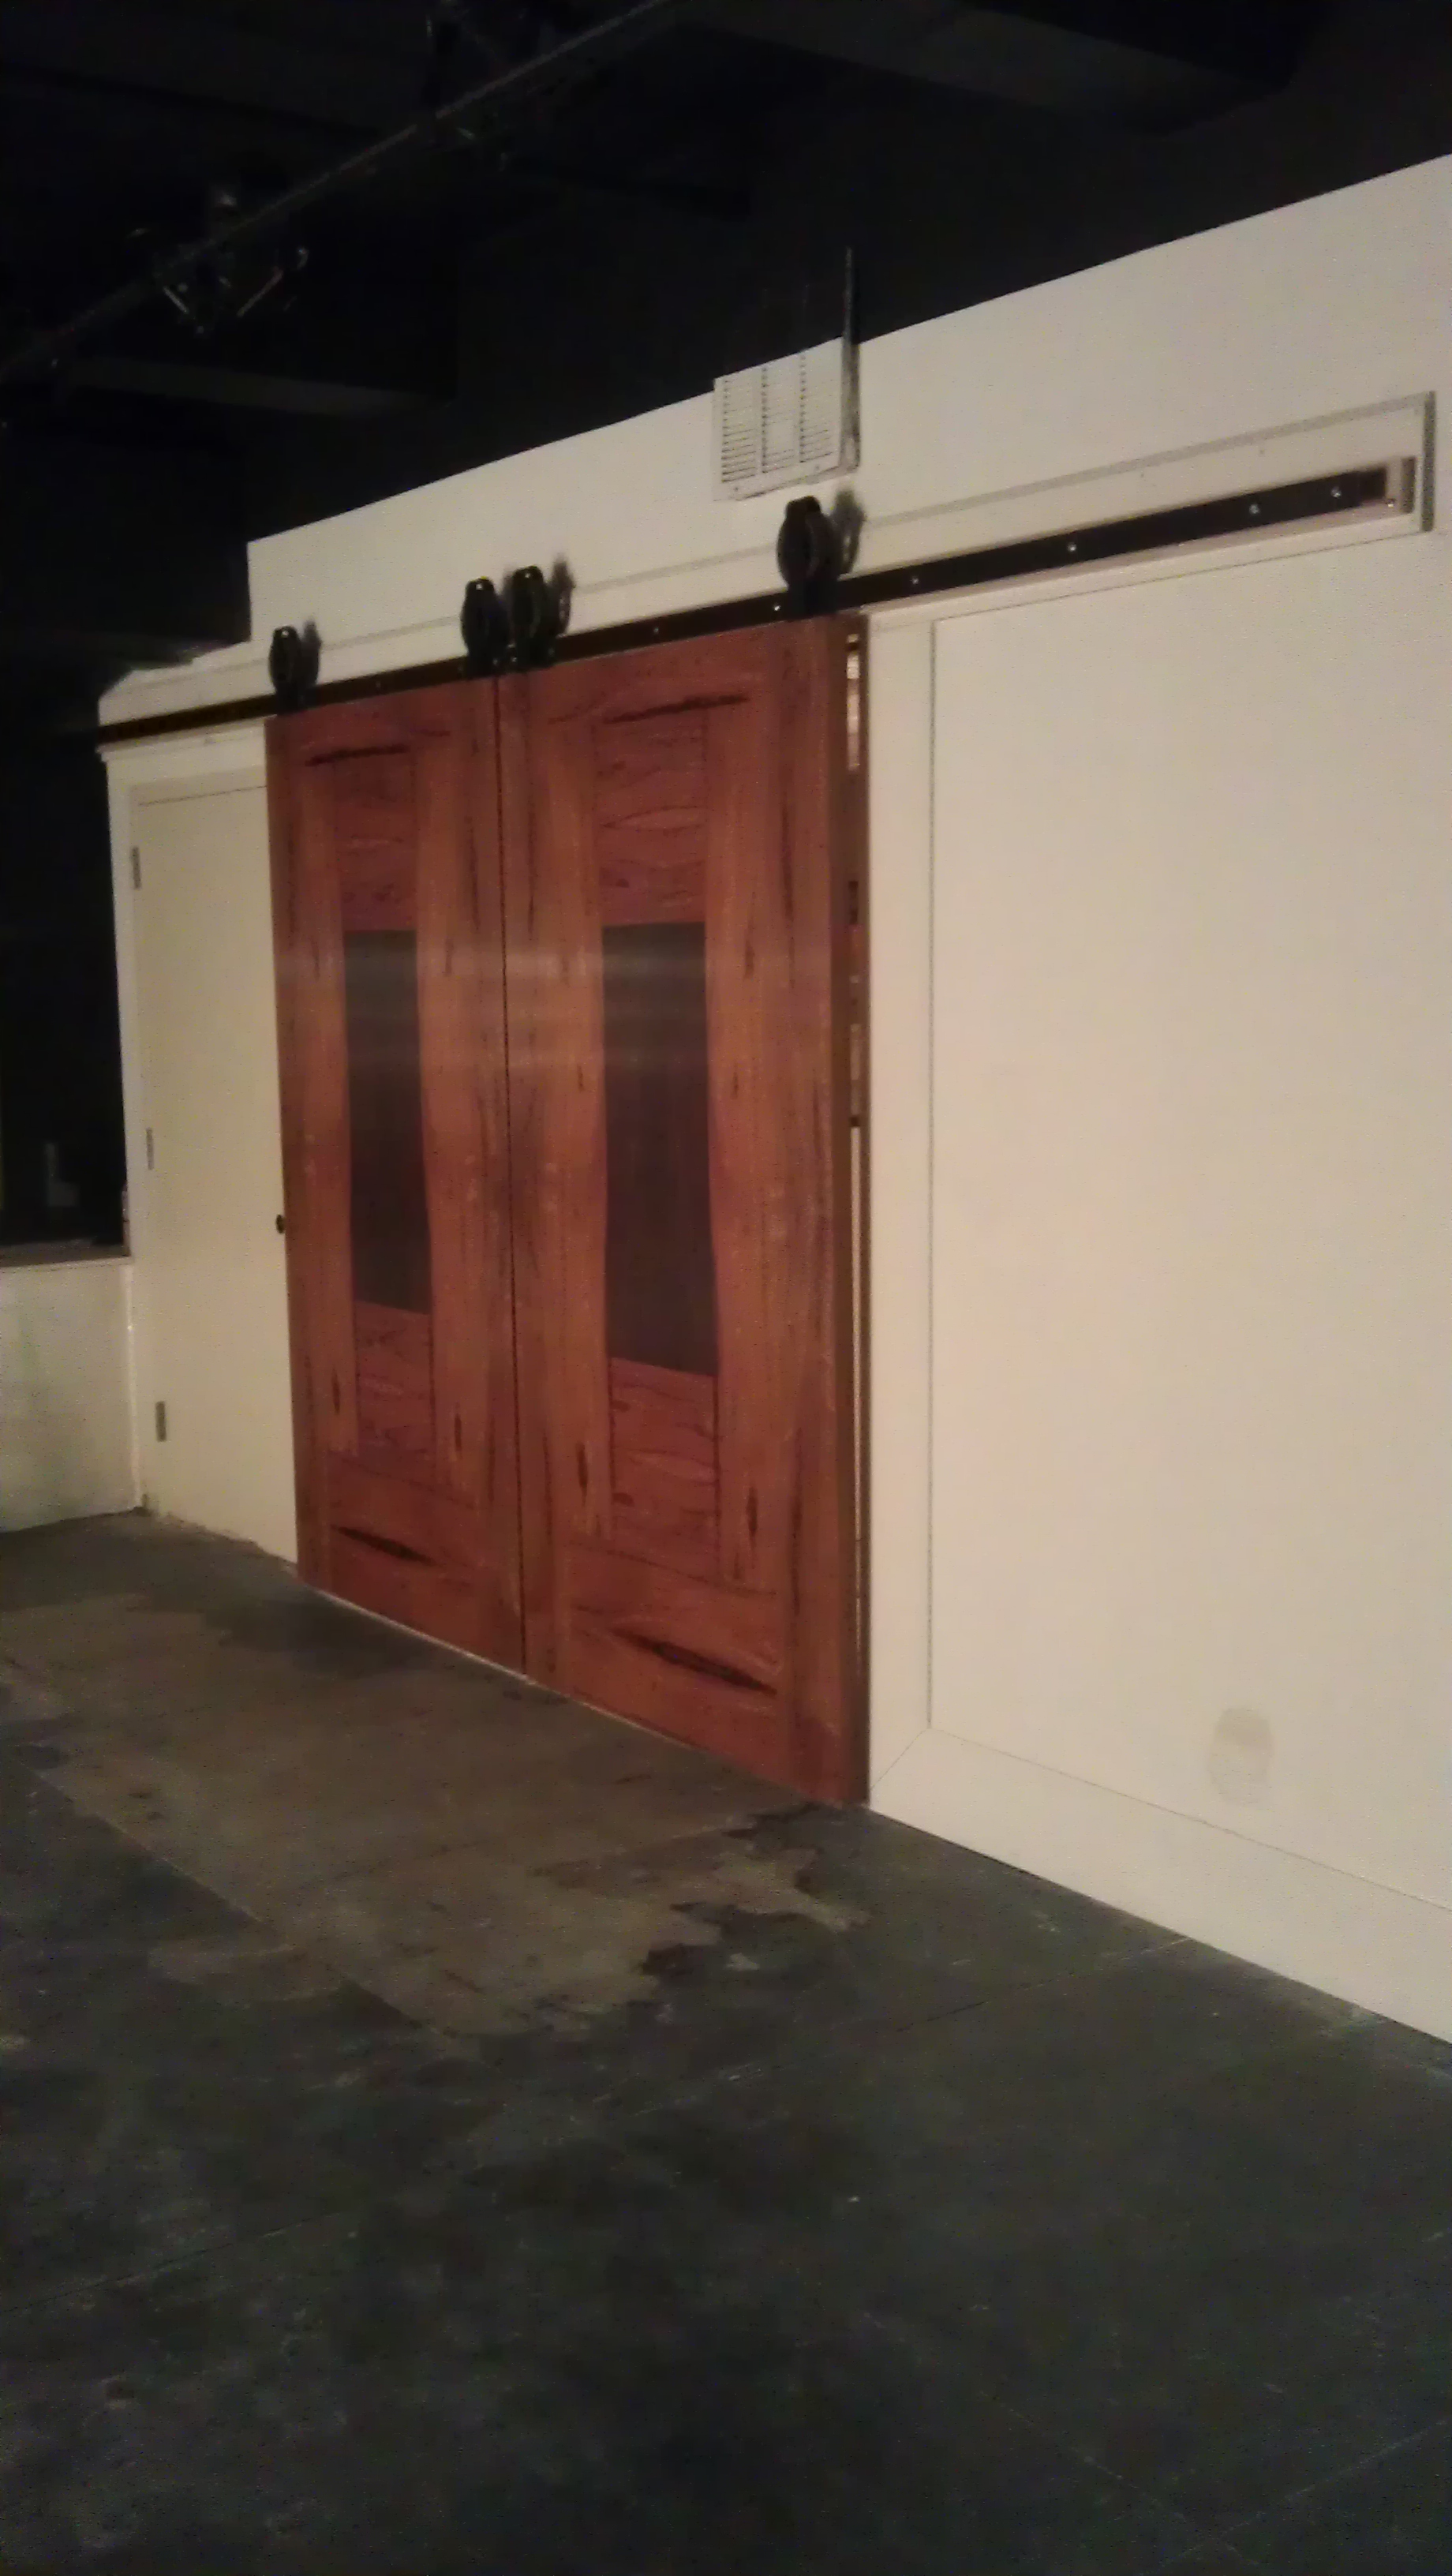
“And yes, I did hang both doors all by myself. May seem like a lot of effort, but actually there’s not more than 3/4” of lifting worth doing. I slid the doors on from the far edge of the track, and by doing that I only had to get one wheel on the track at a time, this substantially cut down on the amount of weight. Once one wheel was on I just slid the door over until the second wheel came close to the track and then again 3/4” lift and both wheel were on.
Once both doors were up I installed end stops so they would never roll off :-)”
January, 2015
“It was already into the new year when we noticed something happening. The black stain and sealant on the floor wasn’t holding up. All the working and moving around started taking the stain off. Not only was the black color bad as every footprint was visible but in some places it would simply peel off by hand...”

“My suggestion was to go back to the original bare concrete floor. This would require removing the entire black stain. Though it came off fairly easily in certain spots, in many other areas it was really difficult to remove.
The process I ended up adopting was to use a paint & stain stripping solution, applied with a 2” brush and scraped off with a plastic hard edge. A couple of weeks later and after numerous coats in certain spots the original concrete floor started showing itself.”


“Since the stripping agent left a somewhat greasy residue I had to thoroughly wash the floor a number of times before considering this part of the project done.
Really hot water, soap and a good scrub brush worked best!”


“Once all done I again applied 3 coats of the low-lustre sealant directly on the concrete floor. This gave a slight sheen.”

February, 2015
“By this point more and more furniture pieces were starting to arrive in the gallery. A new custom, designer floor was manufactured and had to be installed.
Before I could install it I first had to lay down a thin layer of rubber underlayment...”


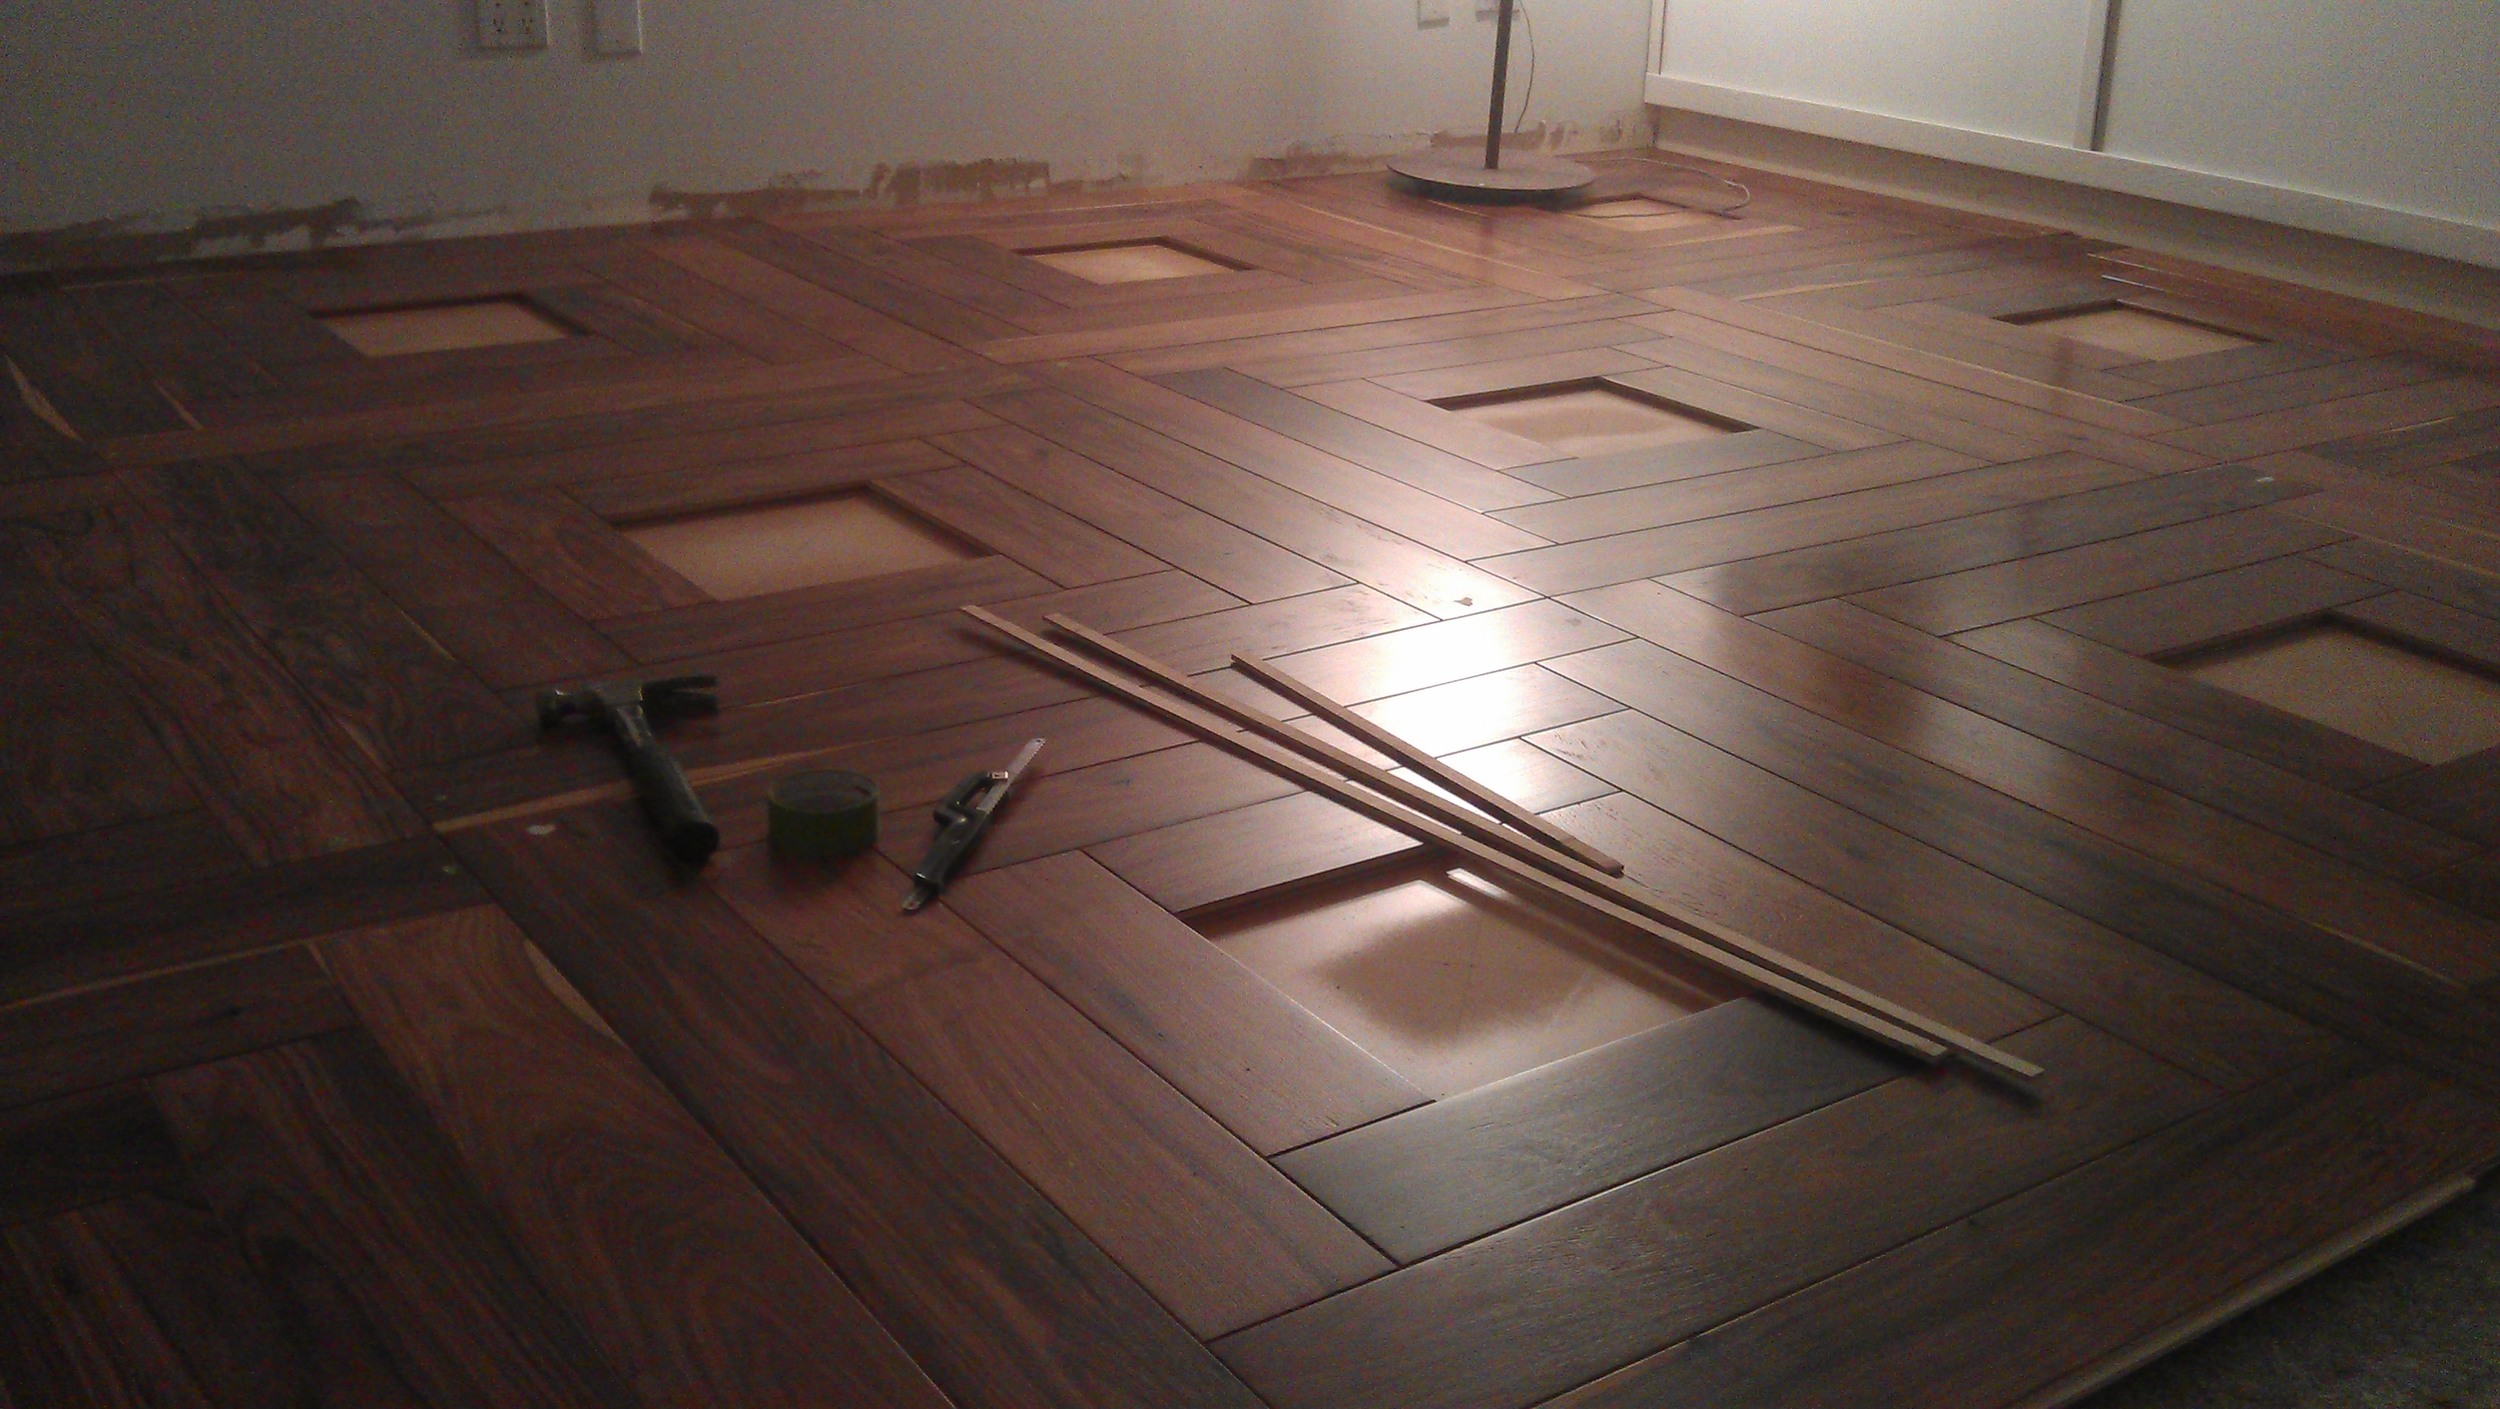
“I then proceeded to install the custom floor tiles (each is 43” squared).
Directly in the center of each floor tile is a square space left open. Here another custom piece belongs. A glass tile which has Obi silk embedded inside!”


“As a decorative touch I was asked to paint the edges of the windows in the main gallery space red.”


March, 2015
“Another change of plans!
There existed a traditional tatami room inside the corporate office space before I ever started working on transforming the space into a gallery & showroom. The designers now had the idea to move this tatami room into the place where I had just installed the new custom flooring.
This meant that the traditional tatami room (seen below) had to be completely gutted...
”

“...including the drop panel ceiling.
And of course removing the panels once again reveals all those messy things which were so conveniently concealed by a false ceiling -snaking electrical wires, chipping paint, telecom cables, beams, pipes, etc., etc.”


“Oh, and of course there are always those unfinished walls!!!”

“First I began work on completing the walls all the way around the entire room...”


“After compounding and plastering is done it’s time to sand and even everything out...”
“...walls are fixed, ceiling is completely scraped and chipping paint cleared off, and plastering done.
Now it’s time to paint. Since this will be a space within the gallery showcasing a corner office, I was asked to paint everything in super-white.”

“After two coats of paint.. looks great!”


“Grill installed over the A/C duct opening, while the other round cutout I covered with sheet metal.”


“Removing the carpet... but this time the carpet padding will stay. I suggested keeping the padding in place so the custom floor tiles will have a soft underside, instead of then having to install a layer of underlayment again.”

“Installing the custom flooring tiles, once again.”


“Now that the floor was completed, next up is installing the corner unit. Once done I started to paint it.”


“Inside the storage closet I built shelves to hold all the office equipment this way the gallery can still function as an office while keeping all the clutter out of sight.”

May, 2015
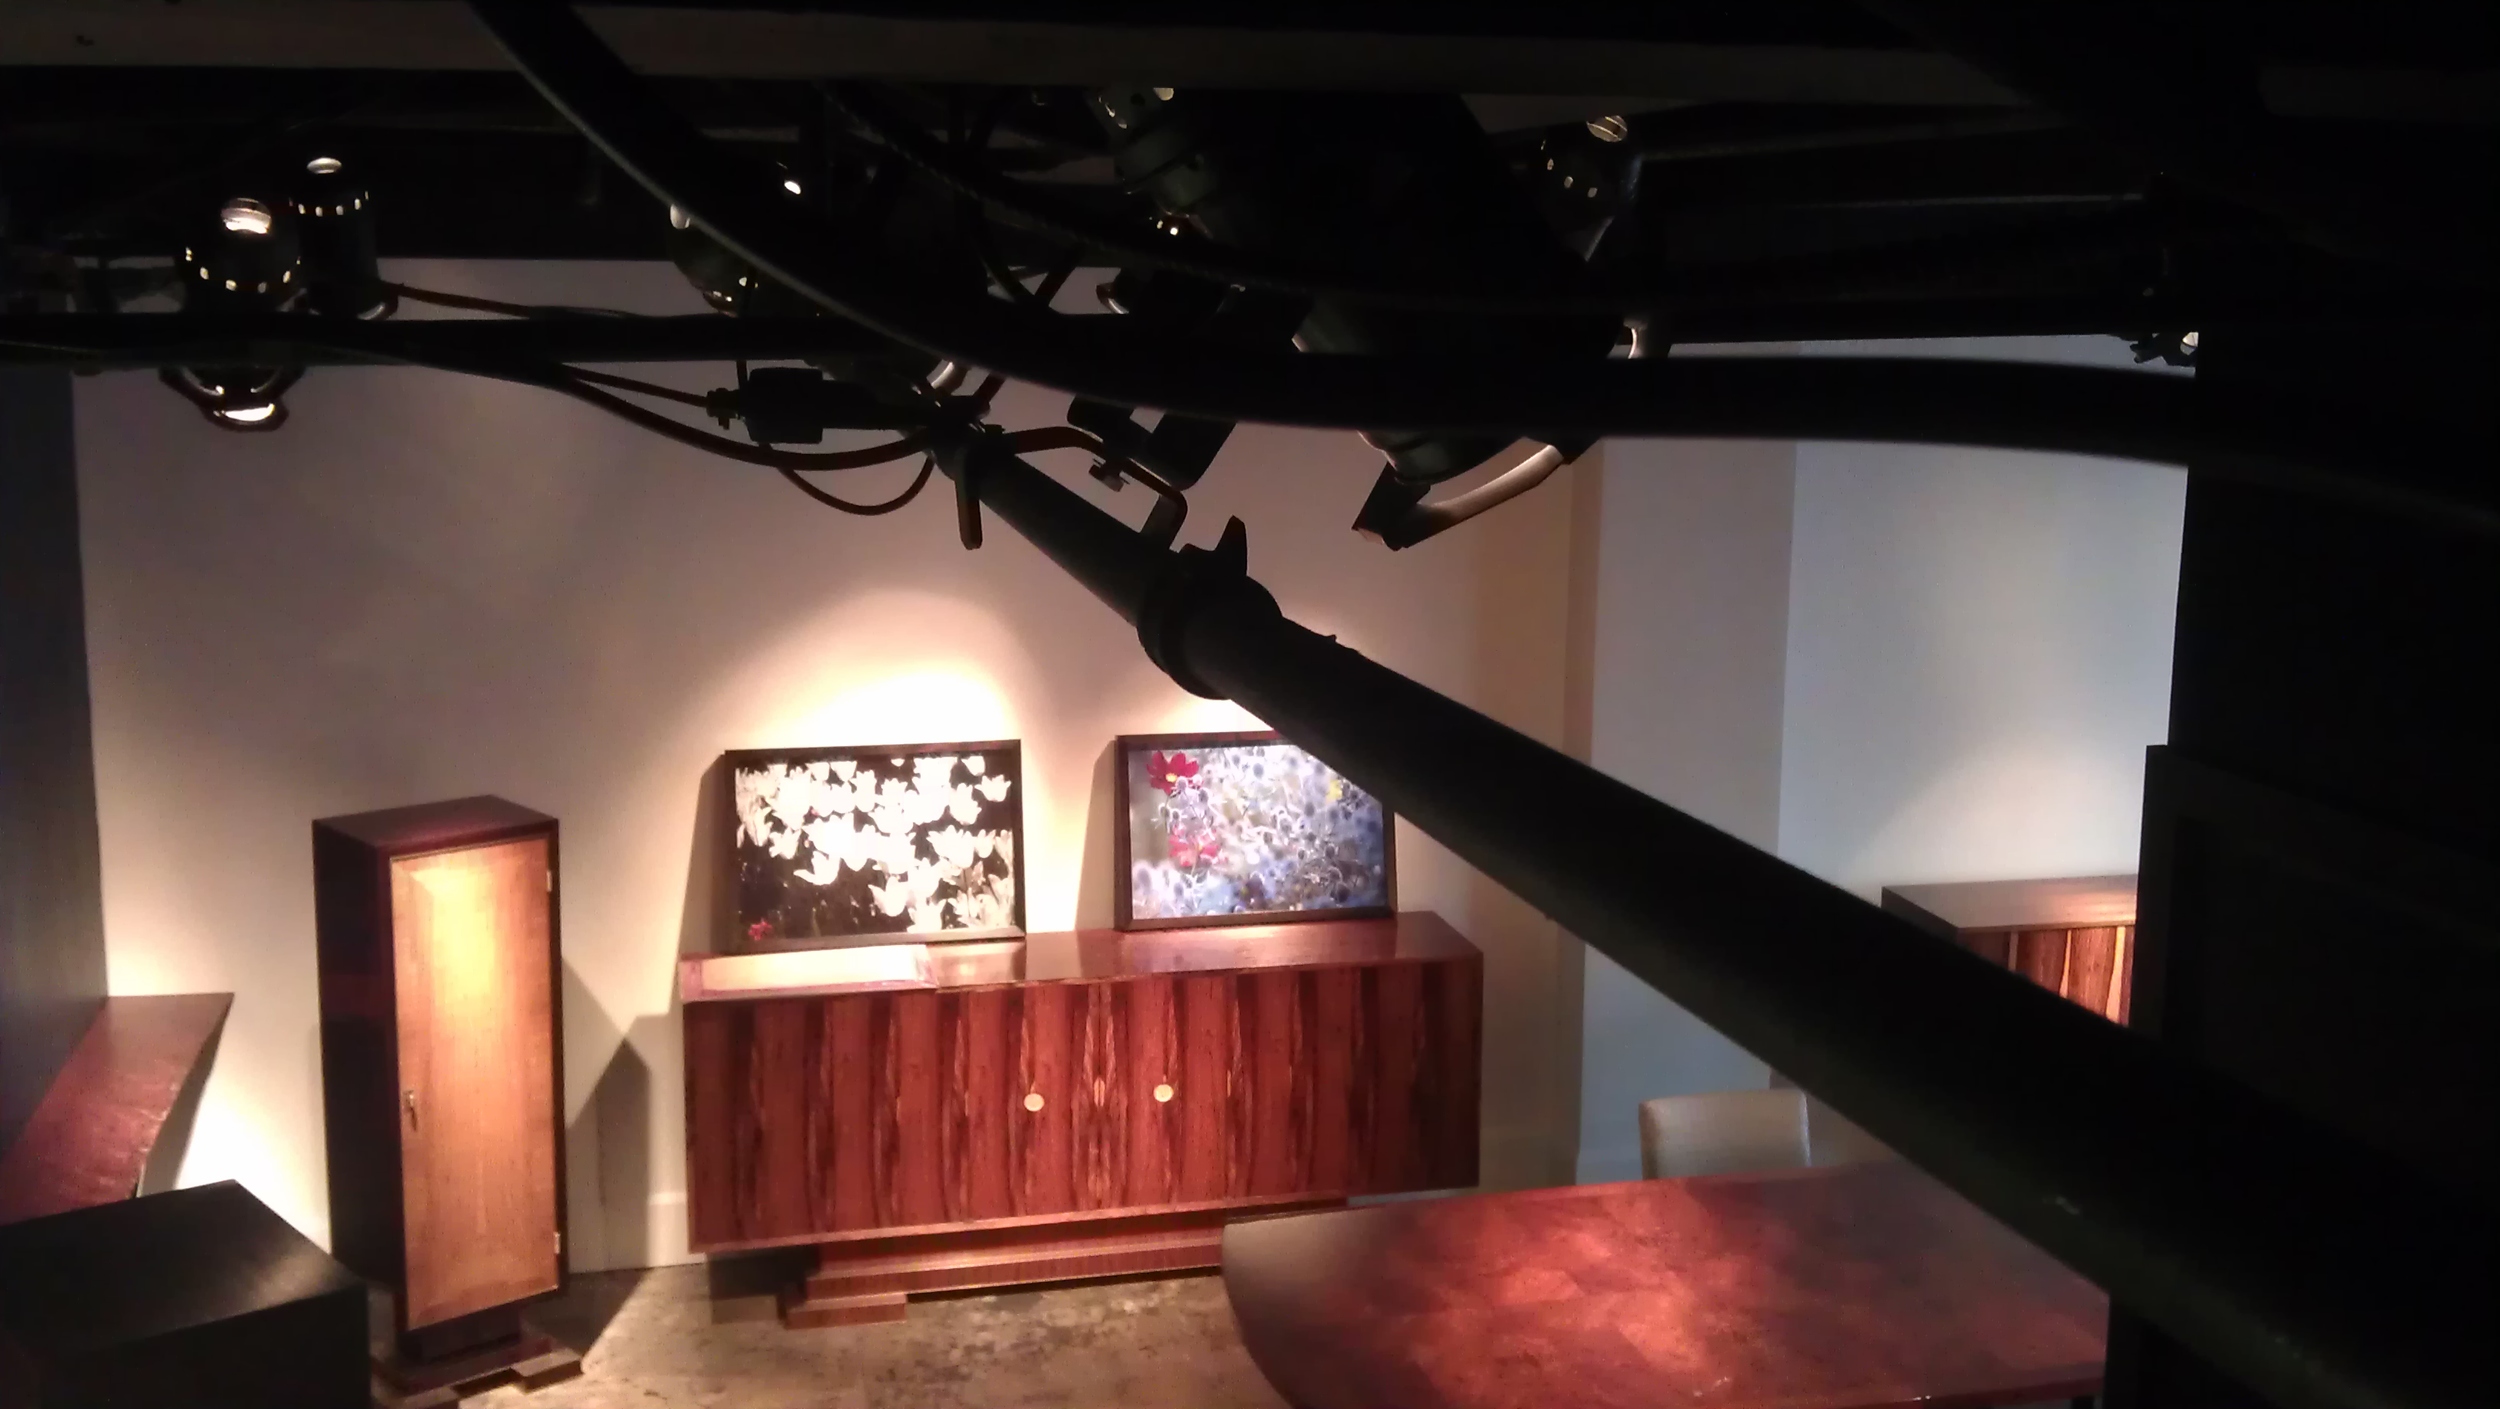
“View from above while adjusting spotlights on specific items on the gallery floor...”